Finally, finally the full reveal of the before, design and after of the upstairs floor of This Old Victorian is here! Finishing the second floor – specifically our master bedroom – really marked the culmination of this crazy five year renovation project. And I couldn’t be happier with the final result. I can’t wait to hear what you think.

Ahhhh, there’s the grown up master bedroom I’ve been dreaming about – basically for an entire decade. But let’s back up and start from the very beginning. Because it’s a very good place to start!
We actually did the more dramatic and extensive renovation of our upper floor, (as compared to the ground floor), if you can believe that. While the original layout featured four bedrooms, it actually left a tremendous amount of wasted space. And with only one teeny tiny totally insufficient bathroom, it really was not practical for how we live today. So we went to work. Nearly 24 months of work to be exact. The original floor plan for our upper level is on your left, the remodel on your right.
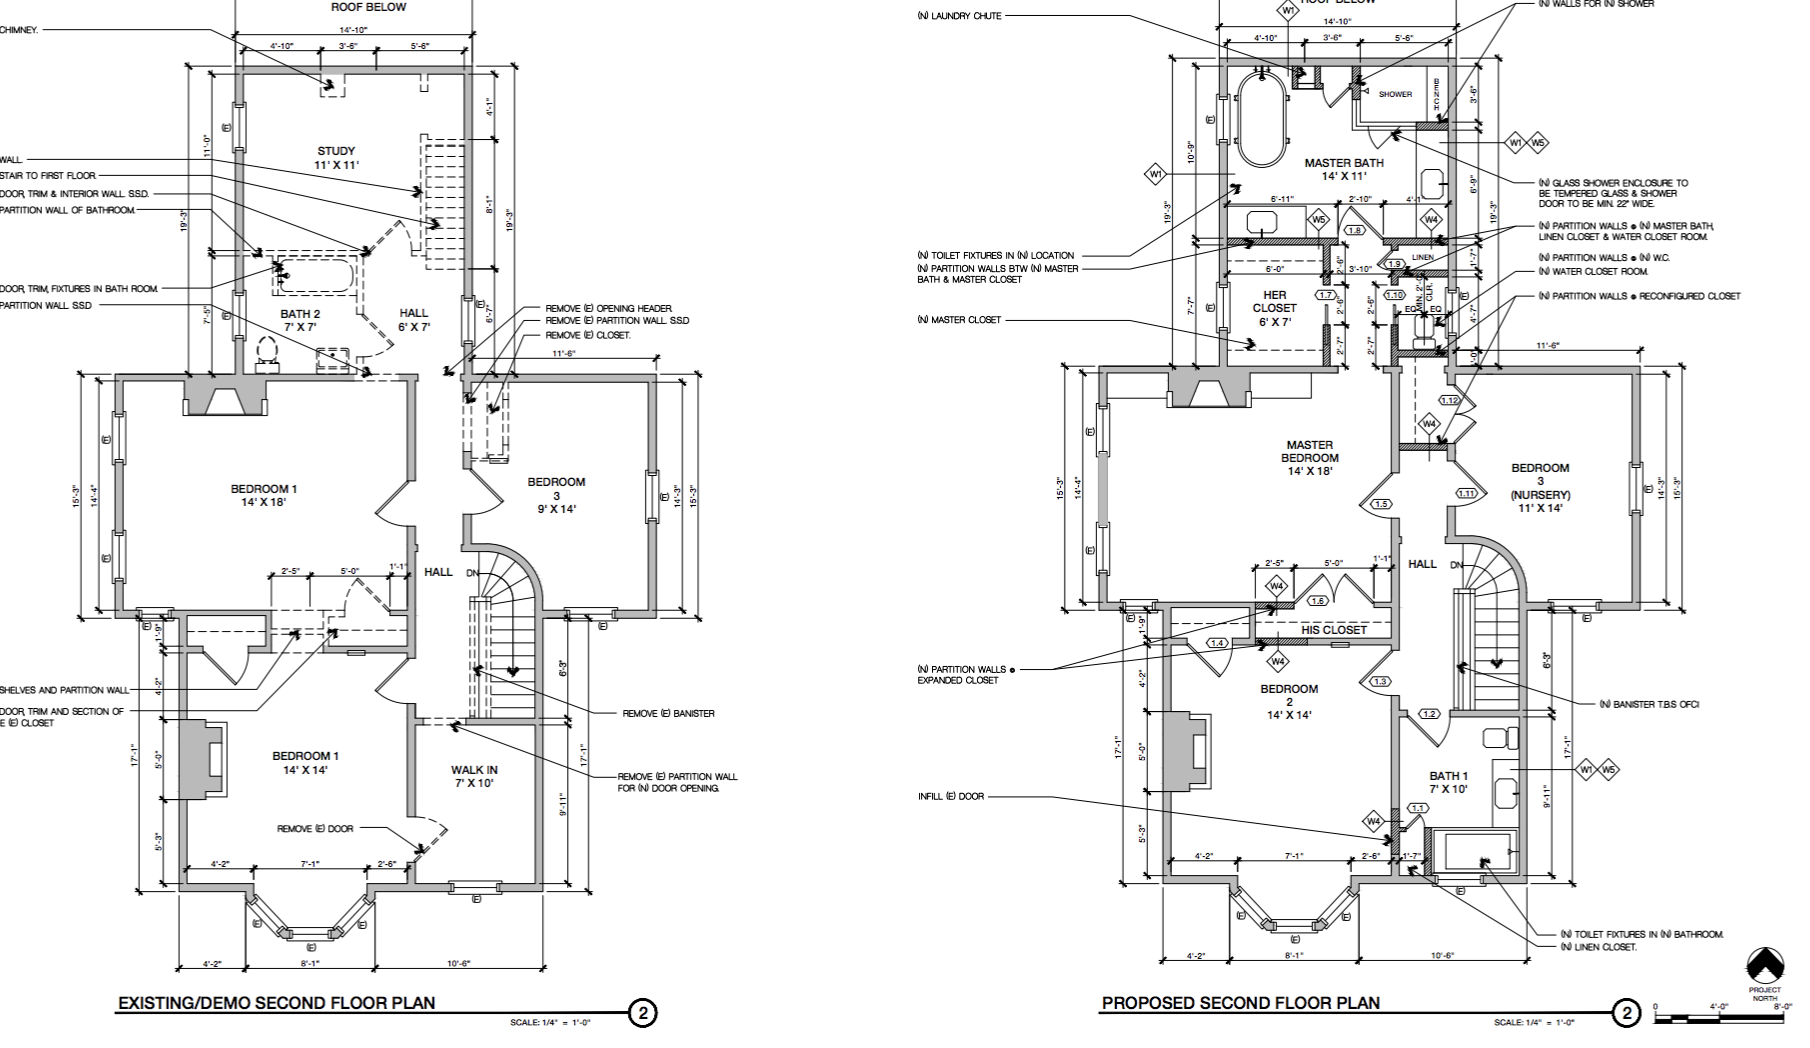
As you can see from the plans above, we accomplished three major things with our overhaul of the upstairs:
- Removed the second set of stairs, reclaiming a significant amount of usable floor space
- Created an entire new kid’s bath using the fainting room off the front bedroom
- Built a master suite, connecting unused hallways, the original bathroom & the fourth bedroom
While our new layout did result in losing a bedroom, now there is not a single square foot of wasted space and I have the master of my dreams. So everyone wins! Now for those oh so glamorous Before shots.
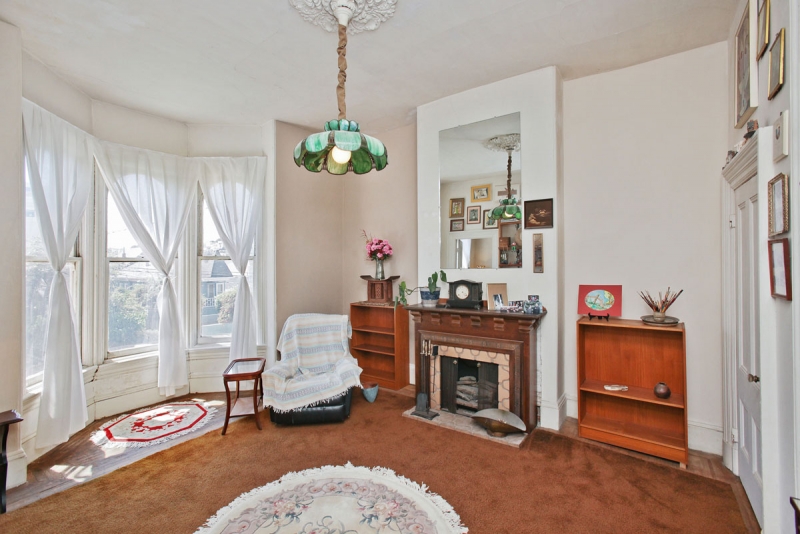
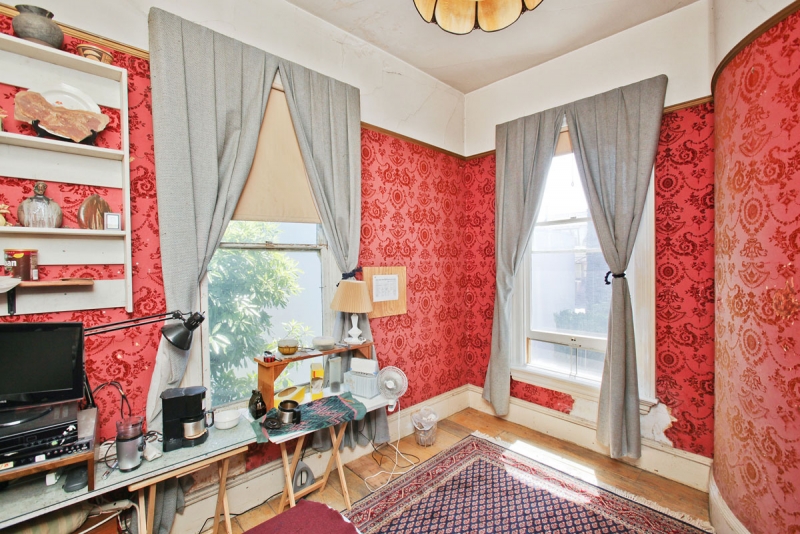
This space was once…scary and then became our soothing guest room.
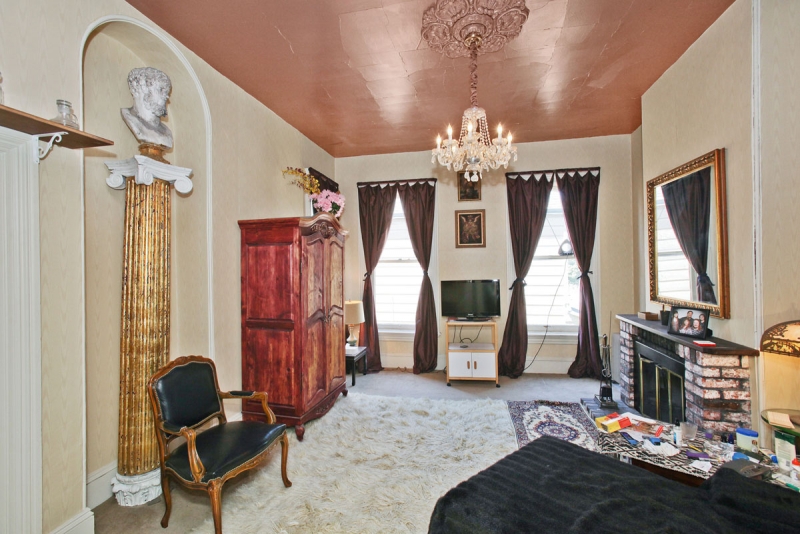
Our master bedroom had an auspicious beginning. We filled in that archway, created a second closet and obviously that fireplace (and the pink ceiling!) had to go!
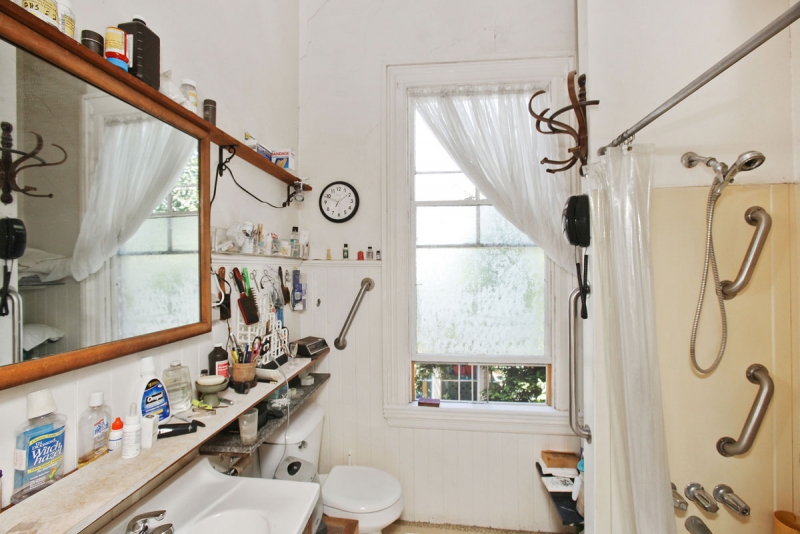
There was nothing really masterful about the original “master bath.” But it made a great walk-in closet for me!
What is now my son’s room started off the same color as the original Apt 34. How’s that for full circle?
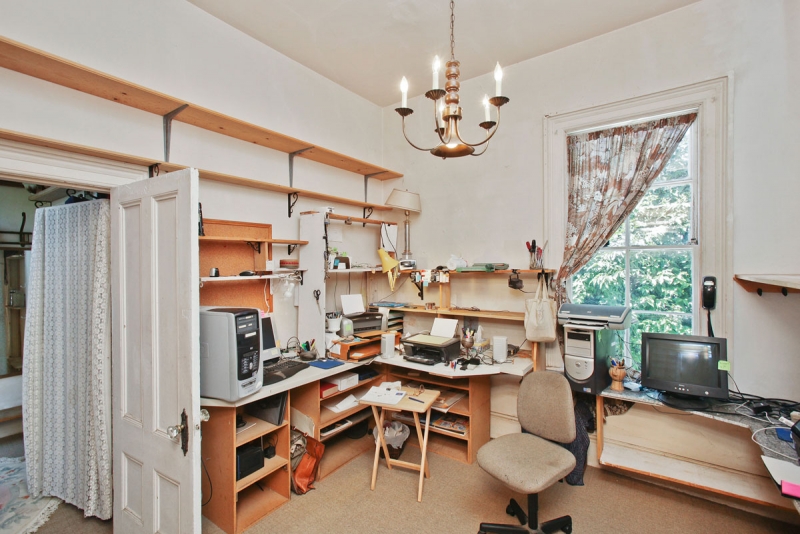
Can you imagine a lovely vanity against that left wall and a deep soaking tub under that window?? Nope, I can hardly envision it either. But keep scrolling to see how we got there.
Here is a peek at the 2nd floor in process.
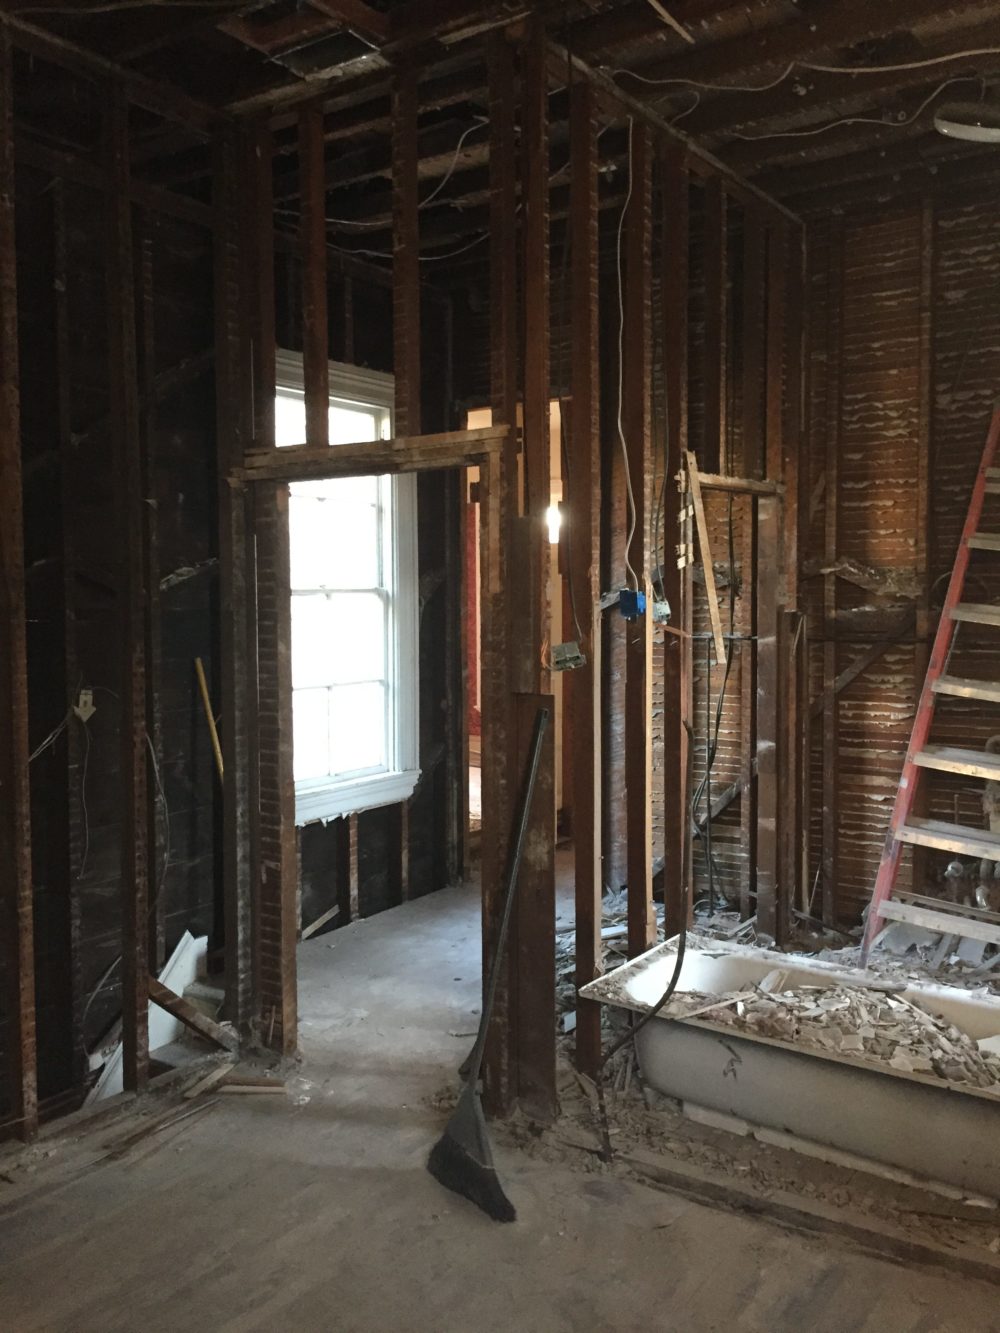
Demo of what was to become my master closet and master bath. As I mentioned in the post about our first floor, we had to take everything down to the studs to replace all of the knob and tube wiring, add in modern plumbing, add insulation (the entire house wasn’t insulated) fix rot in the framing and floors…we discovered more problems as we went of course. A renovation is often like a pandora’s box of problems!
This view looks from the stairwell back into what would become the second upstairs bathroom.
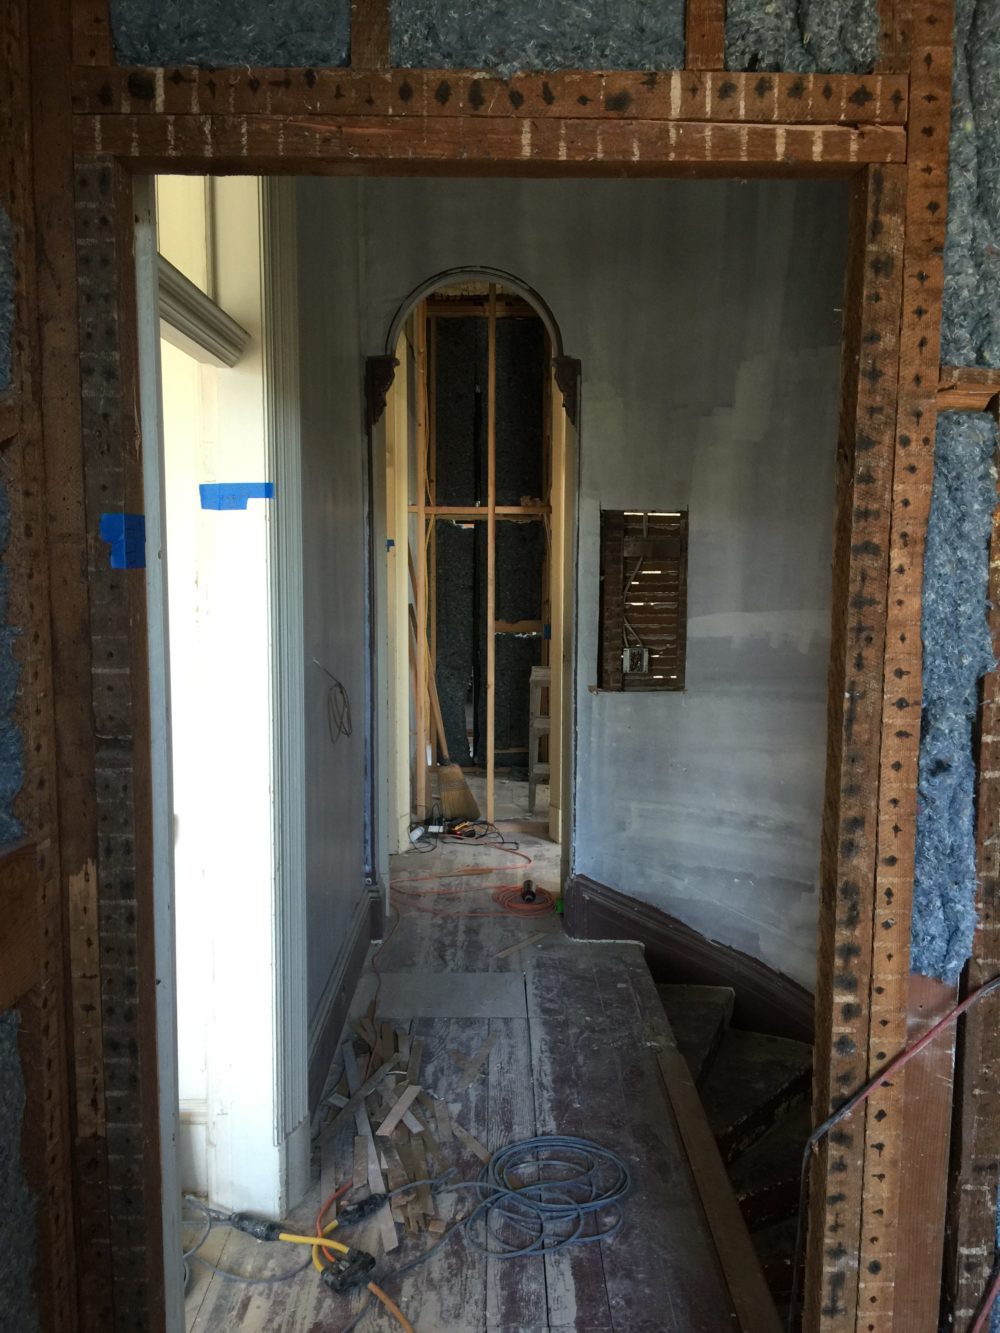
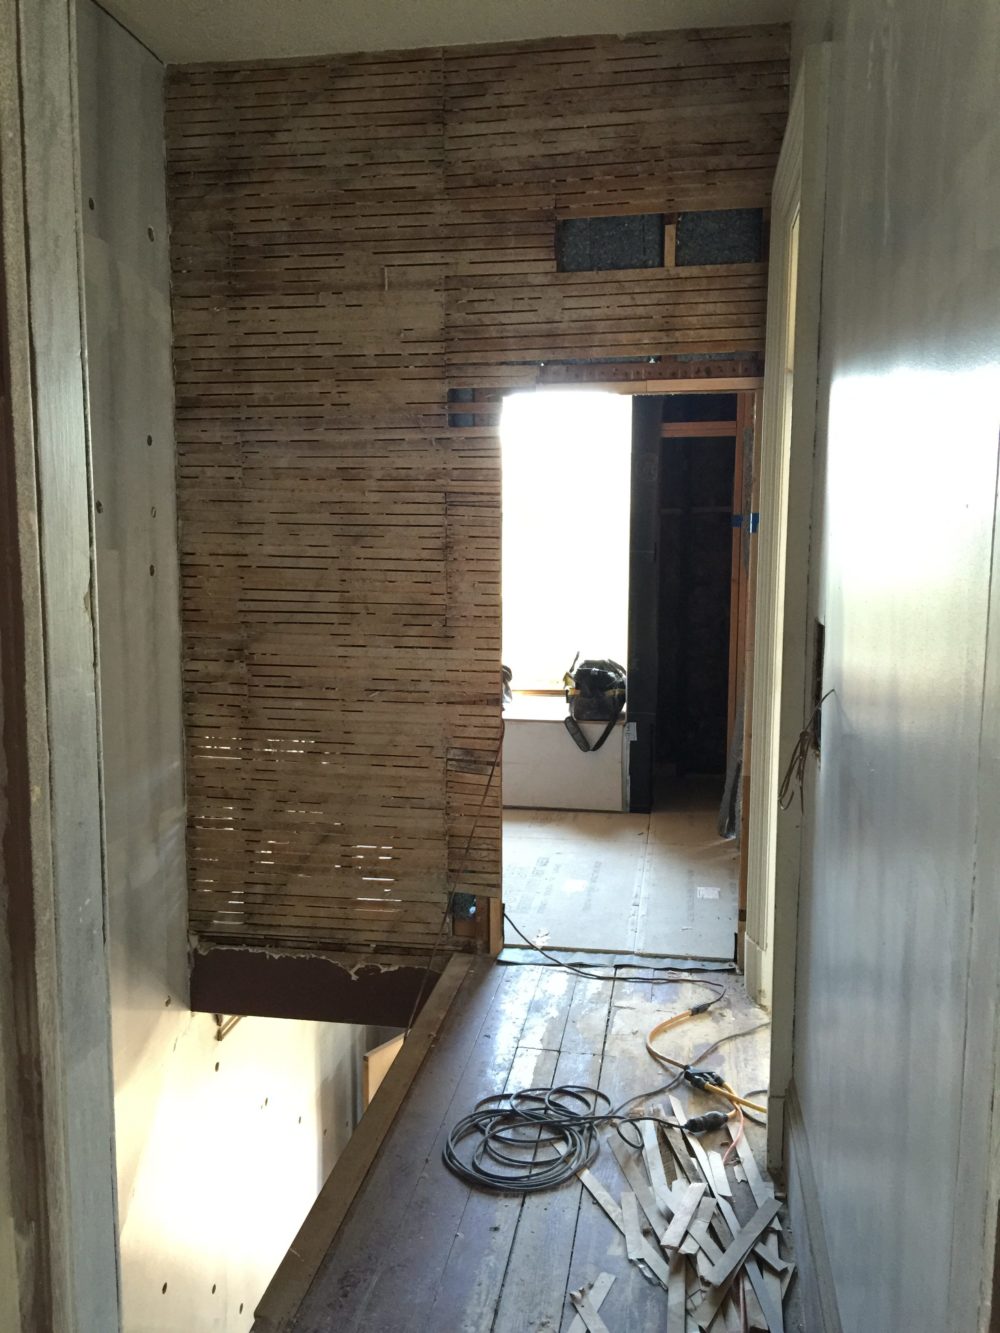
We made sure to preserve original 1860s architectural details like the arched hallway transitions and the glass transoms above each door.
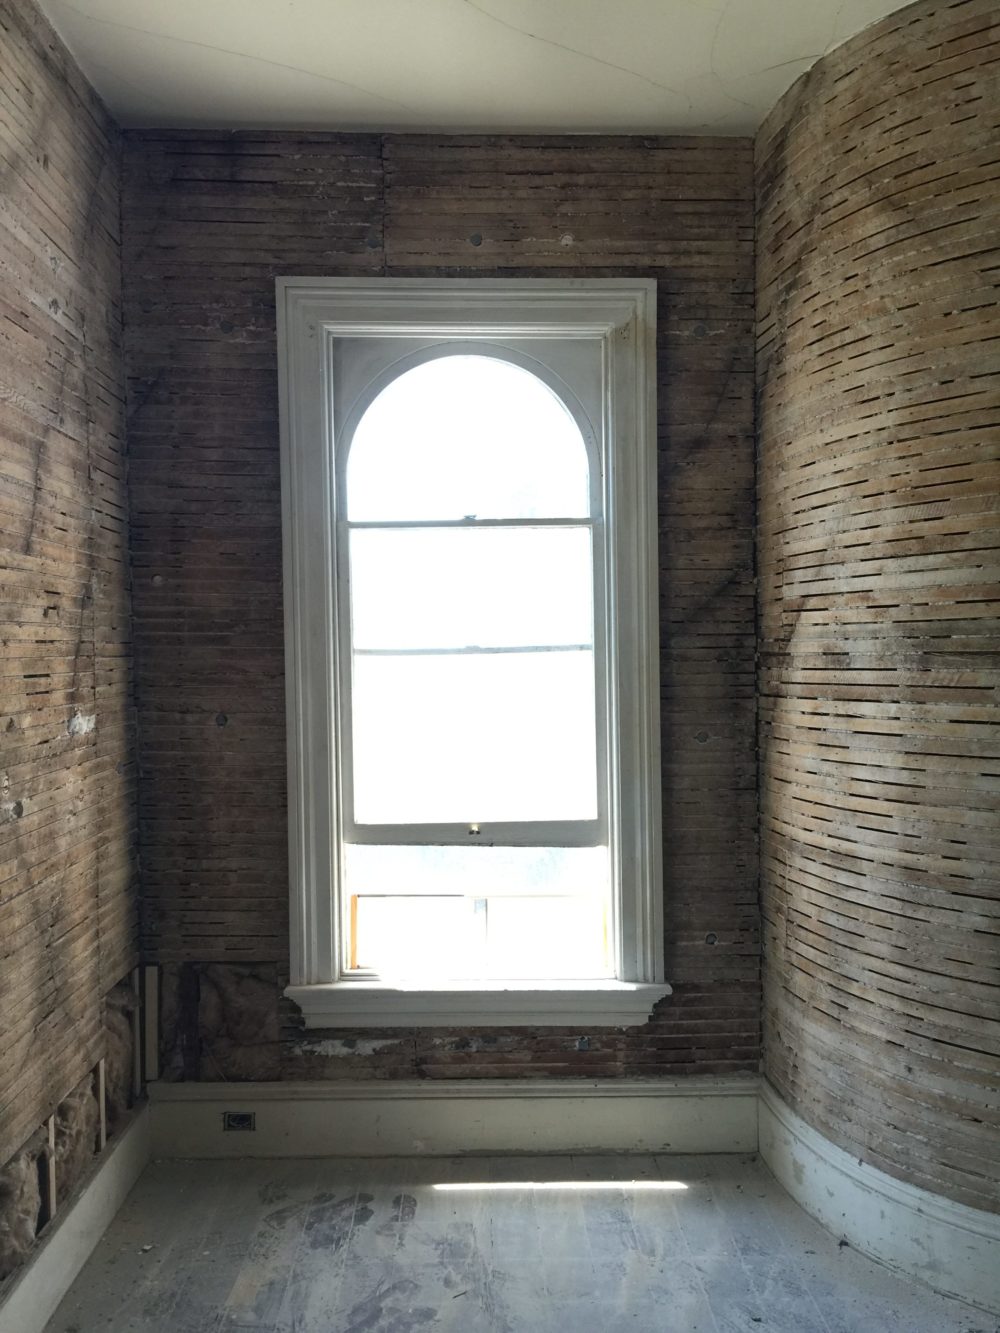
What lath and plaster looks like when scraped back to its bare bones. I actually think it’s quite lovely. I’m so thrilled we were able to save the original molding and window trim.
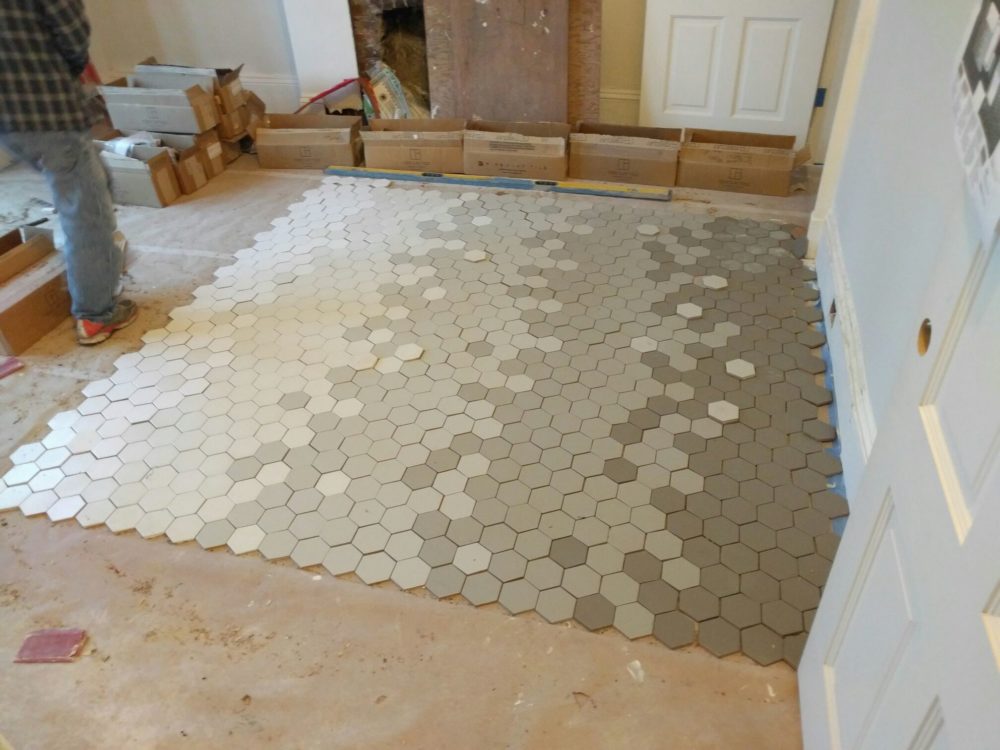
It’s alway a good idea to lay out your floor tile pattern as a test run before the gluing begins.
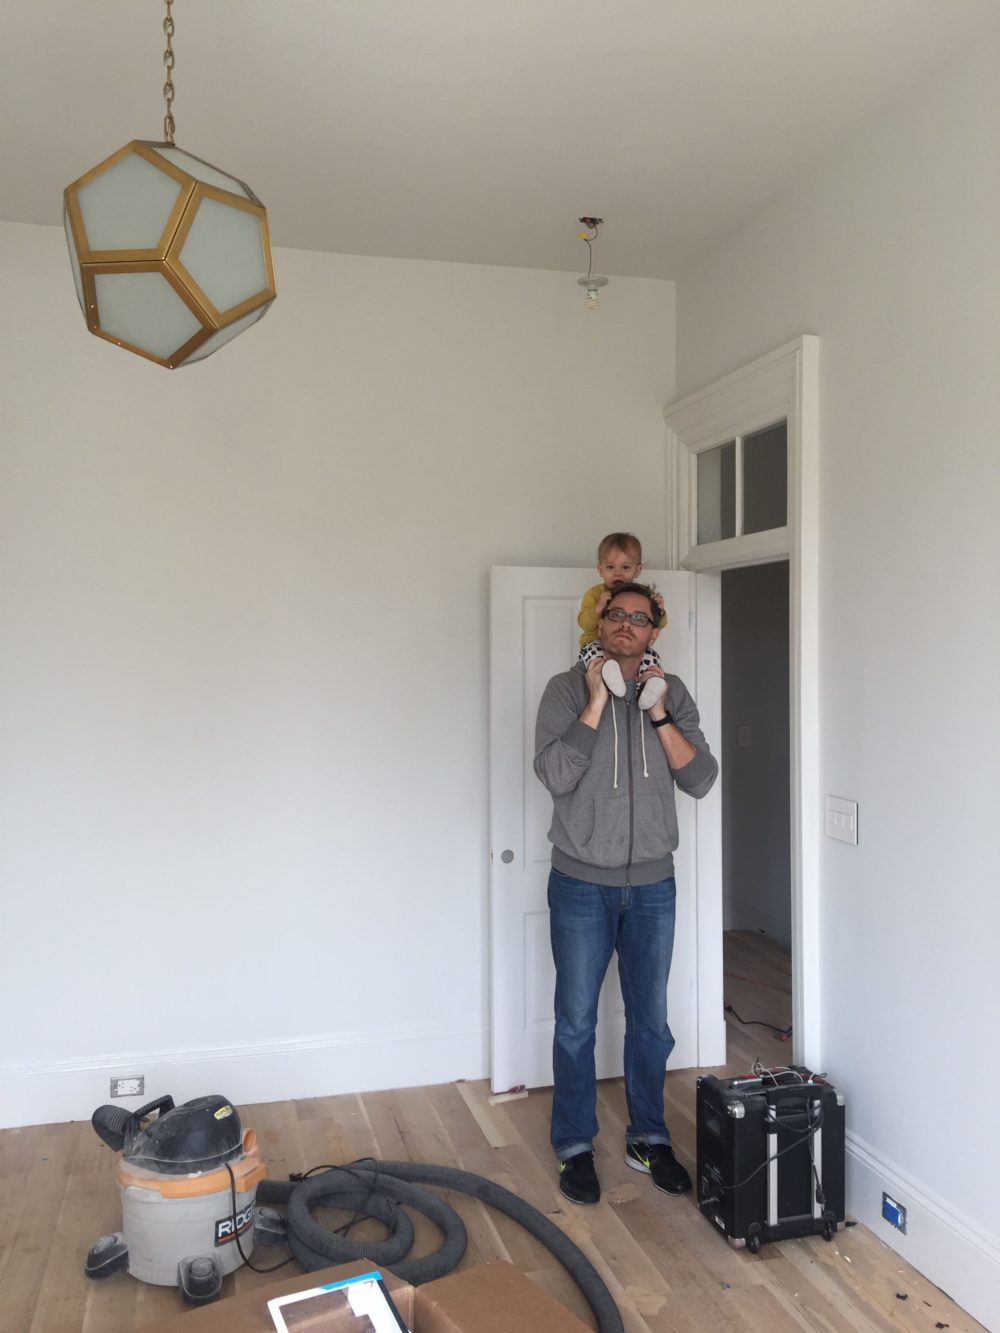
Once the new floors went in, I thought we were so close. And yet we were still so far.
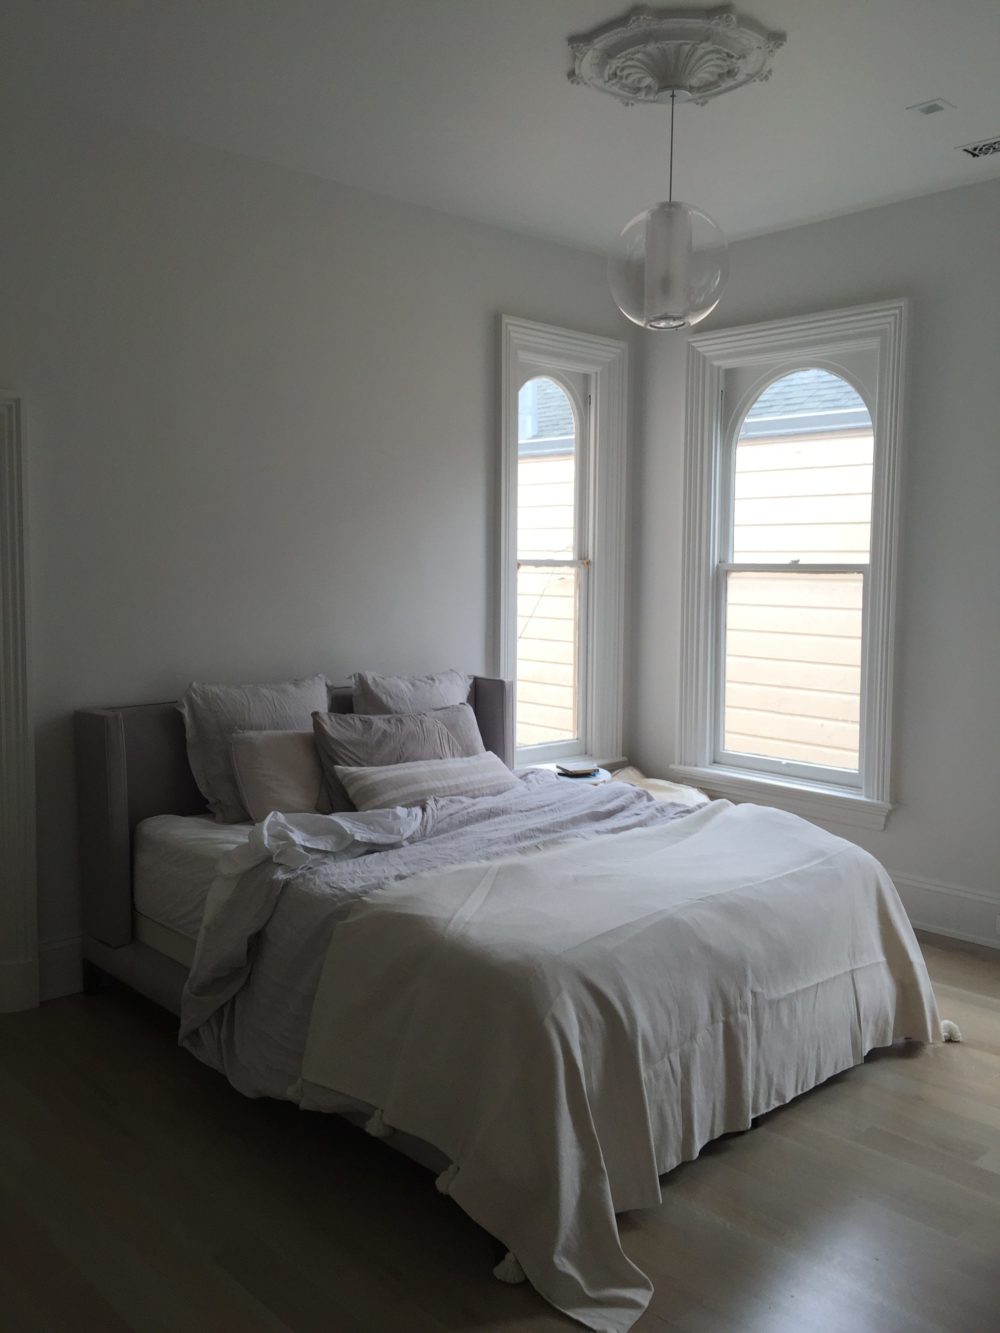
My master bedroom looked like this 1.0 version for the better part of two years.
And here is the complete(ish) tour of our second floor!!
As you ascend the stairs from our entry, you turn right to find two doors facing one another. One leads to our son’s room, the other to our master. This bedroom was the last space completed as its design challenges plagued me for quite some time. You can see my documentation of my master bedroom saga here.
Figuring out this bedroom is where I ran up against my design novice limitations. The layout and scale of the space just stumped me. I finally realized I needed yet another custom piece to deal with the room’s unconventional window placement so enter Lauren Nelson Design. Lauren and her team’s custom bed & amazing custom fireplace finally helped me realize the bedroom of my dreams! Lauren also sourced the exceptional, pendant light, vintage rug and an amazing refinished dresser (which you can see here) to complete the space. While I never thought I’d put a bed below a window – supposedly it’s a no no – but that is exactly what this room requires and it lives so well now. I just lay in bed and gaze lovingly at that fireplace. Swoon.
Reno tip: know your limits – Learning by trial & error is both too time consuming and $$$. You’ll save yourself time, money & marital drama if you just hire a pro when you need one.
As you move from our bedroom area, you enter a short hallway en route to the master bath. There you encounter two more doors. On one side sits a pocket door for our WC. The other pocket door leads to what was the original upstairs bath (see the before above) and is now my walk-in closet!
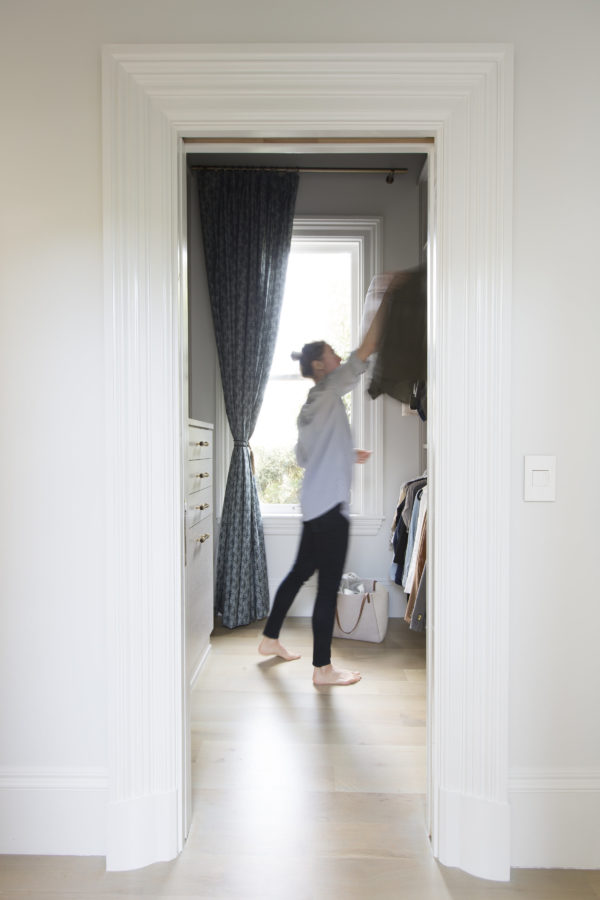
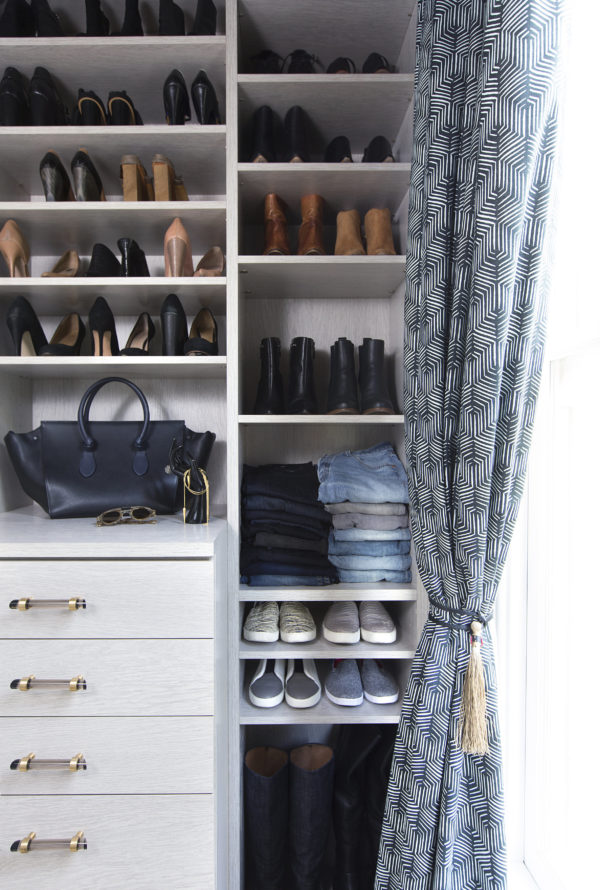
I worked with California Closets to create my custom dream closet. You can see the entire story about designing my closet right here.
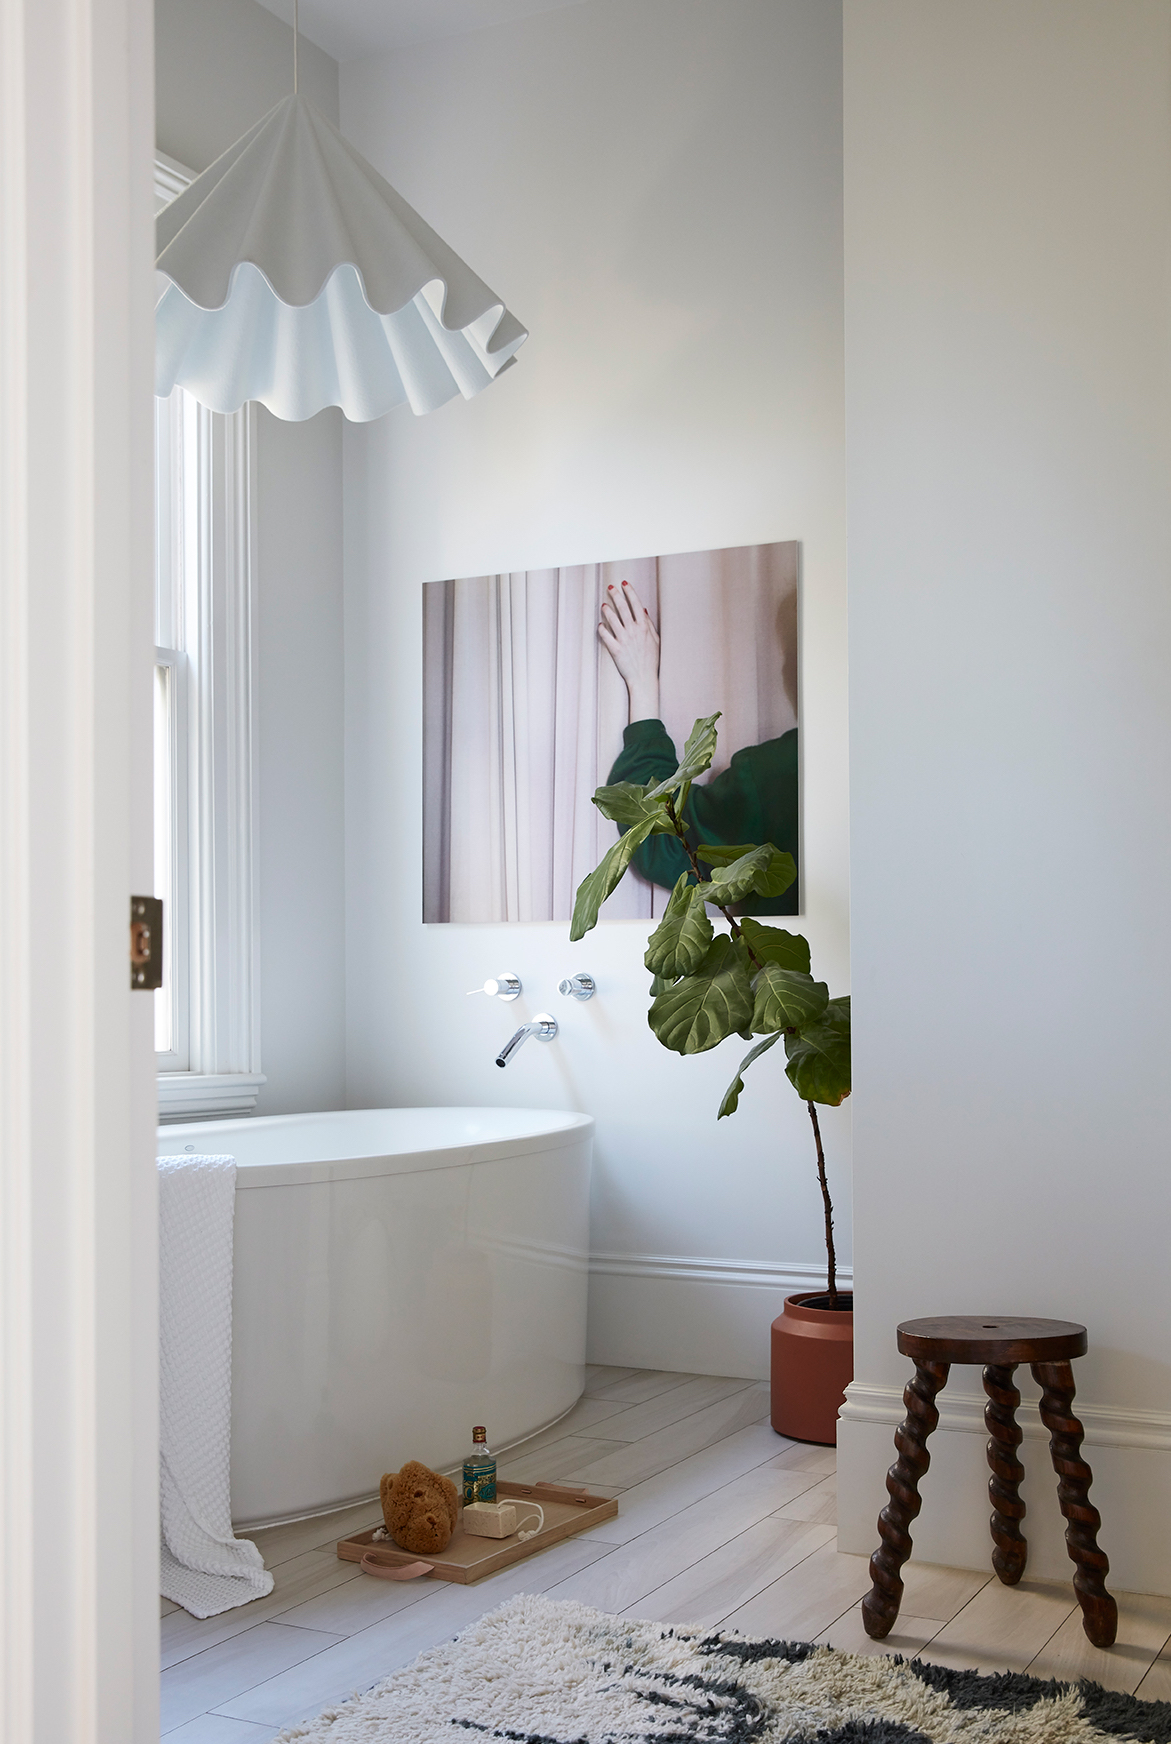
The end of the passthrough leads to our master bath. I won’t sugar coat it. A master bath the size of a bedroom is luxurious for sure. Two full vanities, a soaking tub and a massive walk in shower offer that spa like feel that I should probably work to appreciate more than I ever take the time to do. I think I over compensated for living in 800 sq feet with a baby and two dogs.
If you’ve been following along all this time, you’ll already know that my master bath was another ride on the struggle bus. Lighting is both my crowning jewel for this house, but also my nemesis. After multiple attempts, I think I finally got it right. You can see the story all about my major rookie lighting mistakes in our bedroom and master bath right here.
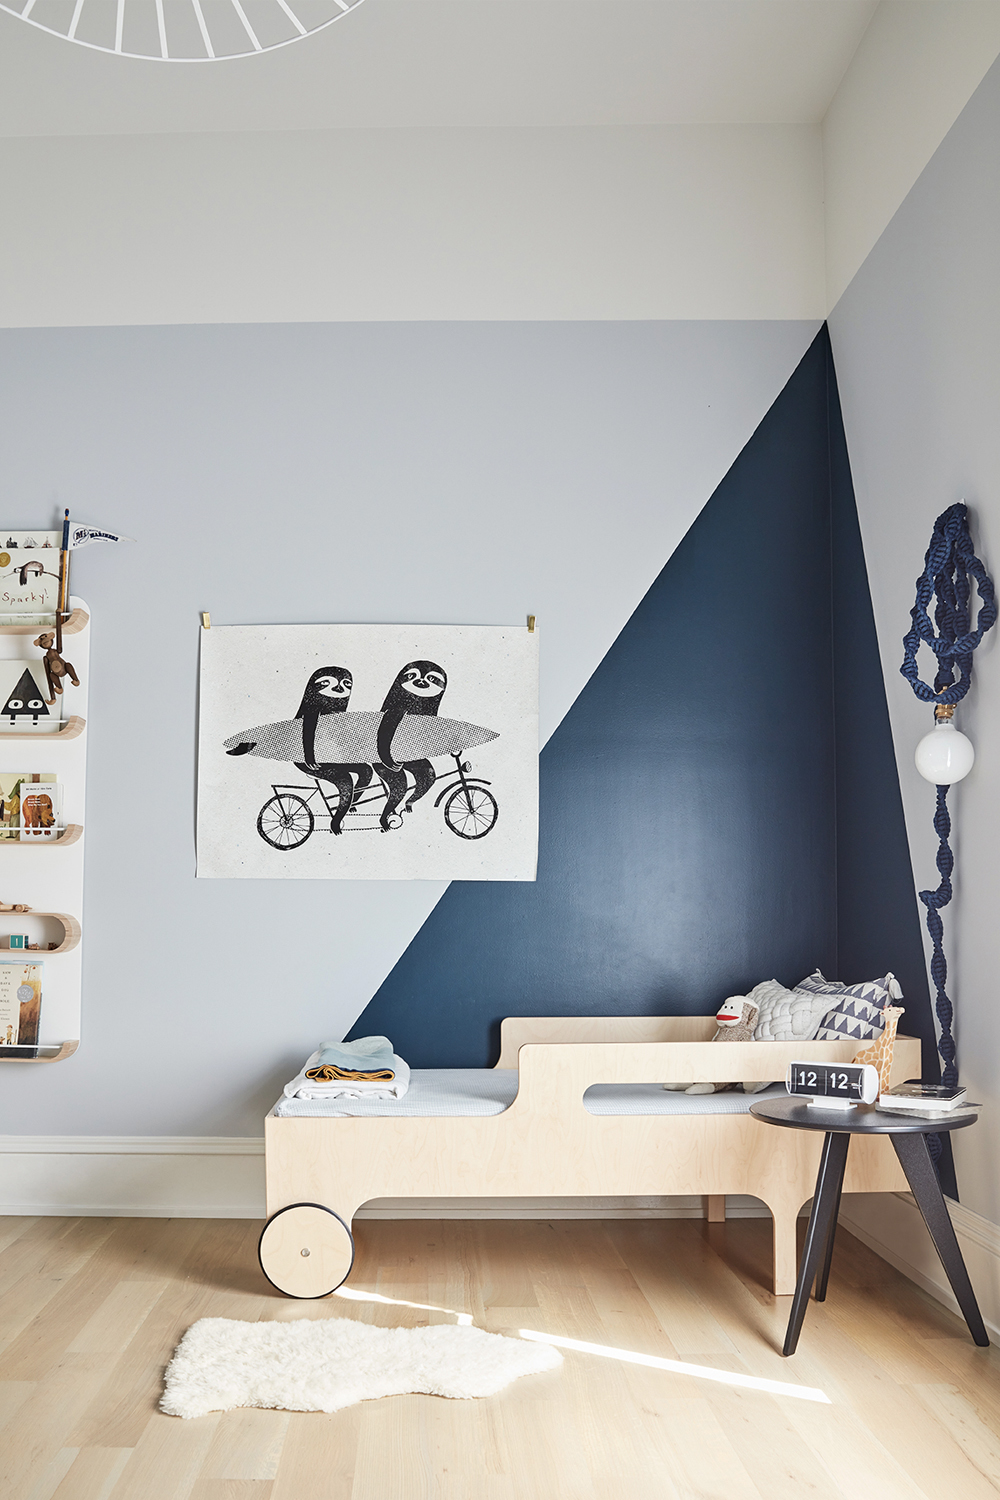
My son’s bedroom , while shoebox-shaped and smallish, still offers plenty of room for fun. Two windows allow natural light to spill in all day long. Wall-mounted shelving and a darling toddler bed from the Netherlands maximize the floor space to ensure there’s plenty of room to play – and keep the space whimsical!
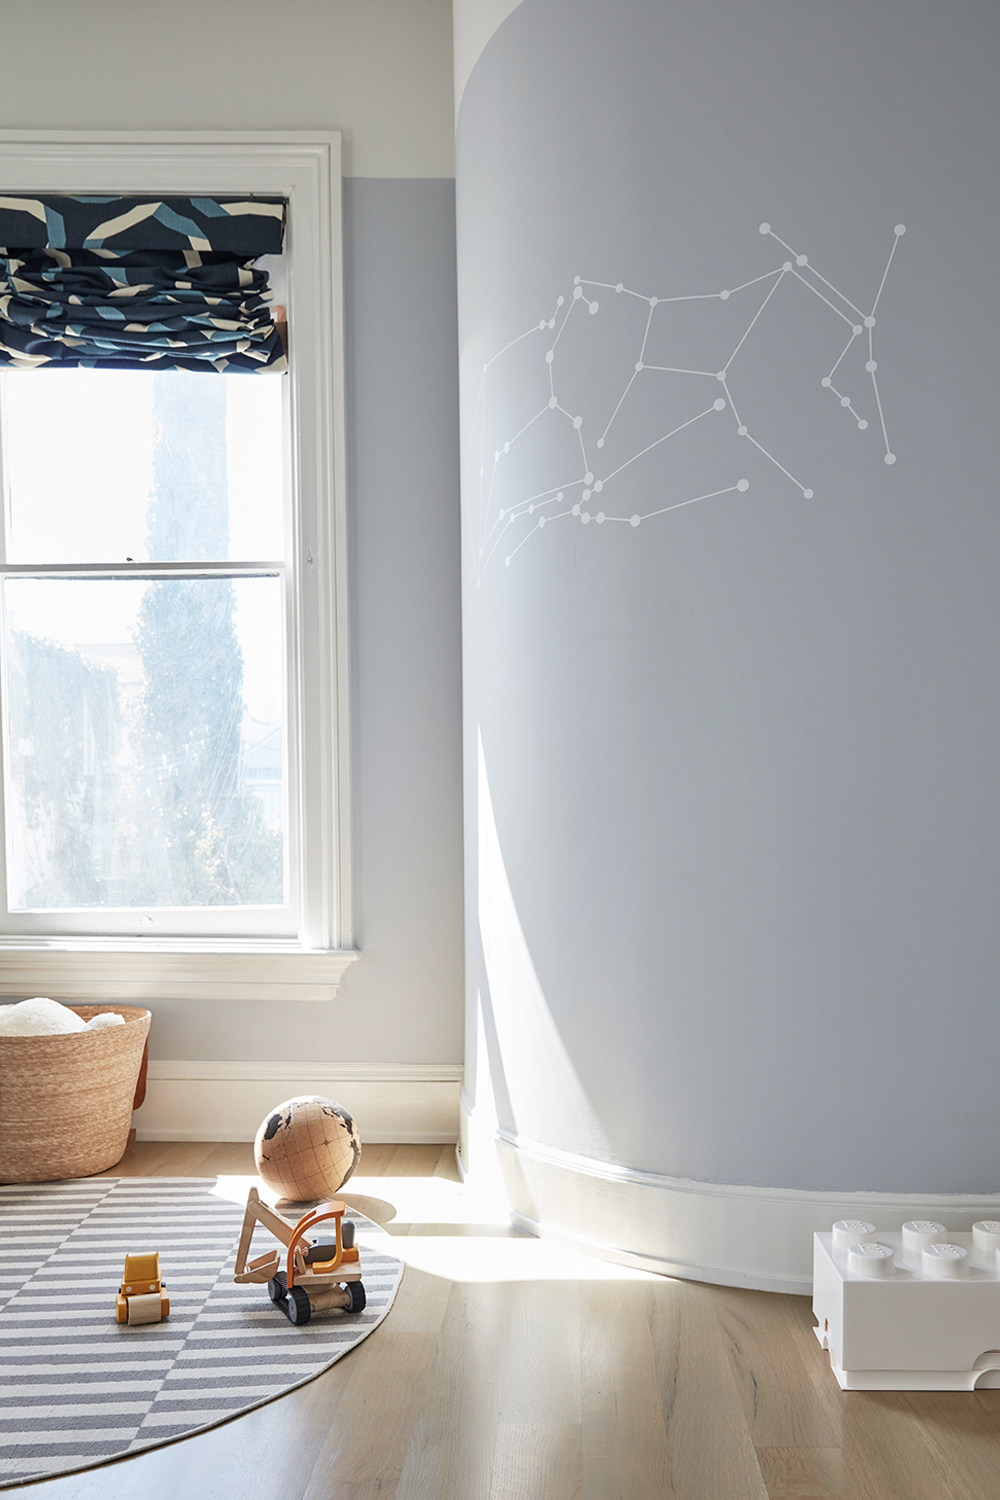
The room’s curved wall long served as yet another major design conundrum, but Carter’s love of outer space finally sparked an idea. I found a set of constellation decals on Etsy and simply colored over the stars with a glow-in-the-dark marker. Now he has his own starry sky to admire as he falls asleep every night.
You can see Carter’s entire toddler room design (and his original nursery) by clicking right here.
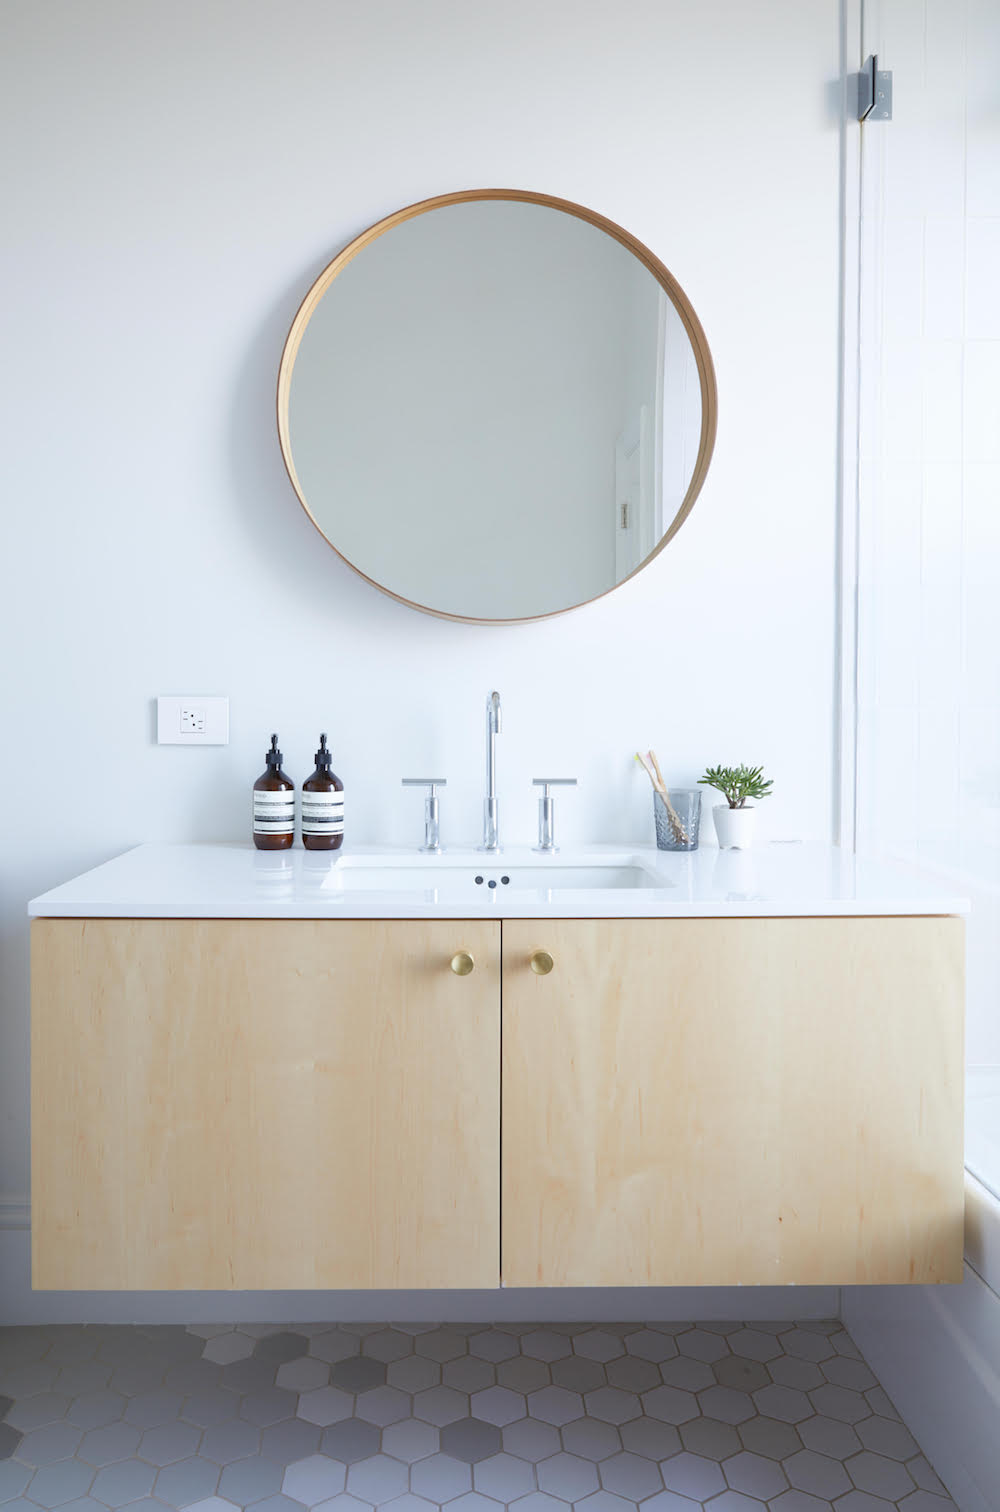
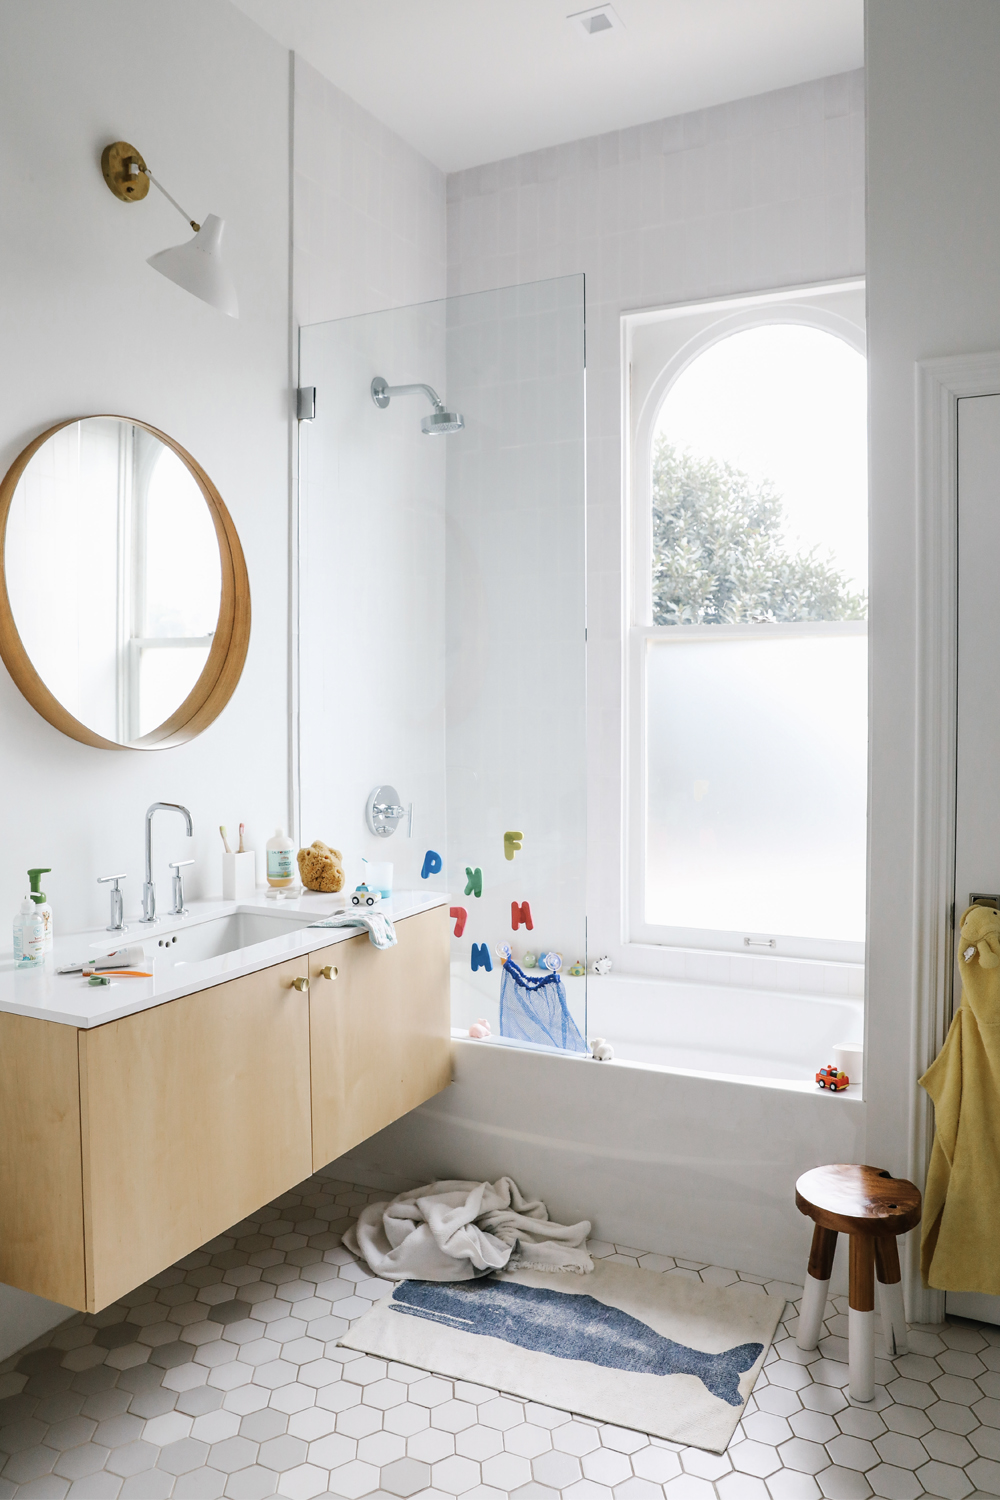
Finally, there is our kid bathroom. I was rather disappointed that this bathroom did not make the cut for Domino, so I had to be sure to share it here. I so love this space. The floors, one of my first major design decisions for the renovation, are hexagon handmade tile by Fireclay set in an ombre pattern. They start dark at the doorway and transition to white as you hit the bathtub. While a touch difficult to see in this image, the tub is also surrounded by Fireclay tile, this time running in a vertical stacked pattern all the way to the ceiling to create a clean, modern look. The floating vanity really lets you appreciate the tile floor and helps the room feel a bit bigger. I intentionally did not install a backsplash for an extra clean, modern look. Three years in and the walls still look great. If I had to do it over I would do a thicker countertop slab though. Overall I just love this bright and happy space. This room is playful and young, but has the classic bones that will grow along with our four year old.
The only other upstairs space you do not see here is our guest room. In an ideal world every single corner of This Old Victorian would have been picture perfect for Domino, but real life often gets in the way. So instead the guest room served as my photo staging area – aka where I hid all my crap – hence why it is absent in the feature. You can see our guest room here though. Although I’m now about to completely redo it. Cuz a blogger’s work is never done.
And there you have it. I hope this gives you a (more) complete picture of this epic renovation saga. There were many additional mishaps along the way. Like when our crawl space flooded and submerged our brand new furnace. Or the winter we had major rains and discovered some of the house’s windows still leaked when there was water running down our kitchen walls. I suspect such adventures are likely to never end. It comes with the 150 year old house territory.
I hope I’ve given you a realistic view into what a true restoration entails. I’ve certainly learned more than my fair share about all things interior architecture, renovation, restoration and figuring out how to turn a house into a home. I’ve leaned it’s not a quick and easy process, but really it isn’t supposed to be. Building a home that reflects both who you are and who you want to be takes time, commitment and a whole lot of patience.
But the end result is worth the wait.
For the complete tour of the first first floor of This Old Victorian, CLICK HERE.
For the online feature in Domino magazine, CLICK HERE.
For the entire five year history of this renovation saga, CLICK HERE.
For my newest project – a complete redo of our yard CLICK HERE.
RESOURCES
Master Bedroom
custom bed lauren nelson design / bedding rough linen / lumbar pillow custom lauren nelson design / custom fireplace lauren nelson design / vintage rug tony kitz gallery / vintage bedside lamps almond & co / georg stool skagerak / the Marset ginger pendant ylighting / curtains the shade store / walls roman clay by portola paints /
Master Bath
tub & tub filler kohler / dancing pendant menu ylighting / walls white wisp benjamin moore / stool elsie green / tray skagerak / towel parachute / art cristina coral /
Carter’s Room
LampsPlus Tides Pendant / Bitte Wooden Toys / Farrow & Ball Hague Blue Paint / PomPom at Home Pillow / Ferm Living blanket / Toddler Bed / Sloth print / eSale Striped Rug / Woopsy Desk Lamp from LampsPlus / Pehr Designs Alphabet Bin / Overstock Wing Chair / Sutro Tower / Overstock Woven Basket / Room & Board dresser / Room & Board end table / Calico Corners Roman Shades / Minted Art Print / Stacked Bookcase from Sourced By Good / Birch Coat Rack / Jennifer Ament print / custom framing Framed & Matted / Windy Chien Helix Light / Cork Globe / Throw Pillow / Lego Storage
Kid’s Bathroom
swing lamp / fireclay floor and shower tile / kohler tub and faucet / silestone counter top / custom vanity / ikea mirror serena & lily dip dyed stool /
photography by seth smoot for domino magazine
produced by kate berry
styled by rosy fridman
Couldn’t love your home more! And I love how your son’s bathroom was styled – like it’s used! 🙂
Could you share the source for the bolster pillow on the master bed? Did you have it custom made or is it off the shelf? I’ve had a difficult time finding one sized for a King. Thanks.
It was custom made by Lauren Nelson Design