You can feel it, can’t you? The burst of energy? The desire to get outside. The need to just do something. The whole spring renewal thing is legit. Hence why it really is wise to harness some of that new-found energy and put it toward…spring cleaning! It is a thing and it is a super smart thing to actually do. After being cooped up for the winter now is the time to shake off the cobwebs, both figuratively and literally. But now that I’m back to being a homeowner after many years of loft living, tackling the spring cleaning to-do list can feel rather daunting. When strapped for time, spring cleaning is hard to get started. However, I’ve found a formula that will help you get it done without feeling overwhelmed. Because there’s nothing better than the sense of accomplishment when you complete a good cleaning sesh. And neat, clean spaces have been proven to lower stress and anxiety levels! We all need that. If you use the tips below, I promise you’ll get to the aww, I just got off work on a Friday-afternoon feeling asap.

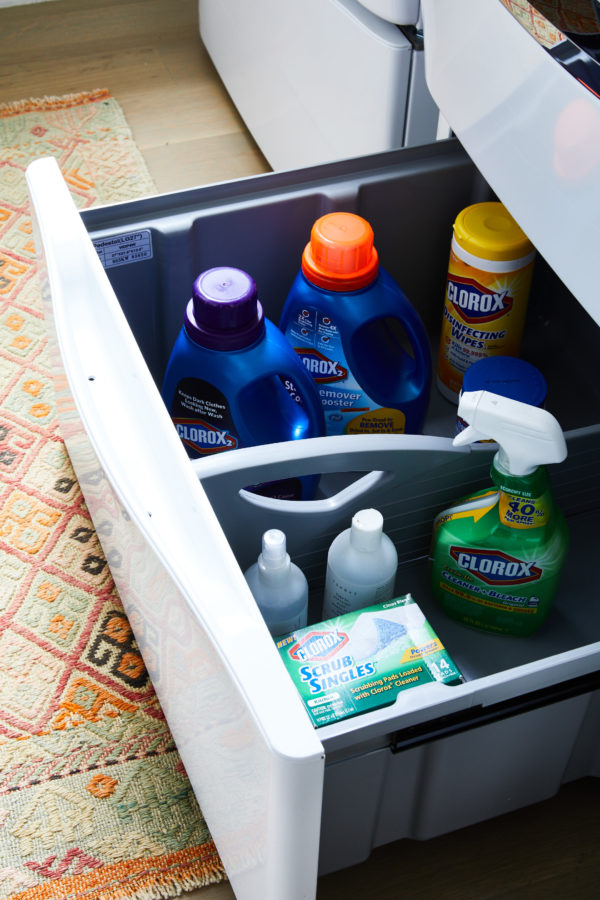
To kick off your spring cleaning regimen, map out your cleaning game plan. Dedicate 15 minutes to organizing all of your cleaning supplies and deciding which rooms you plan to tackle and the products you’ll need. Then, assign a day to tackle each of those spaces. This step will keep you from feeling completely overwhelmed when you aren’t quite sure where to start.

how to tackle spring cleaning on apartment 34 how to tackle spring cleaning on apartment 34

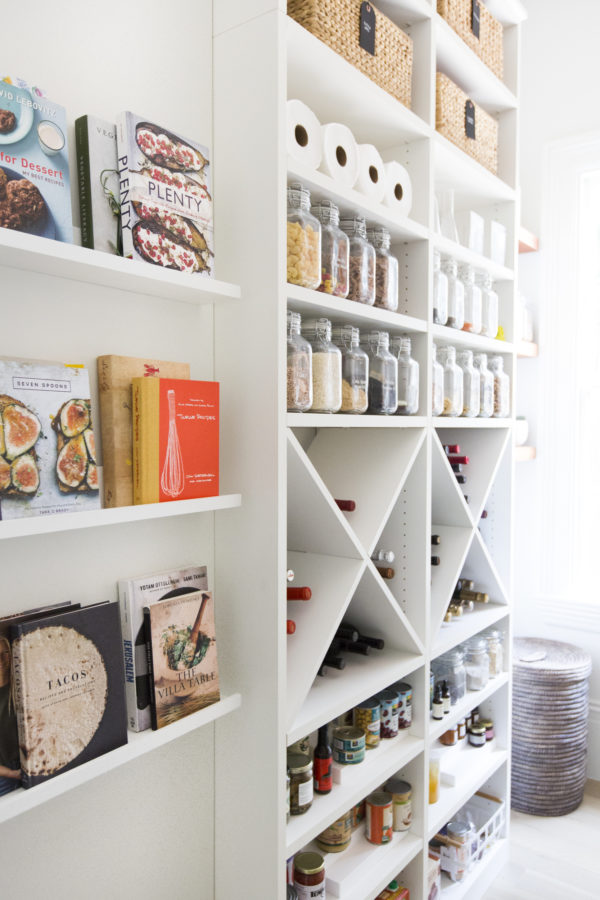
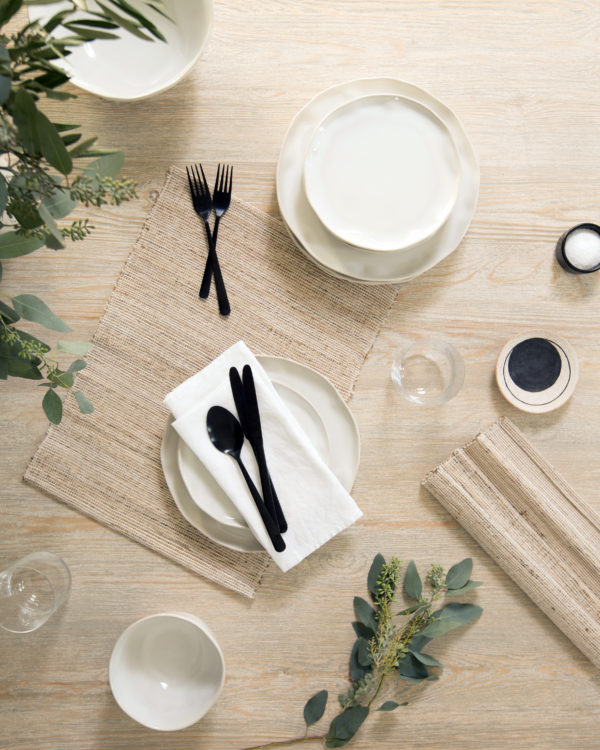
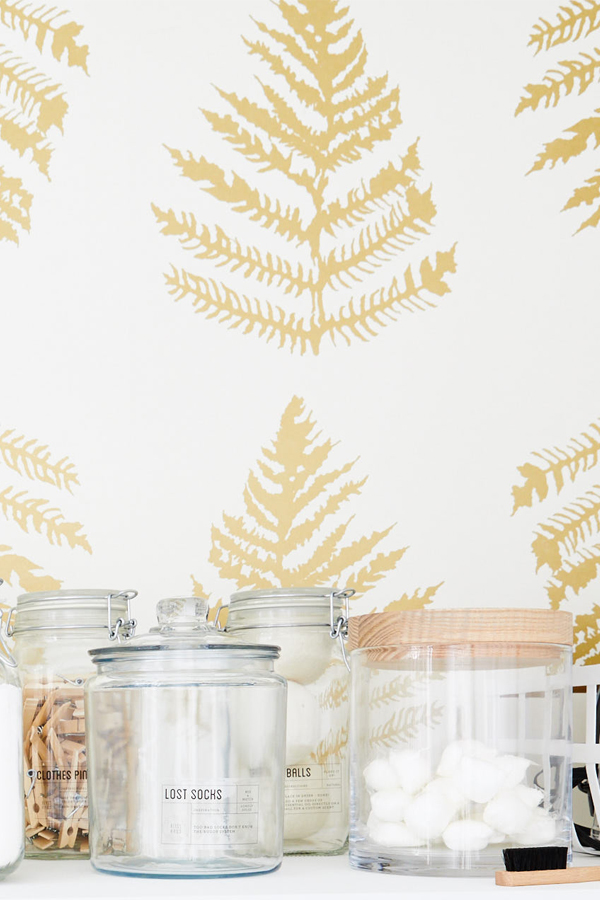
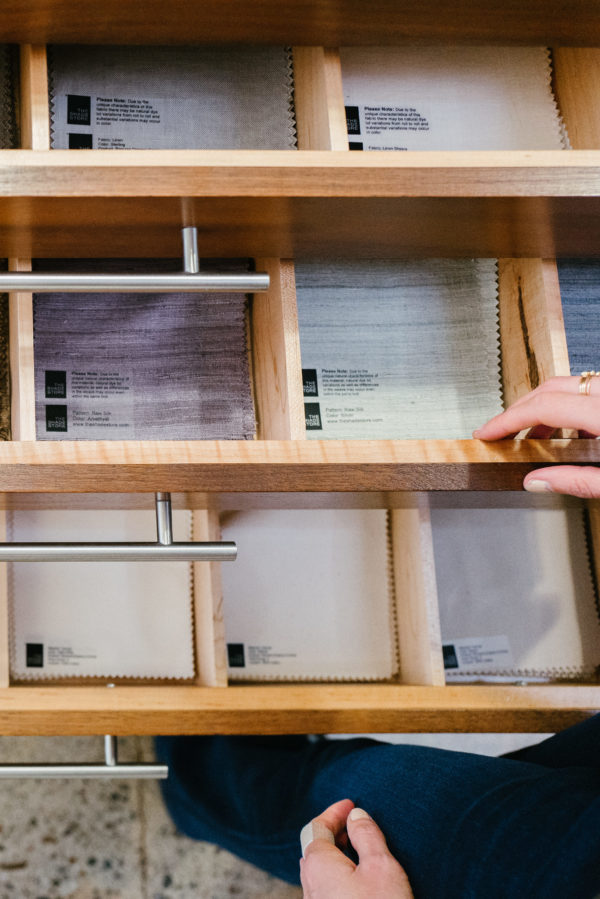
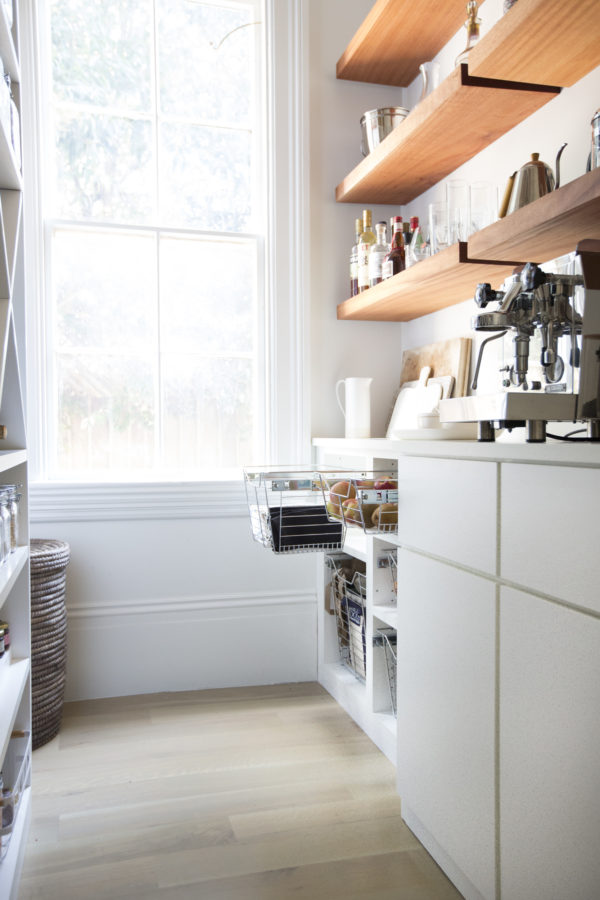
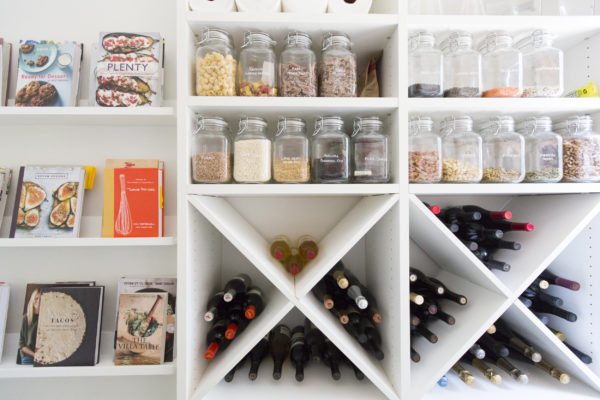
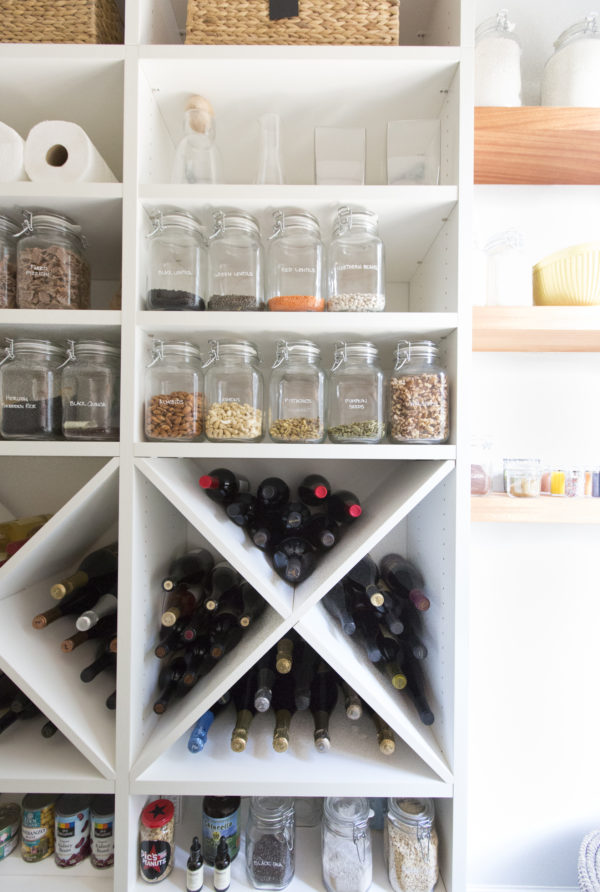
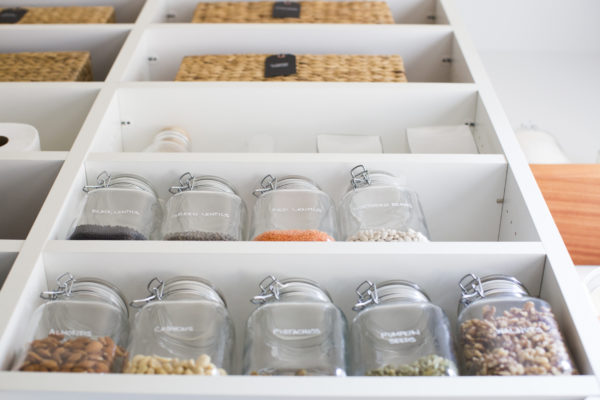
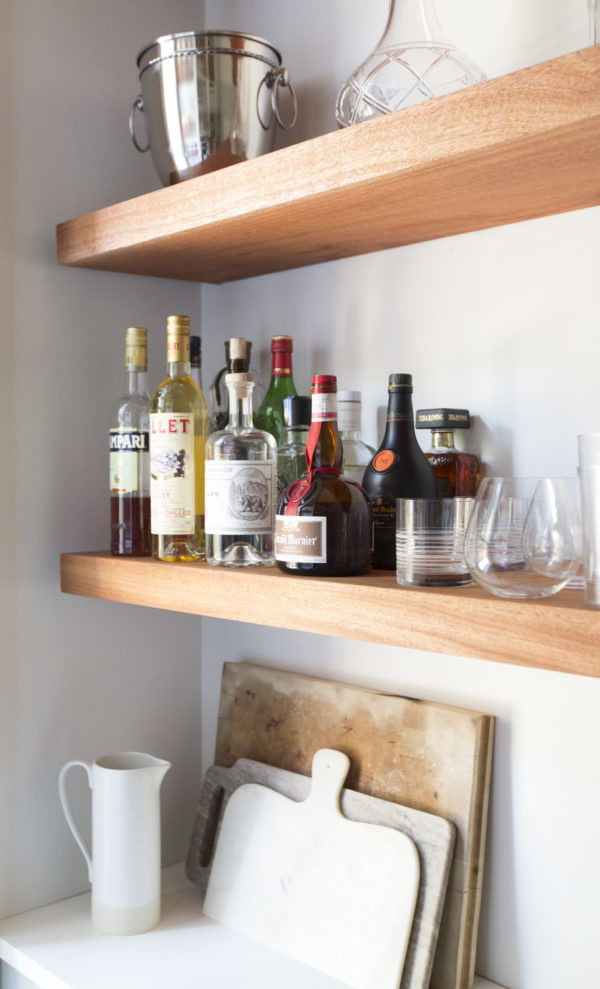
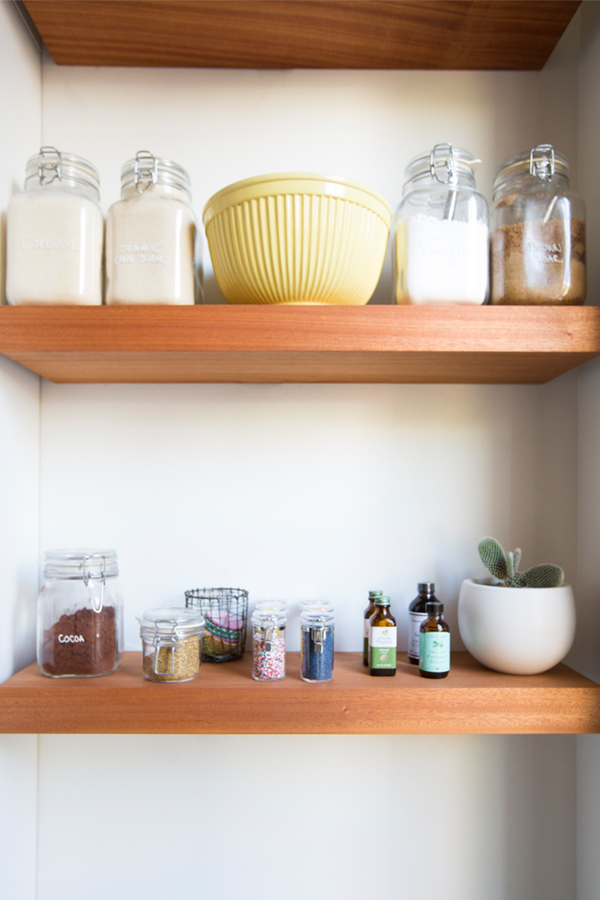
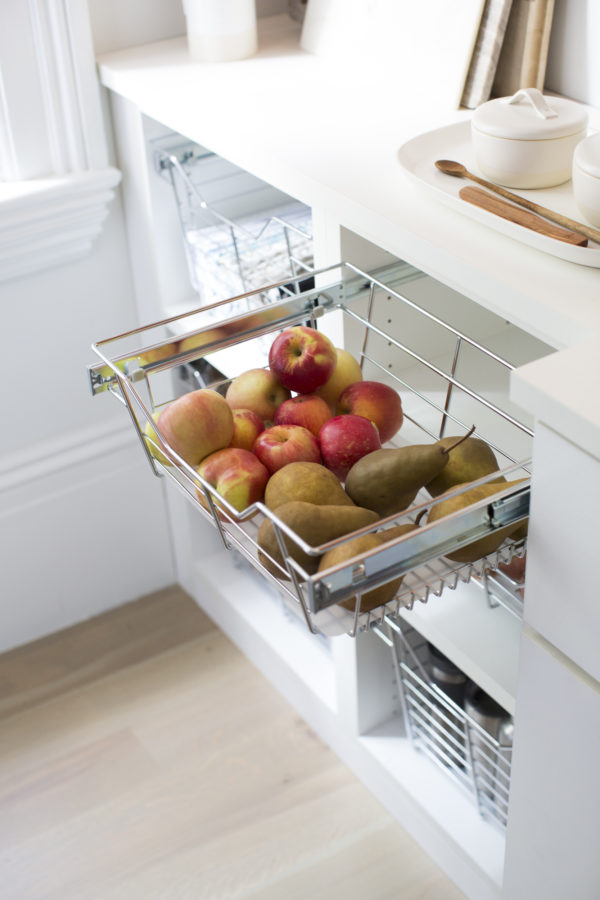
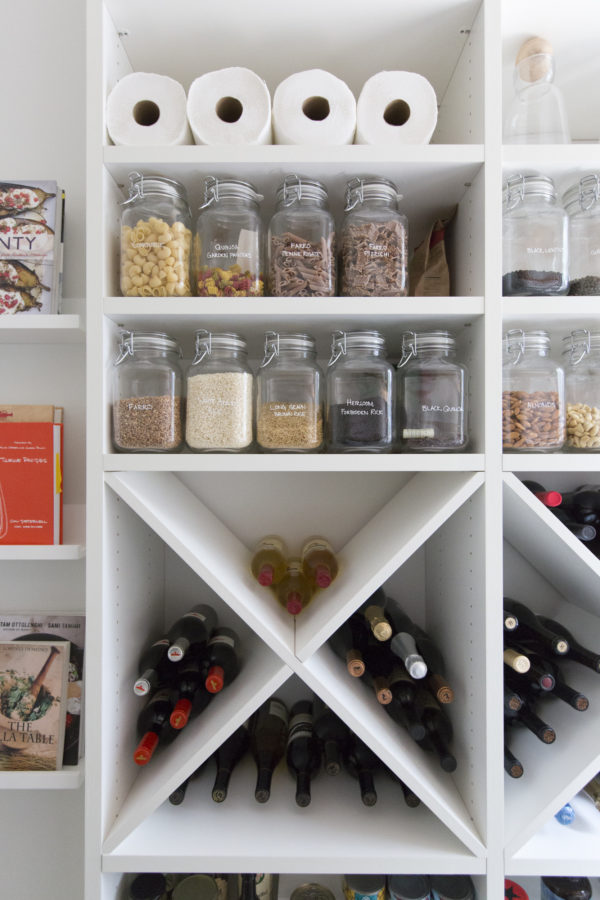
Then, it’s time to clear the clutter and prep for the deep clean. Bedrooms and bedroom closets are hot spots for clutter, so they’re often a good first room to be cleaned during spring cleaning. And for more than one-in-four Americans, the pantry and kitchen drawers also gather clutter. I recently tackled both my pantry and my closet and could not be happier with the result. When it comes to cleaning a pantry (or cupboards – the definition of pantry can be loosely applied), ditch anything that is expired or you haven’t touched in at least six months. You can check out my pantry organization post right here for how I pulled my pantry together.

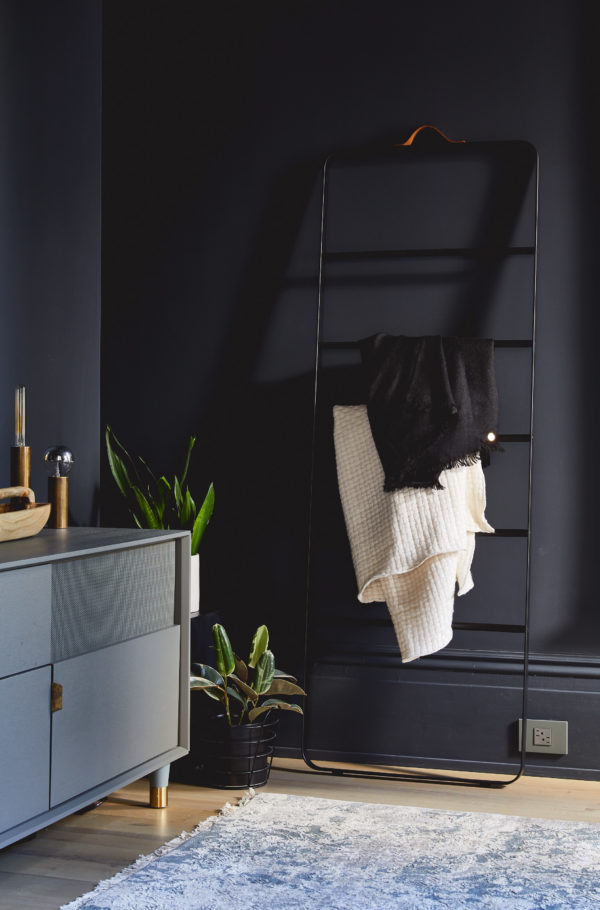
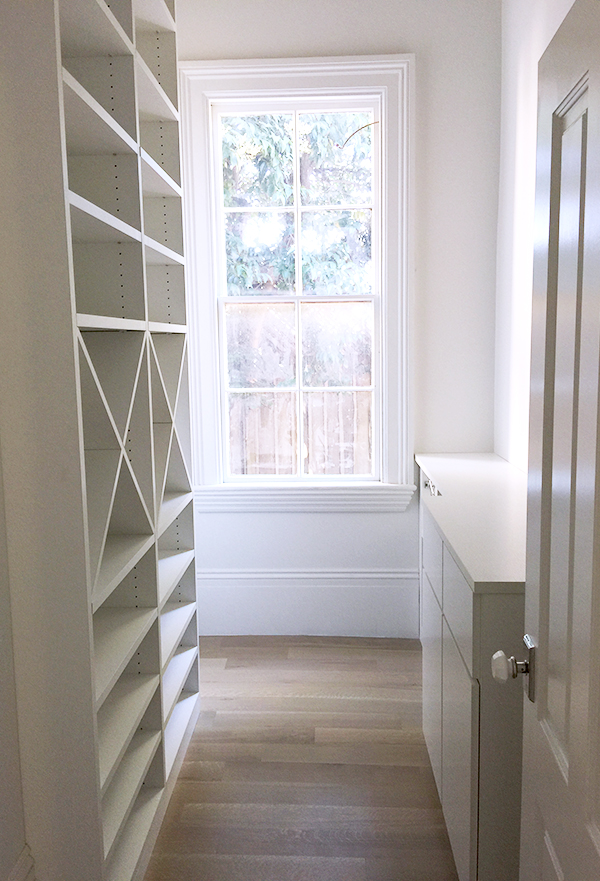
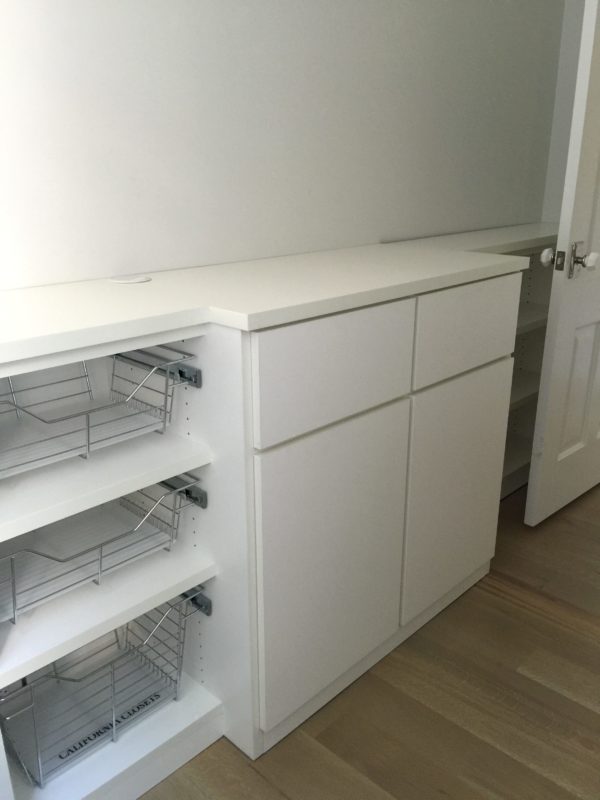
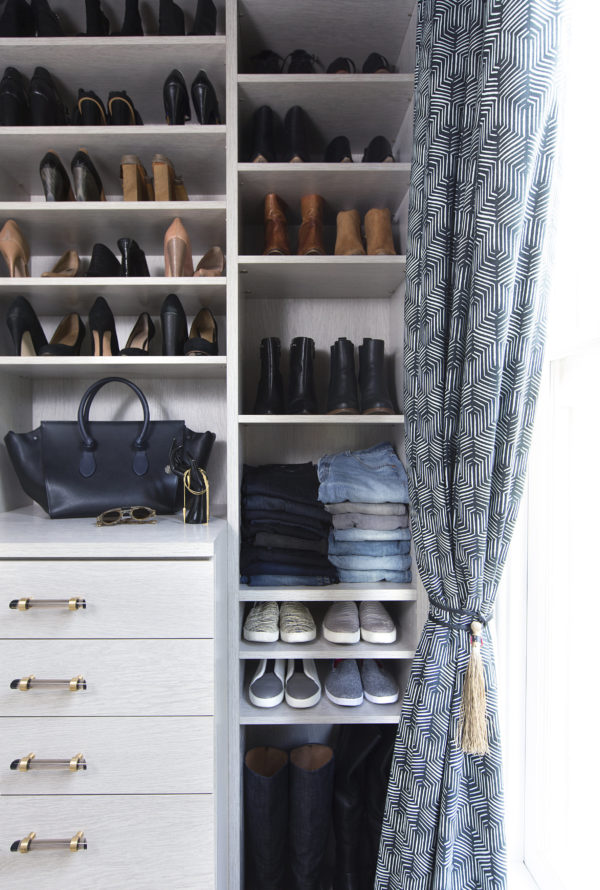
I took a similarly tough approach to sprucing up my closet for the new season. Since I finally have my own closet, I have no excuse not to keep it organized. Why is that always so much easier said than done?? Anywho, I finally tackled the beast. Anything really worn out or looking sad? Out. Anything that doesn’t fit well? Out. Anything I haven’t worn in six months (excluding seasonal items) out! That actually opened up some space, but you’ll have to wait until next week for the rest of my closet tour and my spring wardrobe wish list.

how to tackle spring cleaning on apartment 34

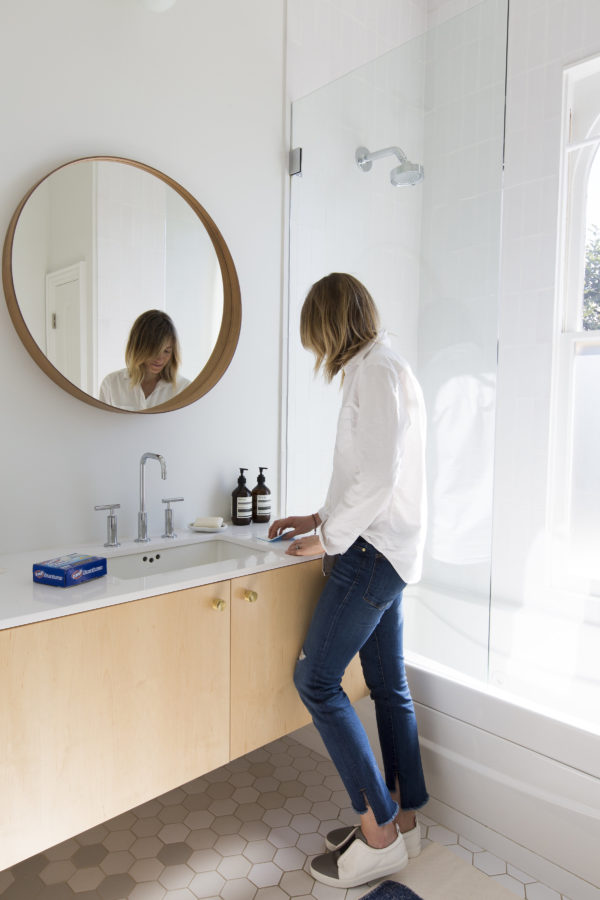
Once key spaces are clutter-free, tackle the most dreaded chore on your list first. Deep cleaning the bathrooms is most definitely my least favorite cleaning activity – I like organizing the stuff – attacking the actual dirt just grosses me out. But once you conquer your most dreaded space, whatever it is, the rest of your spring cleaning chores will feel like a walk in the park!

how to tackle spring cleaning on apartment 34

To keep yourself motivated through your cleaning sessions, allow yourself to take breaks. Snacks and screens, whether be it the television, computer or smartphone, are the most popular ways to take a break during cleaning sprees. For women, in particular, snacks, checking e-mail and catching up on social media are go-to ways to break up a long cleaning session. So set the phone in the other room until you finish a task and then you can give five minutes of Insta-Stories time (are you totally addicted? yeah, me too). Creating even larger incentives for yourself, such as hosting a get-together for the finale of your favorite TV show, or taking a well-deserved staycation once you tackle everything on your list, will also keep you motivated throughout the cleaning process.

how to tackle spring cleaning on apartment 34

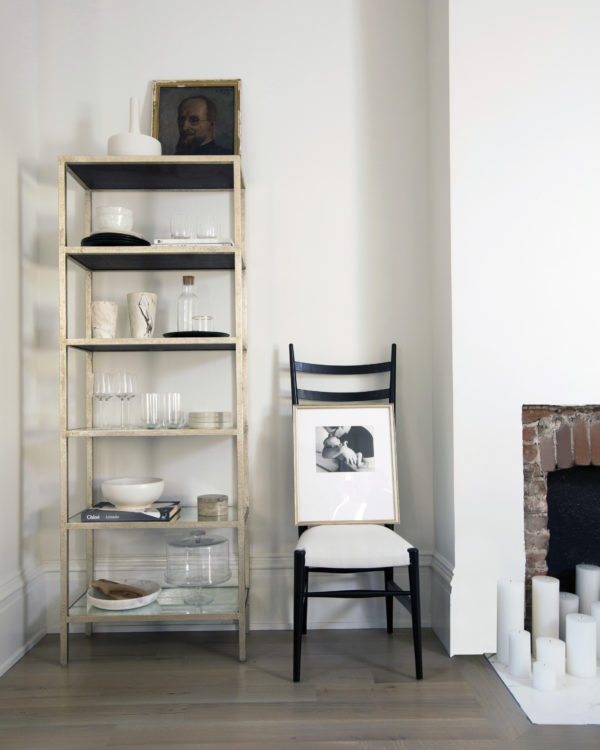
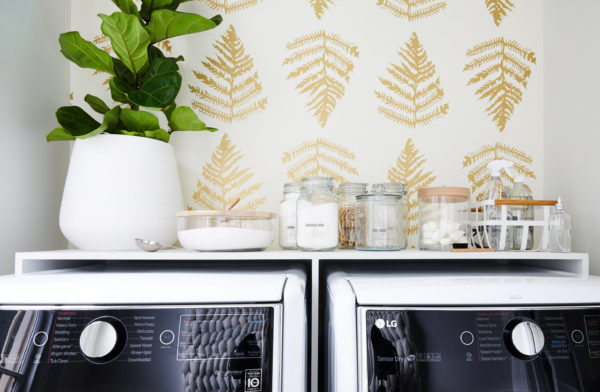
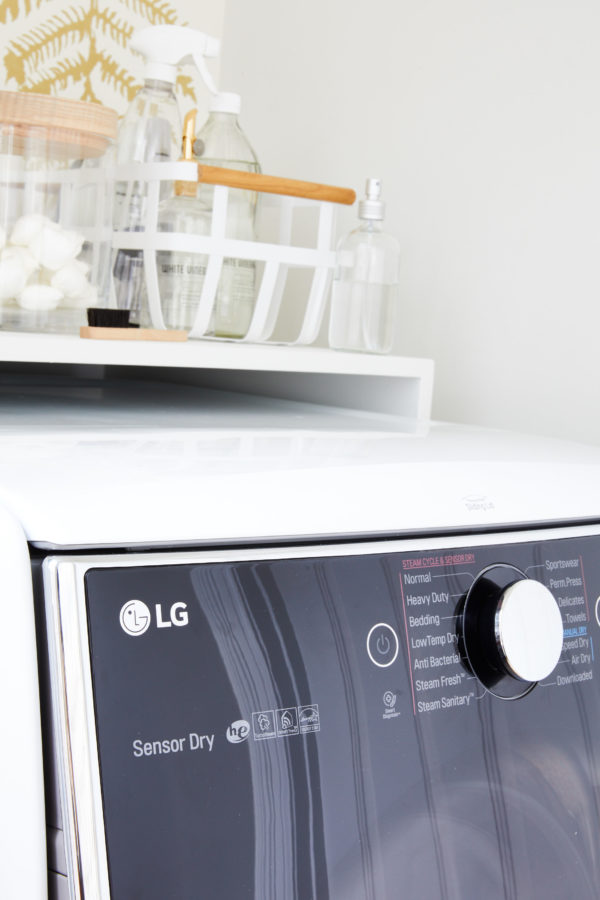
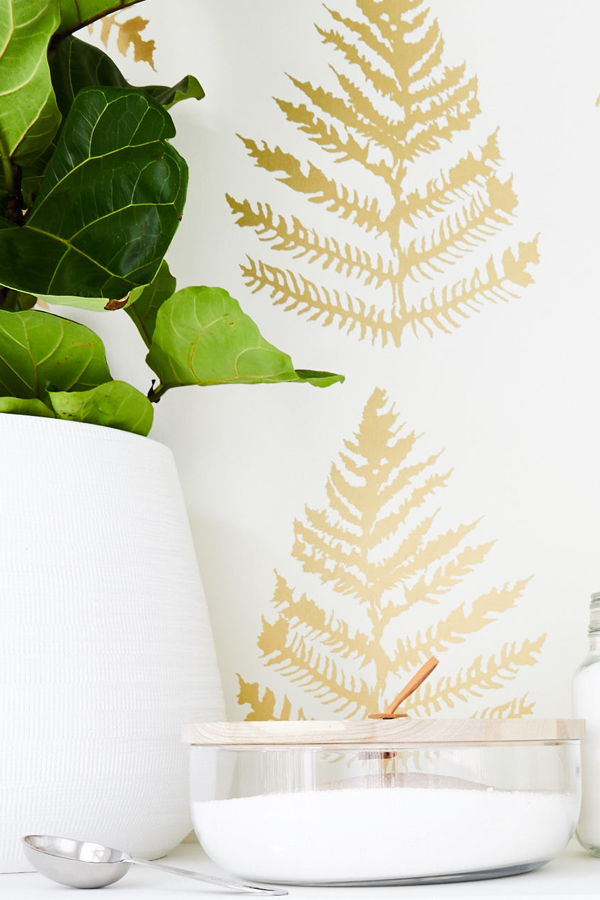
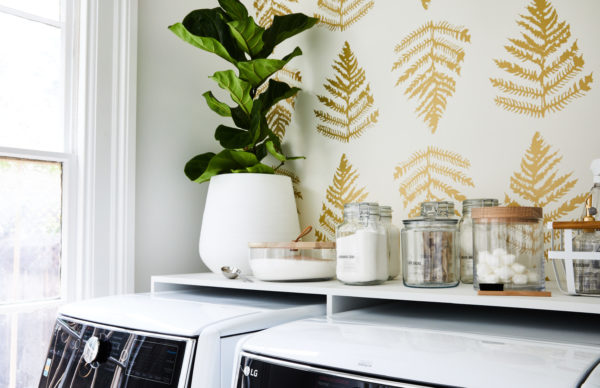
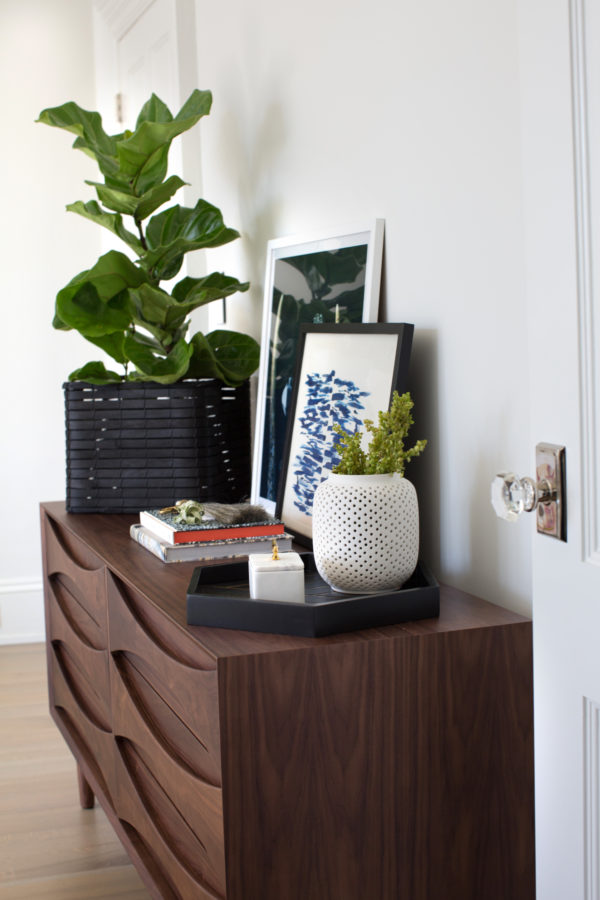
And you can always look for ways to make your life easier. To tackle dust I use a reusable dust cloth which is dry and non-abrasive to trap and lock dust, allergens – even pet hair away. I use them on furniture, electronics, blinds, frames, baseboards, floors and more. Pro tip, to keep guest areas low maintenance put potted plants next to the bed instead of fresh flowers so you don’t have to worry about wilted blooms and dripping pollen falling everywhere.

how to tackle spring cleaning on apartment 34

While the spring cleaning list can sometimes feel long, you can, in fact, power through it without devoting your life to the task. Simply make your list of the must-tackle projects and check ’em off one-by-one. Turn up the volume on your favorite playlist or catch up on a good Podcast. I can even get my kiddo into the cleaning act. He thinks sweeping is the cat’s pajamas. Although he really only moves dirt from one part of the floor to the other, it’s the thought that counts, right?

I’ve listed out what I would recommend tackling this spring cleaning season below:

SPRING CLEANING CHECKLIST

> Dust all crown molding, baseboards, light fixtures, ceiling corners

> Wipe down all blinds, clean curtains or any other window coverings

> Clean all doors and windows inside and out

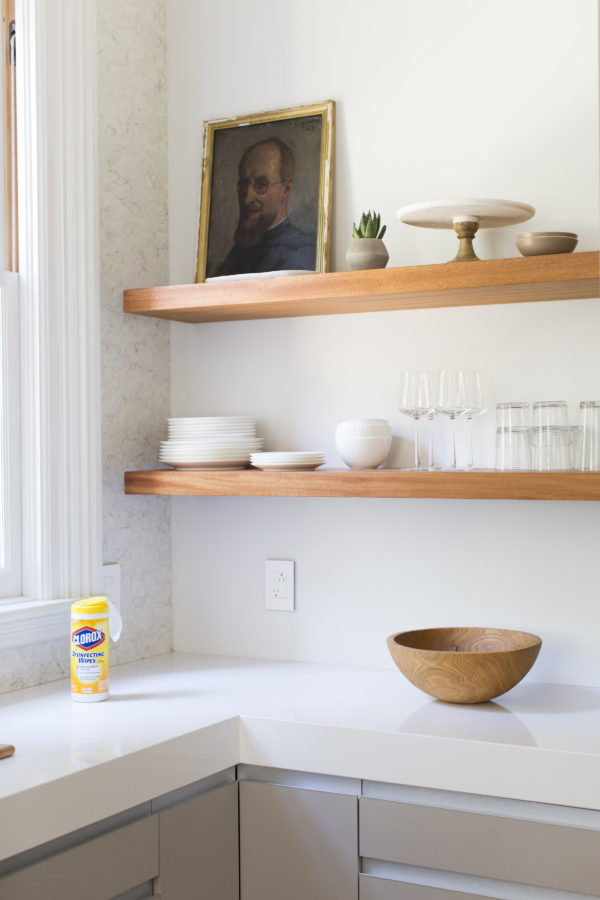
> Disinfect all door and cabinet knobs, as well as counters and other hard surfaces

> Disinfect remote controls, dust & disinfect all of your other frequently electronics, keyboards, mouse, your phone (make sure to follow instructions – they can be sensitive to various cleaners)

> Change out any air vents and filters throughout the house

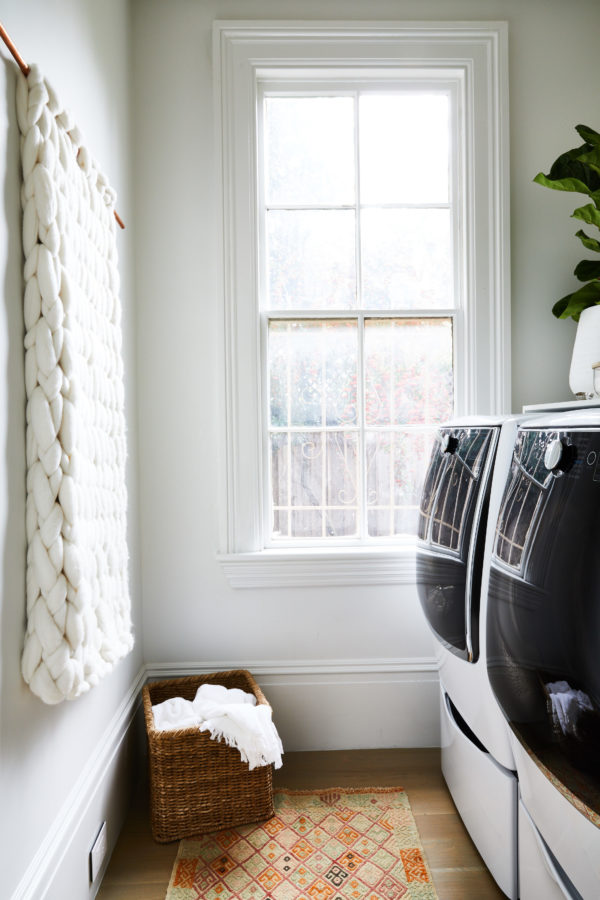
> Thoroughly vacuum all rugs and clean floors under them

> Wipe down all furniture, making sure not to miss corners of shelving units

> Clean out all your countertop appliances as well as your refrigerator, oven and microwave

> Swap out all bedding, flip your mattress, clean the mattress coverings

> Clean under the bed

> Disinfect your toothbrush holders, soap dishes, shower curtains

> Clean out your medicine cabinet/vanity

> Wash all your make-up brushes and throw out expired or seldom-used make-up (this post is helpful for that)


For even more peeks into our house (I swear it’s going to be done soon!) – CLICK HERE.


original photography for apartment 34 by Michelle Drewes

I have a particularly exciting home tour for you today – because it’s a tour of another room in our house! You’ve seen sneak peeks of this space (here & here) when my design was still in process, but over the past couple of months, I worked with One Kings Lane to finally bring the whole room together. The final result is exactly what I was looking for: a classic, timeless space with a modern touch.

apt34_diningroom11

I’ve waited a long time to have a formal dining space. Years of apartment living and 4-person dinner parties definitely put a cramp in my entertaining style. Finally having a dining room gives me what I’ve longed for – a spaced dedicated to bringing people together over good food. I had a strong vision for the room and was thrilled to learn One Kings Lane had a Design Studio and in-house designers who could help bring my dream room to life. I met my designer, Chelsea Conrad at the San Francisco Studio at One Kings Lane. I came armed with my reams of pins – mostly of Parisian pre-war apartments – and Chelsea immediately got my vibe. Witha firm design plan crafted, I was able to set Chelsea out to source the perfect pieces – and she was certainly successful.

apt34_shops_004apt34_oklstudio

Her first find, and possibly my favorite piece in the whole room, is the dining table. It’s an eight-foot long beauty made of reclaimed pine in a soft ash stain. The lighter hue and ornate trestle base keep the table from looking too rustic.

apt34_dining4apt34_diningroom2

Such a stately table required equally substantial chairs. We tried a variety of options but many dining chairs felt dwarfed by the dining table’s heft. The traditional Louis XVI-style chairs,  that were ultimately selected as our final winners, are stately with nice tall backs that help balance the room’s proportions. I also love how the chairs juxtapose classic detailing with chic black leather upholstery, adding an unexpected edge to the room. The black gives the chairs a glamorous update, while the weathered wood brings the formality back down a notch. And perhaps most importantly, they’re really comfortable.

apt34_diningroom

The dining room is long, rectangular and relatively narrow, but there are little nooks on either side of the fireplace – perfect spots for having a little fun. To the left of the fireplace, I repurposed shelving I used in my old Apt34 studio to house a selection of my tableware collection. After years in this blogging business I have quite a lot. I intentionally kept the color palette neutral and muted. I didn’t want the bookcase to feel too busy. A few of art books and a vintage portrait add some additional texture. I’m also a sucker for a good occasional chair and the high-backed piece placed next to the shelving spoke to me immediately. Right now a shot of my husband holding our son when he was just days old takes prominence of place against the chair-back. I love leaning art rather than hanging it on the walls. It gives a space a more relaxed, undone feel. It also lets you play as your mood and decorating whims change!

apt34_diningroom14apt34_diningroom

When it comes to setting the table, my love of contrast continues. I like a mix of natural organic elements like woven placemats, bouquets of eucalyptus and natural edged dishes, all paired with my modern black flatware. Did you spy the marbleized vases, both on the table and on my bookshelf? Obsessed!

apt34_diningroom15

I wanted to bring in some bench seating to both soften the room and break up the formality of the table. I fell in love with the texture and rounded corners of the linen tufted bench immediately. By matching tones in different finishes you can create depth and interest in a room without having to bring in color. The bench also the perfect soft spot for my toddler to scramble up and sit at the table. He loves to “talk” with the rest of the adults.

apt34_diningroom13

One of the biggest challenges with this room is proportion. The 12-foot ceilings seem to dwarf things so finding furnishings with just the right scale became key. I firmly that is where you can benefit from outside design expertise the most. You can probably pull together color palettes or identify the style of things that you like with relative ease, but if the scale of your furnishing don’t work together, the whole room is thrown off. To help deal with our crazy ceiling height Chelsea chose a sideboard with tall, narrow legs and a surface that sits higher than the dining table. It draws the eye up. I also love that the sideboard has ample closed storage, allowing me to keep even more of my serveware in the dining room without adding clutter or breaking up all the clean lines. An étagère likewise adds lift to an empty corner.

apt34_diningroom12

I firmly believe that you cannot entertain without a proper bar area. On the opposite side of the fireplace from my book shelf, we leaned a floor mirror (which adds depth to the narrow room and also bounces around even more light) and then placed a vintage-inspired – fully stocked bar cart. I love the mixed metallic finishes and the nod to the historic elements of the house.

All told, I couldn’t be happier with how this room came togehter. It’s now a place we not only gather for parties but for nightly family dinners and I often take up refuge for a power blogging session! Because the dining room is connected to the rest of the house it is a key part of the heart of our home.

For a peek at the dramatic before of this room CLICK HERE

For the entire feature on the room’s design CLICK HERE

To shop this space on One Kings Lane CLICK HERE

And if you want to get a really personal view of how the space came together check out the One Kings Lane instagram account at 11:00 AM PST TODAY! I’m going to be doing a live tour of the room – eek!!

photography courtesy of one kings lane, photography of The Studio by OKL delbarr moradi 

Well, as much as I tried, I couldn’t stay away from here for the entire rest of the year. I just missed you all too much! And when these pictures of my completed media room came back, I also couldn’t stand waiting to share the final reveal. So without further ado, a 2016 bonus post – call it the year’s finale. Seems fitting that is should a room in my own home – this really has been my biggest project to date!

apt34_media_room

Now if you’ve been an Apt34 reader for awhile (and I hope some of you have been!) this space might look familiar. That’s not just because I gave a little sneak peek in my holiday cocktail post a couple of weeks back.

You might recognize this space as I actually featured it as part of the One Room Challenge in October 2015. Yes, I said 2015. Back then I still had renovation naiveté and actually thought there was a good chance of construction being complete in time to finish a room in six weeks. HA! It only took seven more months. Lesson learned. Since moving in earlier this year, it’s also taken a significant amount of time to make my original design vision come to life. Unlike with our lofts, I’ve been incredibly picky about every single piece that comes into this house. Thankfully, I discovered ATG Stores , a new online furnishings retailer that carries just about everything under the sun. I was able to find all the finishing touches I’d been waiting for that ultimately pulled this room together. And I think my patience has paid off. I managed to create a respite from what is otherwise a toddler play zone! What do you think?

apt34_media_room2

Being that this is our media room, I always knew I wanted this room to have a dramatic, dark color scheme with a very monochromatic palette. I’m obsessed with the black/blue that I found – it’s Benjamin Moore in Gravel Gray. We painted the entire space, including the crown molding and the ceiling in the same color with a flat finish. It gives the room the modern, masculine feel I was going for. Our light oak floors add just enough contrast to brighten the space. Having two oversized windows also flood the room with light so it feels chic rather than cave-like.

A point for the renovation geeks – I’m also obsessed with my outlets and light switches from the Adorne Collection by LeGrand – they come in a gray which compliments my color palette. Seriously awesome.

apt34_media_room8

Keeping accessories to a minimum helps give the space a calm feel.

apt34_media_room6 apt34_media_room9

I used brass accents to warm the room. I love the little cocktail table – perfect for resting my nightly glass of wine (or two!).

apt34_mediaroom7

A throw pillow with chartreuse and greens adds a touch of color to break up the monochromatic scheme.

apt34_media_room4apt34_media_room5

I can never resist having a few treasures sitting out that make me smile. A selection of my favorite design books, a little bowl I’ve had so long I can’t remember where it came from. A strand of wood beads from the flea market.

I’ve broken down how you can recreate this look shopping from ATG Stores below.

apt34_mediaroom_list

SHOP THE LOOK: cactus / pendant light / brass table lamps / black throw / sectional / coffee table / marble & wood bookend / pillow 1, pillow 2 / brass & marble cocktail table / wood tray


For all the design inspiration for this room CLICK HERE

For the latest about our renovations, CLICK HERE


original photography for apartment34 by aubrie pick

This post is in partnership with ATG Stores. All thoughts and opinions are 100% my own. Thanks for supporting collaborations that have kept apt34’s doors open!

Everyone always wants their house to be pulled together for the holidays. I’m no different. But since I can’t make couches or rugs magically ship faster, I’m making progress wherever I can. Case in point: Our laundry room! I’d neglected to actually design the space before we moved into our new house. But now that the room is all dressed up nice, I can actually smile while doing my chores!

apt34-laundry-638

You may have caught the before pic of the space in this post. But in case you missed here it is again.

apt34_laundry-room

It was essentially nothing more than a tiny box with a giant washer & dryer in it! When it came to actually designing this space, I focused on 3 main goals.

Make it Functional: In the rush of the move, I didn’t put thought into the laundry room. I knew I wanted a front loading washer dryer for their easy loadability and capacity. But I got mine and just plopped them in there. I didn’t spend anytime thinking about how to optimize space, storage or really make the room work.

Add Storage: Now that I’m mom, I’m dealing with every kind of laundry dilemma under the sun. So the amount of stain boosters, whiteners and laundry pre-treaters have exploded. I needed to create space in our laundry room so there would be room for it all.

Make it Really Really Good Looking: Utility spaces can look just as good as any other room in the house. A few design tricks can make even highly functional spaces chic.

And if I do say so myself, I think I was able to achieve all three of my goals – though I’ll let you be the final judge.

apt34-laundry-629

Let’s talk function first. I selected the LG SideKick for my laundry room. I adore them, but they are a pretty big washer and dryer. They both sit on pedestals making them nice and tall. They are also rather deep. We nestled them into the wall as much as possible, but the room is relatively narrow. To get the storage I was craving, I had a custom shelf built that just fits over the two units. That shelf allows me to have everything I use daily – detergent and boosters like Clorox Control Bleach Packs at arms reach. I like that I don’t have to open any cupboards or move things in and out. Everything is right at my finger tips.

apt34-laundry-637apt34-laundry-635

I was also able to capitalize on storage built into the LG Twinwash washer/dryer system itself. For one thing, the washer pedestal actually conceals an additional washer! That lets me do a quick small load, wash delicates or soak stained items in my favorite pre-treaters without needing an additional tub or bucket. Winning! The dryer pedestal is actually a storage drawer. That’s where I house all my laundry secret weapons like Clorox 2 Stain Remover, Clorox 2 Darks and Denim, Oxi Max Radiant White and the like. I love that it keeps all the packaged goods tucked away where I don’t have to stare at any labels. Again, winning!

apt34_laundryroom_revealapt34-laundry-632

The design elements of the room are where the form and function really come together. I started by installing beautiful Erica Tanov wallpaper to create a dramatic feature wall at the back of the room. I’m in love with the gold foil. It’s the perfect backdrop for my storage system. I worked with local organizing guru Bliss Haus to design a beautiful laundry storage set up. Everything is decanted into glass jars for a clean, uniform look. There are even jars to collect dryer lint and lost socks! The custom print labels are so cool. It really took the room to the next level. A modern white and wood metal Japanese basket holds spray bottles and scented room spray. Because sometimes laundry rooms just get funky.

apt34laundry_reaveal2apt34-laundry-627apt34-laundry-630

I used jars with wooden lids from the Jenni Kayne to mix in a modern touch. To add even more texture, I added a vintage Moroccan dhurrie from St Frank to the floor. The golden tones warm up the room and tie in with the Erica Tanov wallpaper’s golden hue. My favorite design idea in the space might have to be the Meghan Shimek weaving I found at local San Francisco boutique The Podolls. I needed something to conceal our electric panel. The wall hanging does the job perfectly. A fiddle leaf fig and white textured planter from Flora Grubb adds life and a pop of rich color.

All these elements come together to create my dream laundry room. I can do loads and loads while loving my surroundings. One more room down. Many more to go!

Check out our entire archive of house updates and all the rooms completed to date HERE.

For more of my favorite house tours, CLICK HERE.


original photography for Apartment 34 by aubrie pick 

This content was created is in partnership with Clorox

In case you missed it, a couple of weeks ago I shared the inspiration behind my guest room. Well today – you finally get the full guest room tour!

apt34_guestroom_tour

The online decorating service Decorist, and their head of design Ashley Redmond, helped me pull my wishlist together and create my dream room – a light and airy space that serves as a respite for our  guests and provides me with an inspirational place to work. I think the room accomplishes both beautifully!

apt34_guestroom12

The Wyatt upholstered bed from Room & Board is the prefect place for friends and family to rest their heads. We dressed it up in classic linen bedding and used hmong pillows and a throw by The Citizenry to add texture. The large scale art print by Brian Merriam from Tappan Collective helps accomplish one of my primary goals for the space – a gender neutral color palette.

apt34_guestroom

bedside table via ATG, light fixture by West Elm

apt34_guestroom6

I like providing guests with a little bedside reading and some yummy candles to help them feel at home.

apt34_guestroom4

This walnut dresser from ATG helps anchor the otherwise bright white space and offers some much needed extra storage. I leaned and layered art for now – I’m still not ready to commit to hanging a lot on the walls! It also gives the space a more casual vibe.

apt34_guestroom2decorist-5490

This room had to do double duty since I had to give up the Apt34 studios space (tear). But it was easy to tuck a a chic work area into a corner of this room. I’m obsessed with my Lostine desk, with its metal base and ash wood top. It has a refined industrial look. The Lostine wire chair adds a rustic, vintage vibe that we softened with a luxe sheepskin. It’s the perfect minimal space to focus and get things checked off my to-do list.

apt34_guestroom10apt34 guest room

I love having extra seating in bedrooms. Whether it’s a spot to sit and put your shoes on, read or simply lay out some clothes – it’s just so nice to have somewhere to sit other than the bed.

edited-decorist-5711

The entire room seems to glow – its the perfect combination of light streaming in from my bay windows, the lovely white walls (Benjamin Moore’s White Whisp is my go-to color) and cool California vibe that Ashley helped me pull together. I love that the room feels relaxed but also very pulled together and cohesive. It’s currently my favorite room in the house – and not just because it’s the only one that’s actually complete at the moment. Here’s how you can incorporate this look into your space.

apt34_guestroom_look

SHOP THE LOOK: satsuki shibuya art print / pendant light / occasional chair / black cashmere throw / wall sconce / throw pillows / log side table / wool rug / bedside table / desk lamp / desk / chair / leather catch all / icelandic sheepskin / nate berkus tray

And I thought I’d share a few more of my renovation resources. As mentioned above, the paint is Benjamin Moore in White Whisp in matte on the walls and high gloss on the trim and windows. Our door hardware is by Emtek. Our hearth is Dekton from Cosentino. We installed 5″ wide plank oak floors and stained them a light gray. The window’s roman shades are custom made by The Shade Store.

To see all my Before pics and the entire design process for this room RIGHT HERE.

To catch up on our entire renovation process, CLICK HERE.


photography by carol varizi

While renovating an entire house is a massive headache project, it’s actually the final details that will have a lasting impact. With the holidays around the corner, I’m working overtime to make our house feel as finished and as cozy as I can (even though we’re still a long way from complete – this is the house that will never end, I swear!). One way to help a space feel finished is with drapery. When looking at the work of interior designers have you ever noticed how often rooms include window treatments? All the time, right?! That’s because drapery can serve as a dramatic design statement. They can tie a room up with a chic bow.

apt34_drapery101apt34_shops_085

But custom window treatments can be an intimidating thing. I’ve certainly never purchased them before (a piece of fabric and a rod from Ikea doesn’t count!) That’s why I turned to The Shade Store to help me figure it all out. While you can shop The Shade Store online, I’m lucky that there’s a Shade Store showroom in San Francisco – it’s certainly place to get inspired – it’s rather purdy.

apt34_shops_091 apt34_shops_093apt34_shops_094apt34_shops_099

There are a lot of options to consider when it comes to drapes. There’s the style of window treatment – roman shades, blinds, drapes – different types of folds, different options for hanging, all kinds of finials. And we haven’t even talked fabrics yet! If you love customization, you’ll be a kid in a window candy store in this place.

Thankfully, The Shade Store has their own in-house designers that can help you navigate all of these options. The process is actually quite fun. It starts by getting professional measurements of your windows – something that the Shade Store arranges for you. With those in hand, The Shade Store can create mockups of your rooms and help you cherry pick the perfect designs. With new fabric collections from designers ranging from Jonathan Adler, Kate Spade New York, Jeffery Alan Marks to Diane Von Furstenberg and the Novagratz, you can really get creative. While neutrals are certainly my comfort zone, you can actually use drapery to inject some print, texture or even color (gasp!) to a room. Decisions, decisions.

apt34_shops_109    apt34_shops_114

Did you spy that sexy Kate Spade New York stripe sneaking its way into my fabric samples?!

apt34_shops_104

I’m so excited for my final selections to arrive. They’re going to be the perfect touch to make our rooms feel warm and inviting for the holidays. While I’d never claim to be a window-treatments expert, I did pick up a few key basics about classic drapery from The Shade Store that I thought would be helpful to share.

apt34_drapery101_7balwyn-house-in-melbourne-collingwood-by-fiona-lynch-design-office-yellowtrace-09steel-framed-doors-hecker-guthrie

apt34_drapery101_3

1. Maximize the Height.  Drapes can actually make your ceilings feeling taller. Classic placement is half way between the top of your window and the ceiling – but you can go all the way up to the ceiling if you like the look!

2. Pick Your Fold. Ripple, pleats, invert pleats, grommets, rod pockets. There are all kinds of options for how your drapes will drape, but the Tailored Pleat is a timeless, sophisticated option that is equal parts traditional and modern.

3. Take a Risk. It is easy to just pick a basic fabric and call your decision making done. But don’t overlook the extra details you can use to make your window treatments pop. While you might not see a crazy print in our house, I love the idea of a contrast border to create

4. Go Low. You want to make sure drapes graze the floor. Some people like a puddle look, but that’s very dust bunny friendly. Measure to 1/2 – 1/4″ off the floor to get that long extended look that isn’t too puddled.


Check out the progress on the rest of our house RIGHT HERE.

original photography for apartment 34 by delbarr moradi, inspiration pic 1, pic 2 , pic 3

I have another fun reveal of our new house for you today! I’ve been working with the online interior design service Decorist to complete our guest room. I’m so excited to finally get to share the entire process with you.

I wanted to design our guest room to be both a respite for visiting family and friends, as well as a space I love to be in on the daily because the room also doubles as my home office. I worked with Decorist designer Ashley Redmond to achieve both of these goals. She helped me hone in the final vision for the space and pull together a look that makes me smile everyday. Here are the moodboards I initially created to get our process started.

apt34decoristbedroom1apt34_decoristroom2

I focused on three key things for this room: A warm, welcoming color palette with a mix of neutrals, natural wood and touches cool tones that would create serene space. Secondly, I wanted to make sure the room had a comfortable and inviting guest bed and thirdly, I wanted the space to feature both a relaxing seating area as well as accommodate a small office area I could escape to during the day (working on our dining room table has just not been cutting it!). I threw a few more things onto the wishlist at the last minute: a bit of storage (because even with my dream closet, there’s always overflow) as well as wanting to be sure the room felt like it was decorated with a minimal hand. I didn’t want the space to feel overwrought.

Ashley immediately got my vibe. I loved the room concepts Ashley provided. Decorist uses this cool 3-D imaging that really helps you visual what the final space could look like. Here’s how the plan for the guest room looked.

bedbay-windowdresserfireplace

With the moodboards and initial room concept in hand, I was able to turn Ashley free to hone a sourcing list of pieces certain to make my vision come to life. That was amazing help for someone with a completely overpacked schedule such as myself. Ashely and I were able to bounce ideas back and forth until we found what we both loved.

Here’s how the room’s final shopping list turned out.

apt34_guestroom_shopping

SHOP THE LOOK: satsuki shibuya art print / pendant light / occasional chair / st. frank throw / west elm wall sconce / throw pillows / log side table / wool rug / side table / desk lamp / desk / chair / leather catch all / icelandic sheepskin / nate berkus tray

And here is the before pic of what the guest room looked prior to any renovations (eek!).

img_7738-1

To see the after, head over to Architectural Digest – they’re featuring our guest room reveal today (cue happy dance).

To catch up on our entire renovation process and all the reveals to date CLICK HERE.

Last week I discussed how I’m surviving living in our unfinished renovation: trying to find places to organize amidst the chaos. Well, one of my best opportunities to do that was with my pantry. First off, I’m still in shock that I actually have a pantry. Nothing has ever made me feel more adult – not having the baby, buying the house…nope. It’s this massive space to organize canned goods that makes me feel like I just might finally have my sh** together. Jury’s still out.

apt34-pantry-after1

But back to the design! So I have this large room – think of a giant shoe box, but with 10ft ceilings. I wanted the space to be highly functional and serve multiple purposes. Not only is it my primary storage for all food-stuffs, but I also wanted to create additional prep and work space for things like our coffee maker and kitchen tools we use less often like my KitchenAid mixer and my juicer (sadly. I keep swearing I’m going to start using it again!). To say I’m happy with the final result is a major understatement. But I won’t pretend to take all the credit for the final result. I called in the big guns for this job including California Closets to design the storage and Neat Method to help me get myself organized.

But let’s go back to the very beginning. Here’s where there room started out. This goes a whole year+ back to when our walls were still open.

apt34_pantrybefore

You can kind of make out the frame of the pantry in the middle of the pic. 

To make sure this space both worked perfectly and looked amazing I worked with designer Paige Gordon at the Bay Area California Closets to help devise the ultimate storage solution. It was not the easiest of tasks given the relatively narrow space, crazy ceiling height and the massive (original) window at the end of the room. Sadly, all that gorgeous molding actually limited some of our design options as we only had four inches of space along one wall.

To accommodate that, Paige designed a double stack of floor to ceiling shelving on the left hand wall as you enter the doorway. It left a little space between the shelves and the window (how we used it, I’ll get to in a minute). I also wanted to include wine storage because it’s real purdy (and it is how all mothers of toddlers survive). The x-shaped wine boxes Paige designed offer the maximum amount of space and look like a wine cellar. It’s also up off the floor to stay away from tiny fingers. Love.

apt34_pantry_before2apt34_pantry_before3apt34_pantry_before4

On the right-hand wall we added closed storage for some of the less pretty things, a section of baskets for things like fruit, potatoes and linens as well counter space that runs wall to wall. Happy dance! A bit of open shelving at a lower height is perfect for things like art & crafts supplies for my kiddo. All the shelving heights are adjustable to accommodate changing storage needs. With this design, the room is fully utilized and maximized. All of the California Closets cabinetry is in white finish with a slight faux wood grain. Like I said about our laundry room, when I think of utilitarian spaces I think white and bright and I’m so happy with the result. But let’s get back to the fun part – the after!

apt34-pantry-after-3

I also wanted to put in open shelving as it’s my favorite thing ever. I turned to a carpenter to create shelves for the space above the California Closet cabinetry. I wanted to use natural wood to warm up the room and match some open shelving that will also go in the kitchen. I’m so thrilled with the result.

apt34-pantry-after-4apt34-pantry-after-5

When it came to getting my organization game together as it pertains to everything that was actually going into this room, I turned to Neat Method. They are an amazing service staffed with professional organizers that will come to your house, inventory everything you already have, help you figure what else you should have and then devise a plan about how to store it not only effectively (aka easily accessible, easy to see, easy to keep track of what you need), but also to make your organization beautiful. Added bonus: they don’t just tell you how to to it. If you need, they’ll actually do it for you. Hello crazed, overworked, overbooked mom savior from heaven! I mean, just look at my shelves.

apt34-pantry-after-6apt34-pantry-after-9

This is proof positive that everything looks better decanted. Packaging will just make your eyes cross. I love the uniformity and zen quality of everything being in the same type of container. We may have gone a bit glass jar crazy, but I love it. And each jar is labeled. I went with white written directly on the jar for a more subtle look. Cooking instruction for whatever is inside each jar is simply tucked inside at the back. (The label can be changed with a just a bit of rubbing alcohol). Baskets on the upper shelves contain more random things, cleaning supplies that need to stay out of a toddler’s reach and the stuff I use really infrequently. All organized and labeled of course.

The great thing about a pantry like this, as Lisa Ruff my Neat Method guru explained to me, is that everything is visible. When things are hidden you forget about them and don’t use them. This leads to things going bad and a lot of waste. Now I know what is at my fingertips at all times. All my food stuffs are organized into sections. Nuts, grains, pastas, baking, snacks, canned fruits or veggies. It’s made grocery shopping so much more efficient because now I know exactly what I need and I can avoid the annoyance of being in the middle of a recipe and not having a necessary ingredient.

apt34-pantry-after-6apt34-pantry-after-12apt34-pantry-after-7apt34-pantry-after-10

Now I also have space for paper goods and my ever-growing collection of pitchers and vases. It is so amazing to finally have places for all that stuff to go!

apt34-pantry-after-8

One of my favorite moments in the room is right as you walk in the door. Just to your left I hung picture rail shelves to display my collection of cookbooks. It’s so fun to get to see the covers because that’s why you buy a cookbook half the time anyway, am I right? While I started with three shelves, my collection is so big I’m thinking I’m going to have to add a couple more above. Thank goodness for step ladders!

So there you have it. While the rest of my house looks like we moved in yesterday (not nearly 5 months ago), my pantry is currently my little happy place. I may just go and stand in there from time to time. No judgements.

Oh and if you are in need of some organization help, right now you can get a FREE consultation from the Neat Method. Just mention Apartment 34 when you contact them (which you can do right here).

For the rest of the updates about our remodel CLICK HERE or to read about the history of our historic San Francisco Victorian CLICK HERE

original photography for apartment 34 by michelle drewes

Have you ever wondered what happens when you move into a house undergoing renovation before the work is complete? Well, it’s certainly not the glossy beautifulness that I typically share around here. While I usually keep daily life’s messes off the interwebs, I thought it might be refreshing to give you a glimpse of what my reality is looking like these days. That’s why I’m excited to partner with Clorox over the coming months. They coined the phrase “life’s bleachable moments” after all. Our never-ending remodel certainly presents an endless supply those less polished real life moments. I’m thinking it’d be fun to give you some peeks behind the curtain of what I’m doing to (finally!) complete our dream home. I hope you don’t mind the less than perfect – I find a life well lived often happens in the messy!

apt34_laundry-room

Case in point – my laundry room. As you can see in the pic above, the room is currently in a functional, but not terribly inspirational state. Our LG Twinwash washer and dryer are holding court (thank gawd because we survived six weeks without laundry but just barely) but very little else is going on in the space thus far. It’s a vast improvement from our washer/dryer residing in the kitchen of our loft, but there’s currently no storage, no organization and certainly no design happening in this room. And you know with an 18 month old boy I’m in this room a LOT so I’m ready for it to make me smile.

So I’m challenging myself to get this room in tiptop shape ASAP. Since there are so many things about finishing this house that remain out of my control (subcontractors’ schedules, backordered fabric and oh yeah, a budget!), I want to organize and beautify whatever I can. It gives me a sense of calm. For the laundry room, I’ll feel so much better once I have a proper place to store all my cleaning supplies. I want to decant my detergents, put all my bleach capsules in a pretty container (apparently you can get virtually anything out of a kid’s white shirt with the right stain remover!) and use some aesthetically pleasing storage for my stain treaters. And I need a cute hamper! Perhaps a dry rack and somewhere to put my ironing board? And maybe an eye catching design element or two. I’m planning a lovely upgrade for this room that will take it from utility to utterly beautiful. Here are some of my current inspiration images.

15-white-laundry-room-remodelistabritish-laundry-room-remodelista

For some reason I associate laundry with all things white (maybe because it’s one of my favorite colors) so that’s why I selected a white washer and dryer. I’m definitely going to stick with a light and bright theme for the space. To improve the organizational side of things, my current plans include adding a waterfall shelf to enclose the washer and dryer and provide counter space, mounting a hang bar for air dying delicate things and adding a bit of wall storage for chic bins and baskets. Just because laundry rooms are utilitarian spaces, that doesn’t mean you should skimp on fun design elements. I’m planning on adding more personality to the room with a throw rug, a killer piece of art and an eye catching accent wall (but I’m keeping the accent wall inspiration under wraps until I can reveal the final result!). My laundry room is a fairly small space, especially when considered in the context of our entire renovation, but sometimes baby steps towards progress actually feel like a giant leap.

Here’s my moodboard for my dream laundry room:

apt34laundryroomdesign

SHOP THE POST: ceiling mount light fixture / laundry basket / storage basket / art print / steamer / sweater stone / felt dryer balls /LG Twinwash washer and dryer / clorox control bleach packs / clorox 2 stain treaters / clorox 2 laundry booster 

I’ll be partnering with Clorox to give you peeks into my progress along the way!


inspiration images: image 1 / image 2

This post is in partnership with Clorox. All thoughts and 0pinions are 100% my own. Thanks for supporting collaborations that I’m excited about and that have kept apartment 34’s doors open

Older posts
Gimme More