I have been waiting so long to finally get to “tour” you through This Old Victorian. However, doing said tour in blog post form is a bit more challenging than I thought. Hence it’s taken me more than a week to get this all together! Remember Instagram was barely a thing and Stories, Snapchat and TikTok didn’t exist when we bought our house in 2014 so I have ZERO videos of our reno. Seems crazy, right? Therefore, I feel an Instagram video tour series coming on! For now, I want to share the dramatic before and afters of each space, give you a bit of a behind the scenes peek at our renovation and share a few (of the million!) things I learned about tackling a renovation of this scale.
To recap for those who haven’t followed since day one, we purchased a Victorian in San Francisco – an Italianate to be exact – five years ago. It was an exhaustive two year search, but finally found a gem. It just happened to be a diamond in the rough. It estimated build date is the 1850’s, but the exact year is unknown. The home is on the national historic register and the previous owner, who was approaching 90 years of age, had owned the home for more than 45 years.
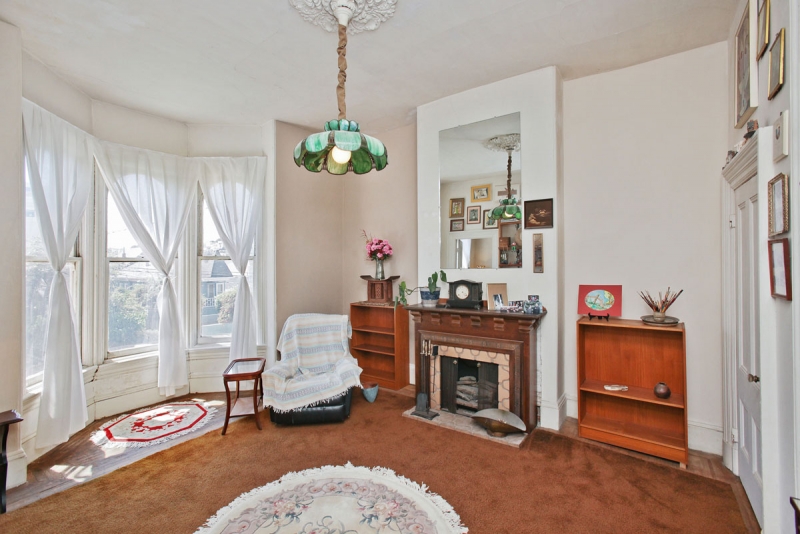
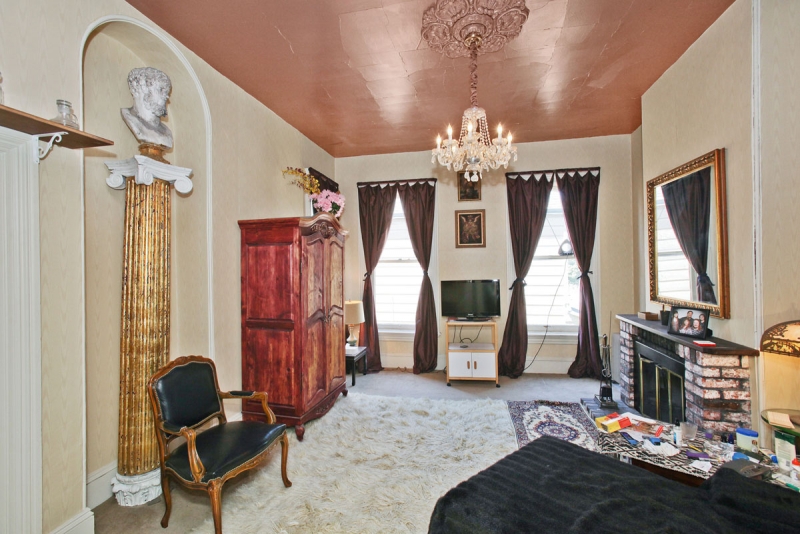
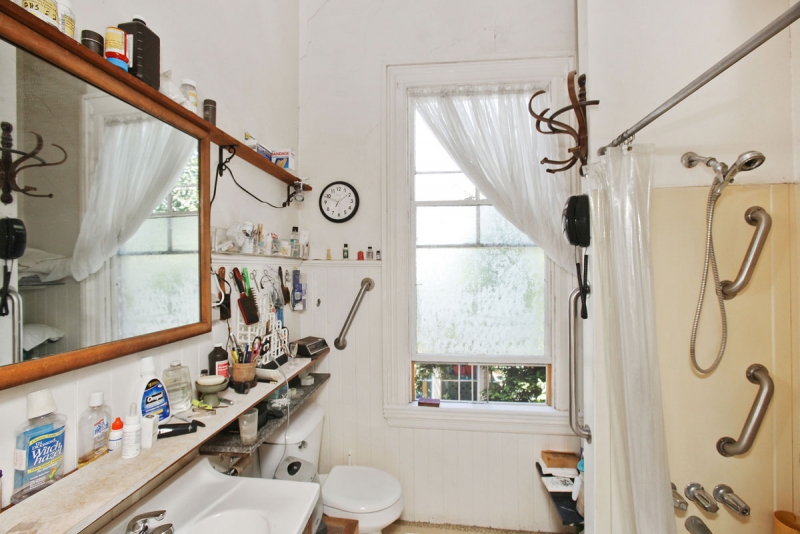
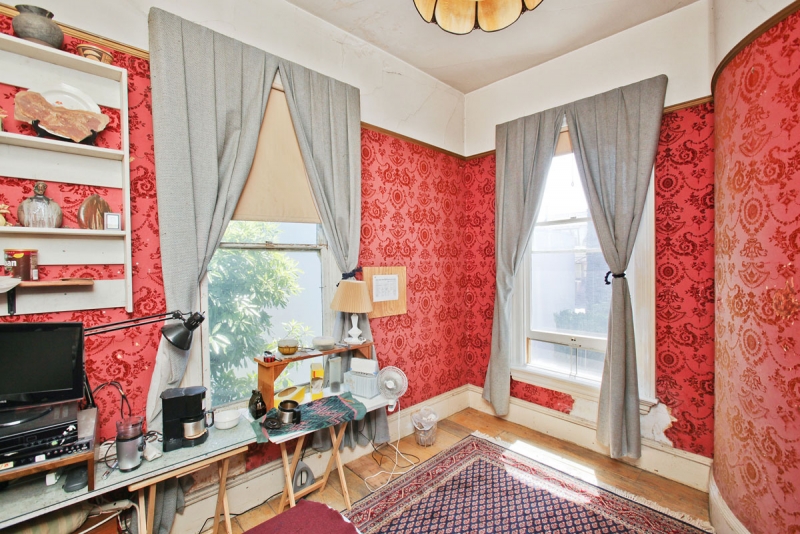
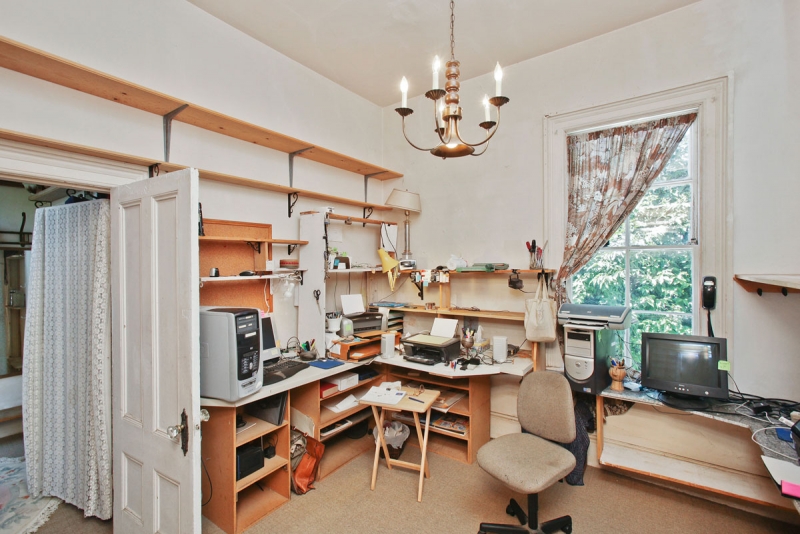
Let’s take a tour of the first floor before we touched it, shall we? You needed a little vision to see its potential.
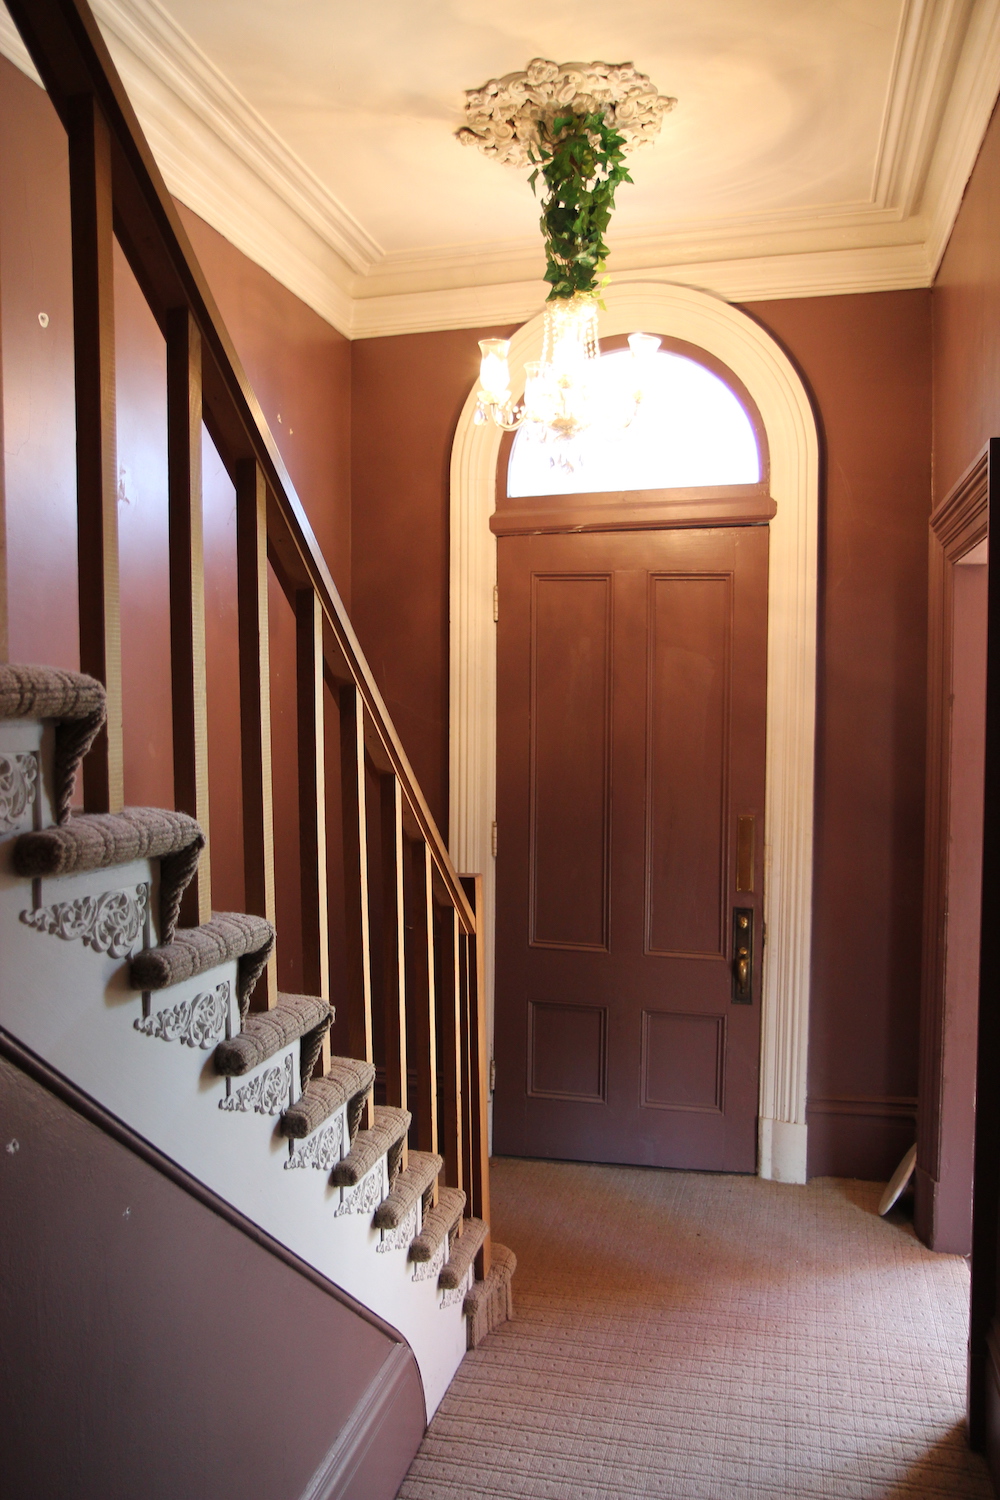
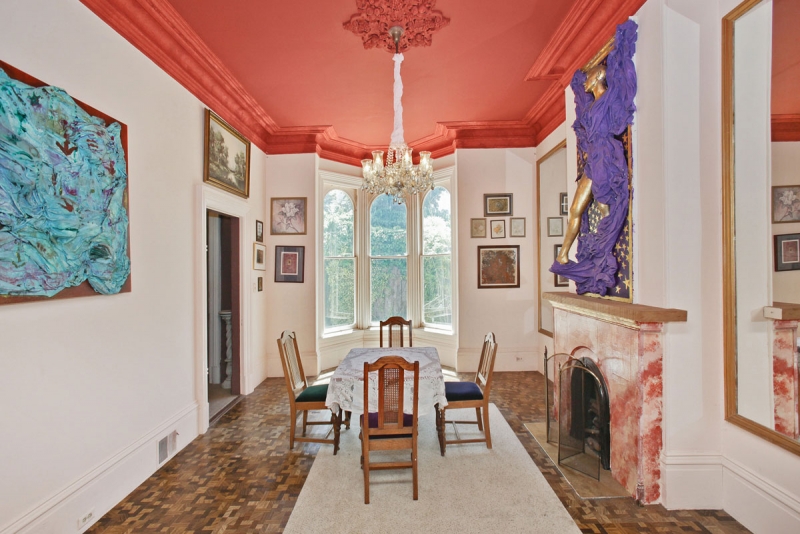
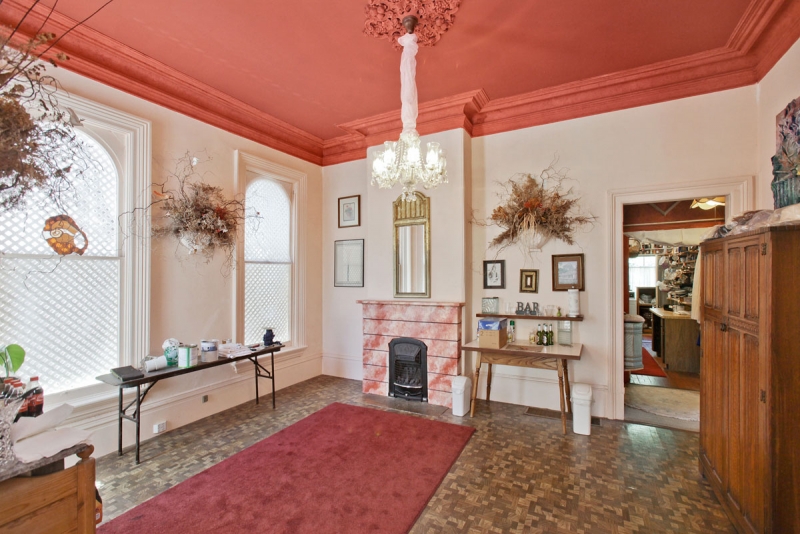
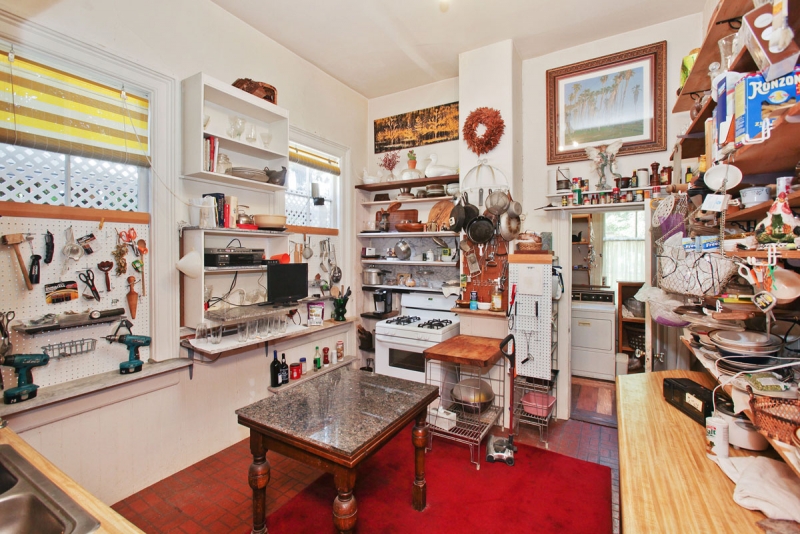
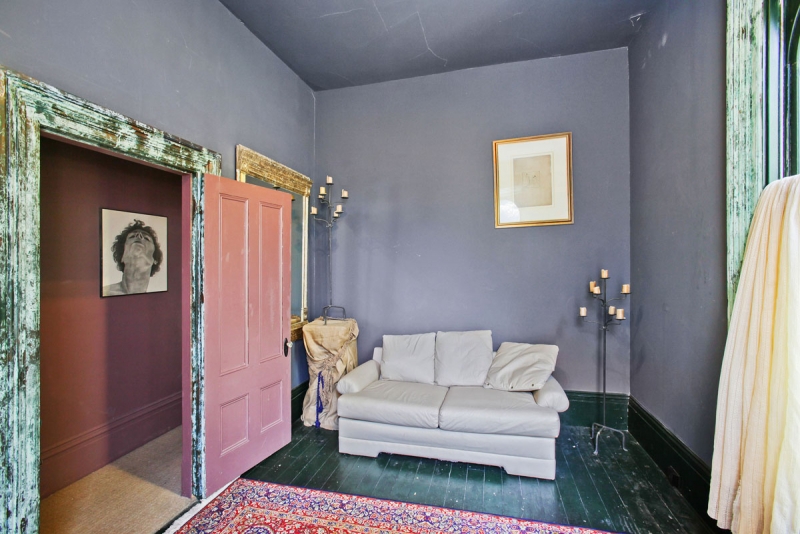
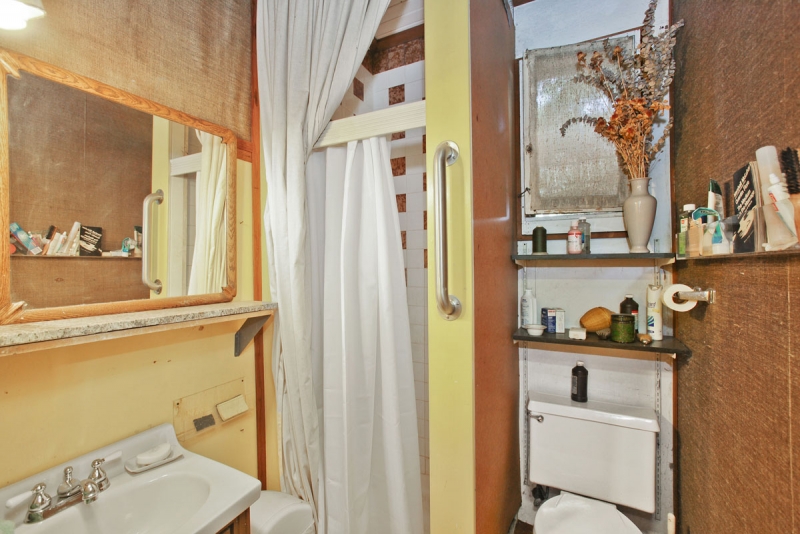
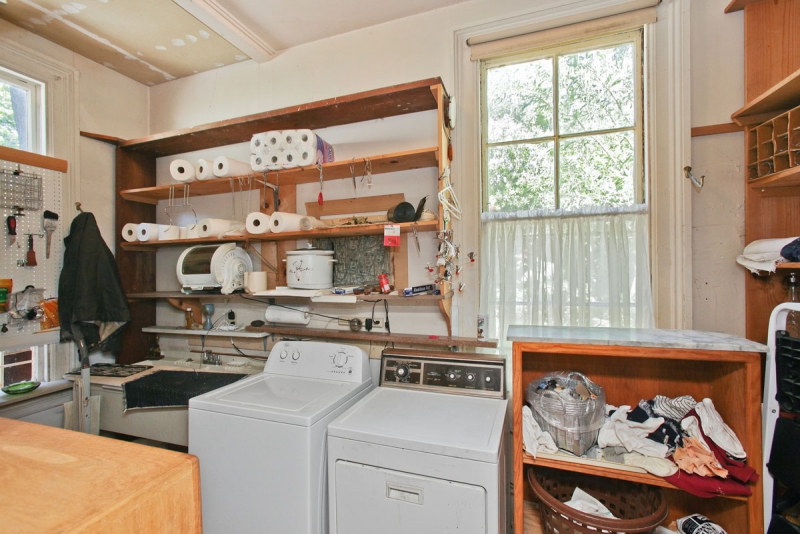
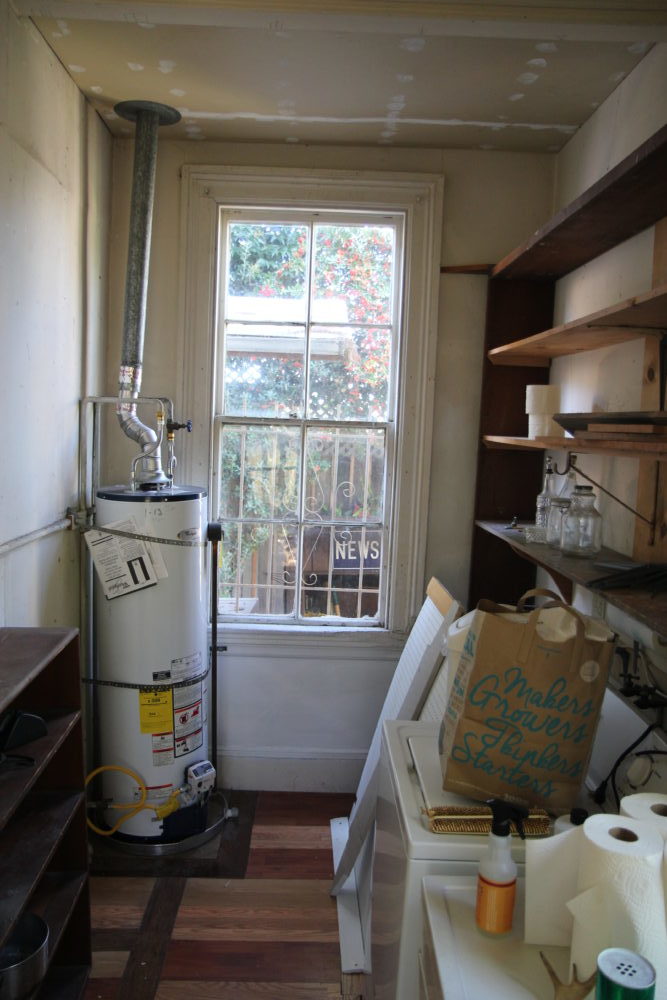
I knew as soon as we got the house (and looked past all the garish colors, the wall to wall carpeting and reams and reams of…stuff oh and the smell!), that I wanted to preserve the home’s amazing original historic details – original windows, crown molding, arched doorways, plaster walls and transoms to name just a few.
I was also clear that Victorian-era design – ie small closed-off rooms, no closets, zero storage, tiny bathrooms – was not conducive to modern day family life. I knew from the start that if we were going to create our forever home, we were going to have to make major layout changes. Enter our amazing architect Seth Brookshire. While I thought I had tons of crazy amazing ideas to optimize our space, he had much better ones – and they were also structurally sound – ha!
Renovation lesson one: surround yourself with very talented experts.
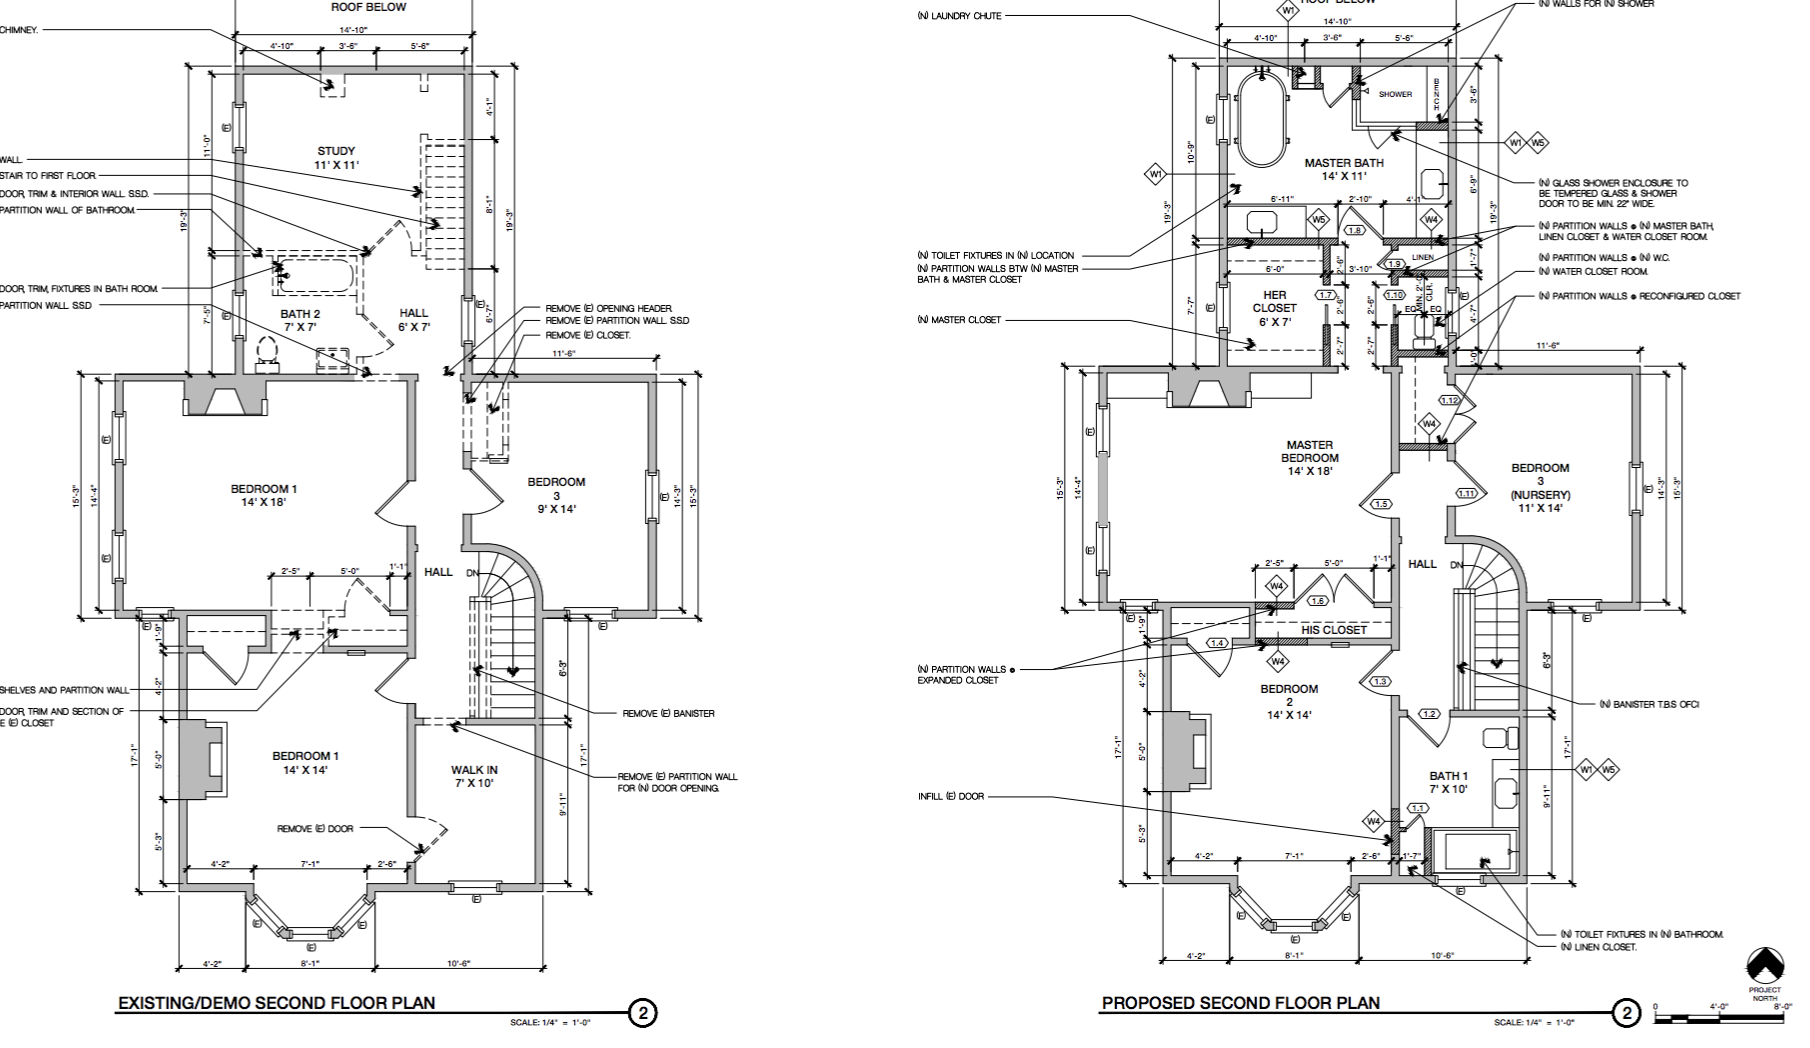
Here is a peek into how Seth proposed we rearrange the ground floor’s layout.
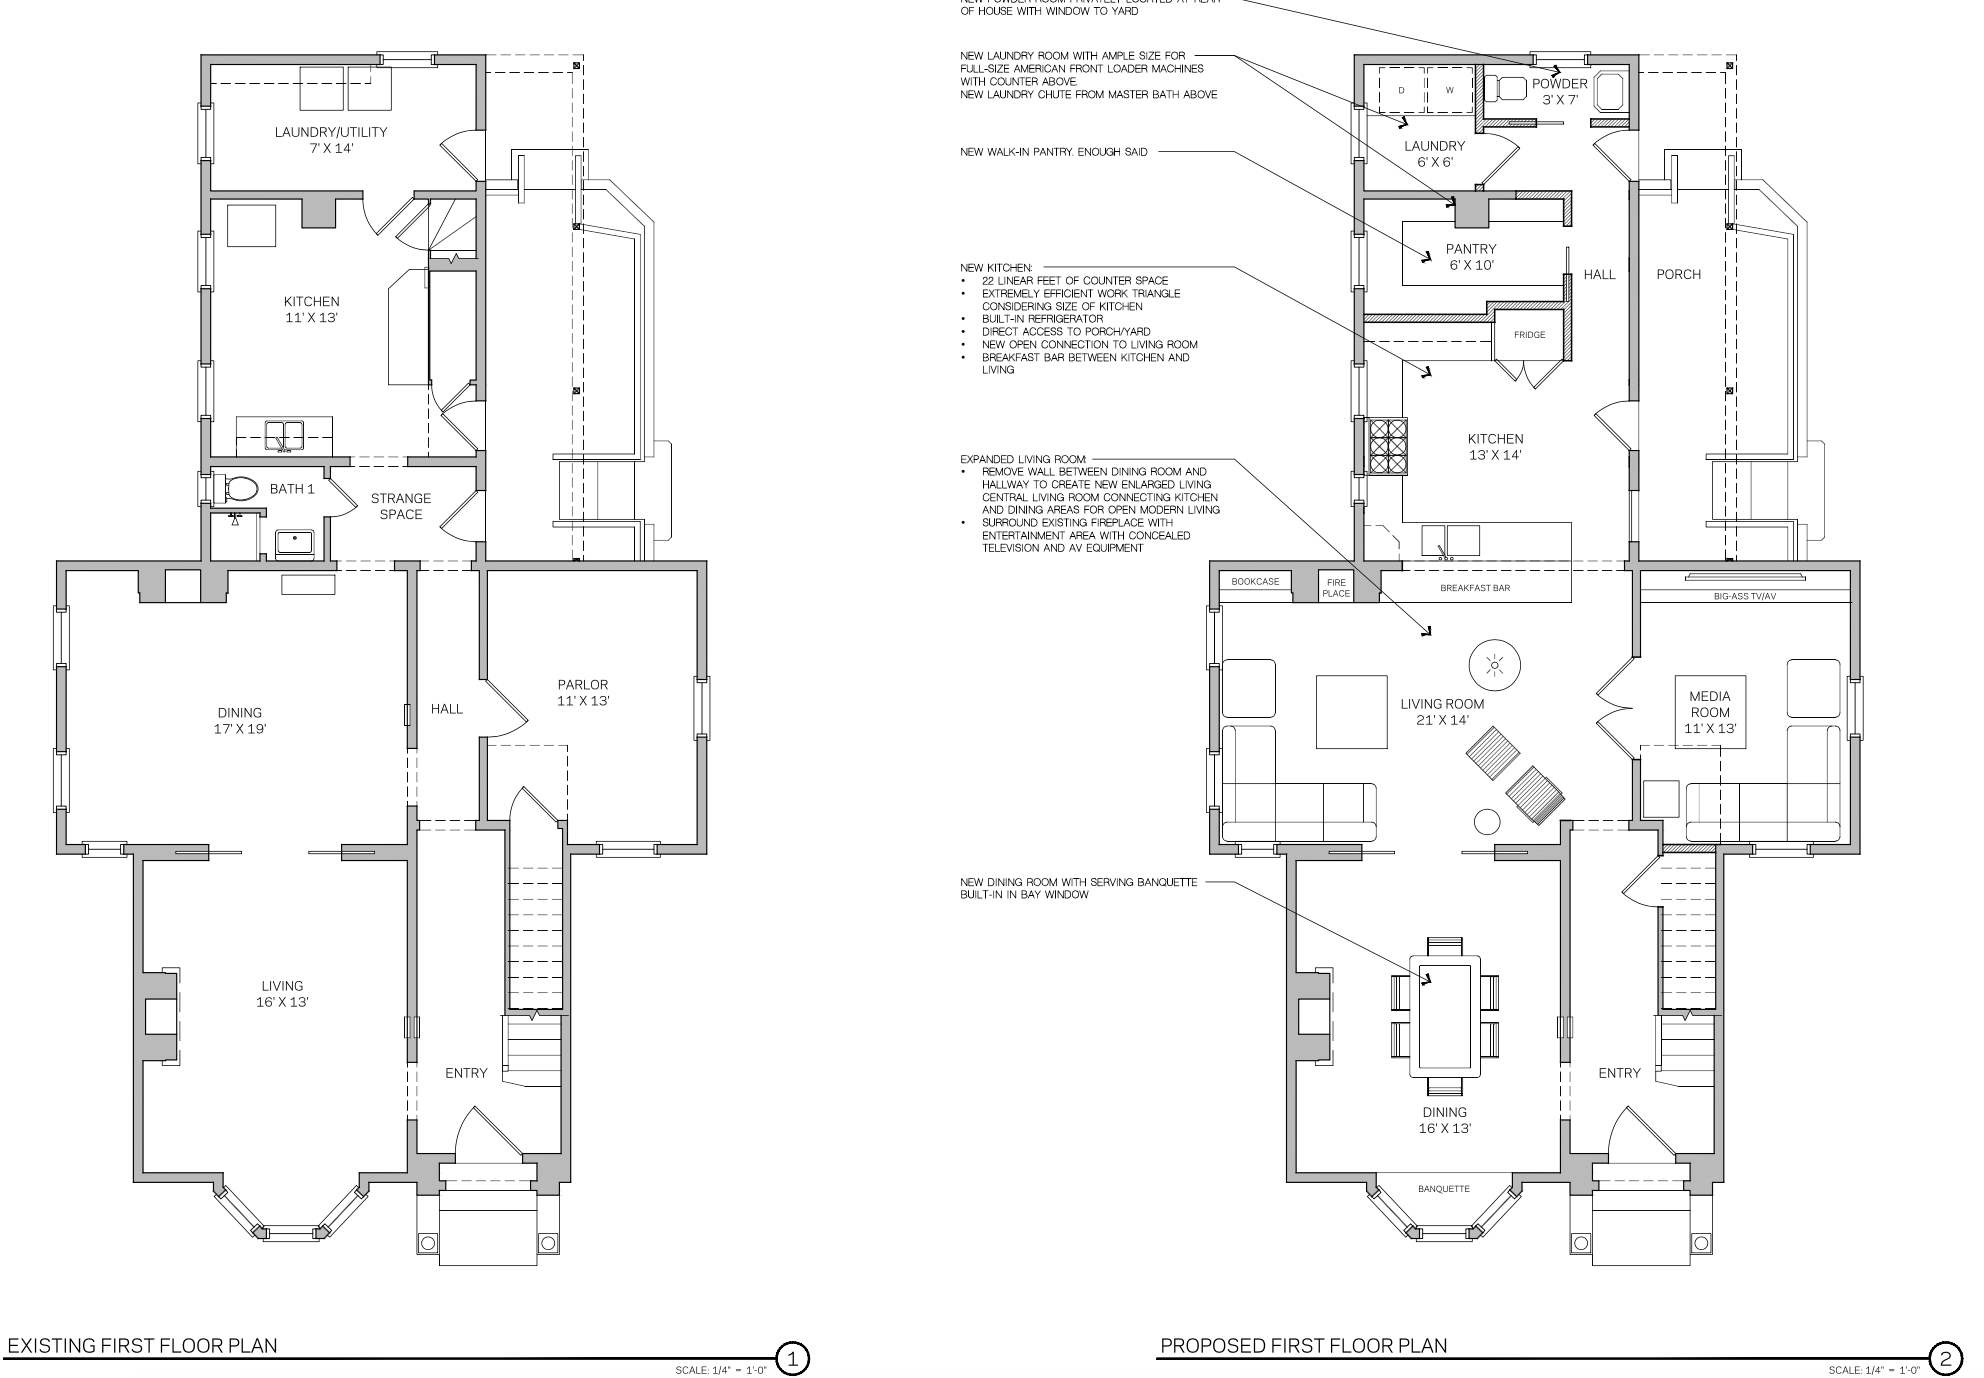
We actually changed very little structure at the front of the house. The entry and dining room retain all their original elements. We simply did our best to restore them. But as we moved deeper, the changes got much more substantial.
Our biggest structural change was the choice to remove two major walls to create an open concept living room and kitchen. This choice eliminated the long dark hallway and allowed the natural light from our 8′ tall windows to spill from one side of the house to the other. It also ensures that each room flows from one to the next.
Another significant architectural change was the elimination of an unnecessary back staircase. Removing the stairs allowed us to connect the house straight from the front door all the way back and made way for a large custom kitchen, adding a walk-in pantry, building out a dedicated laundry room and adding a powder room.
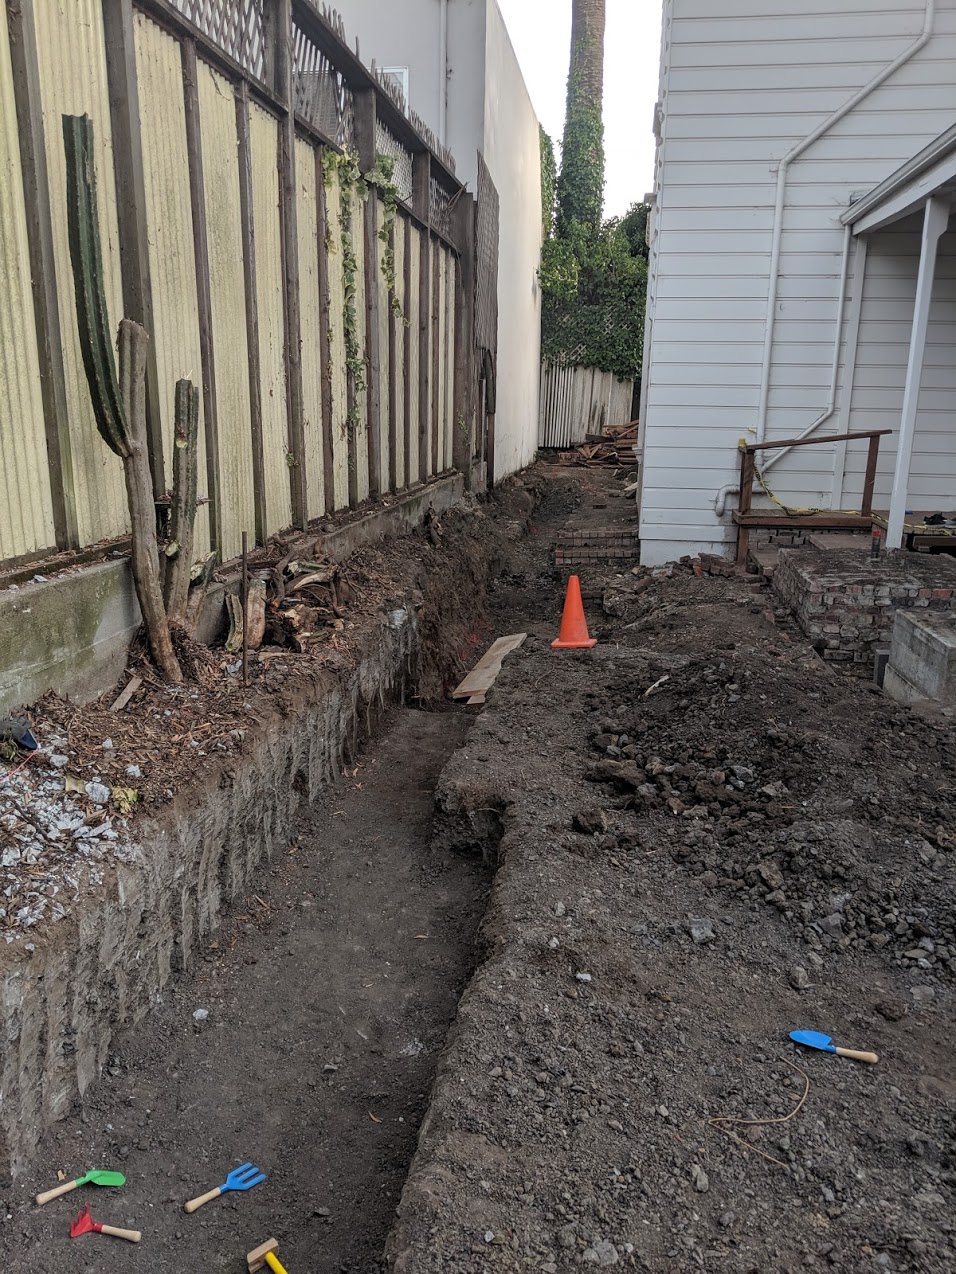
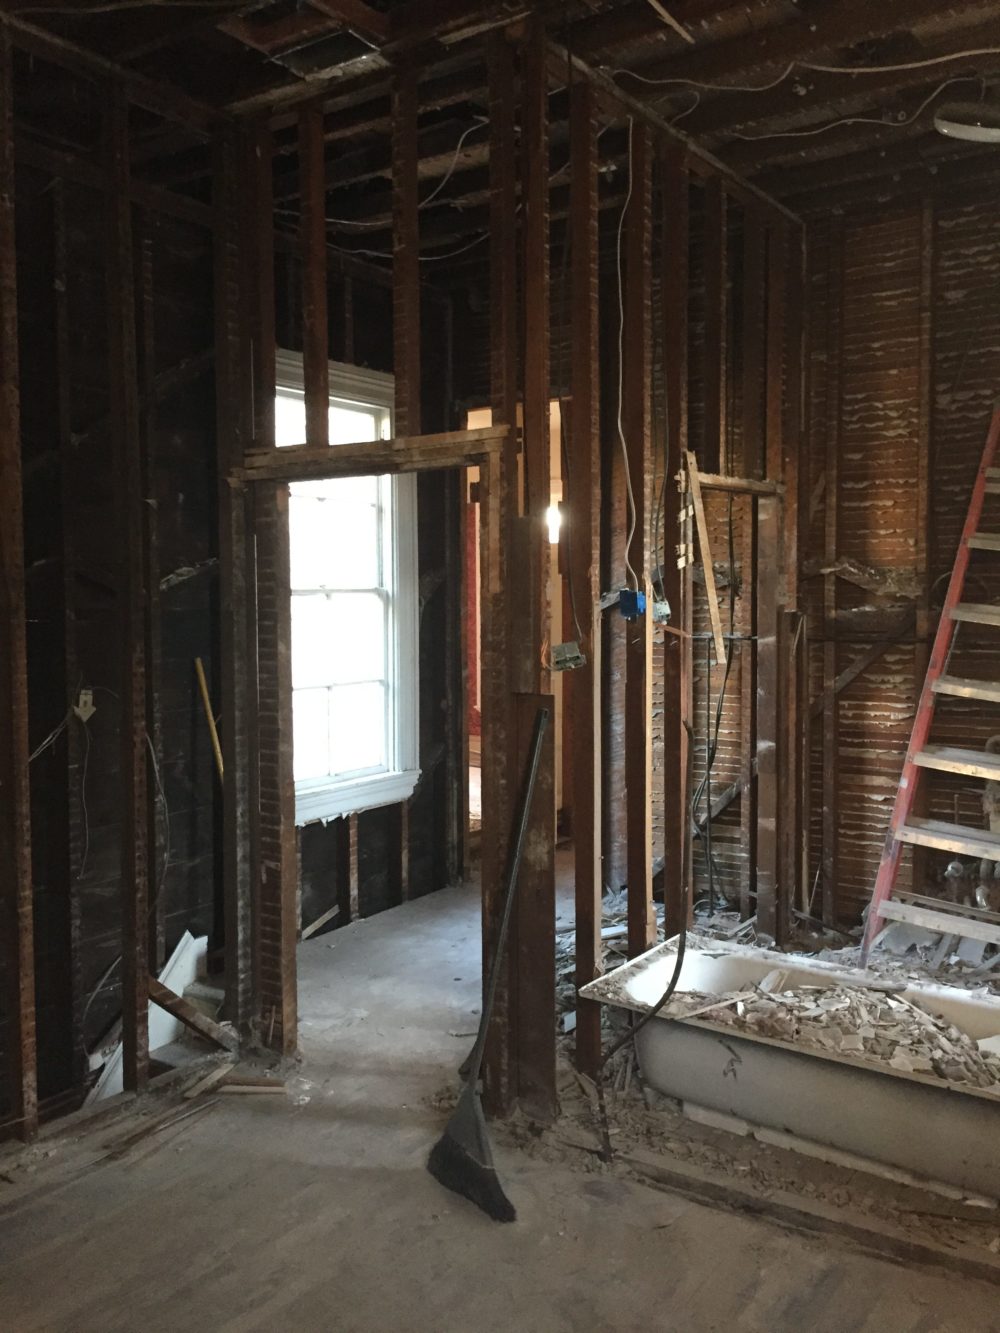
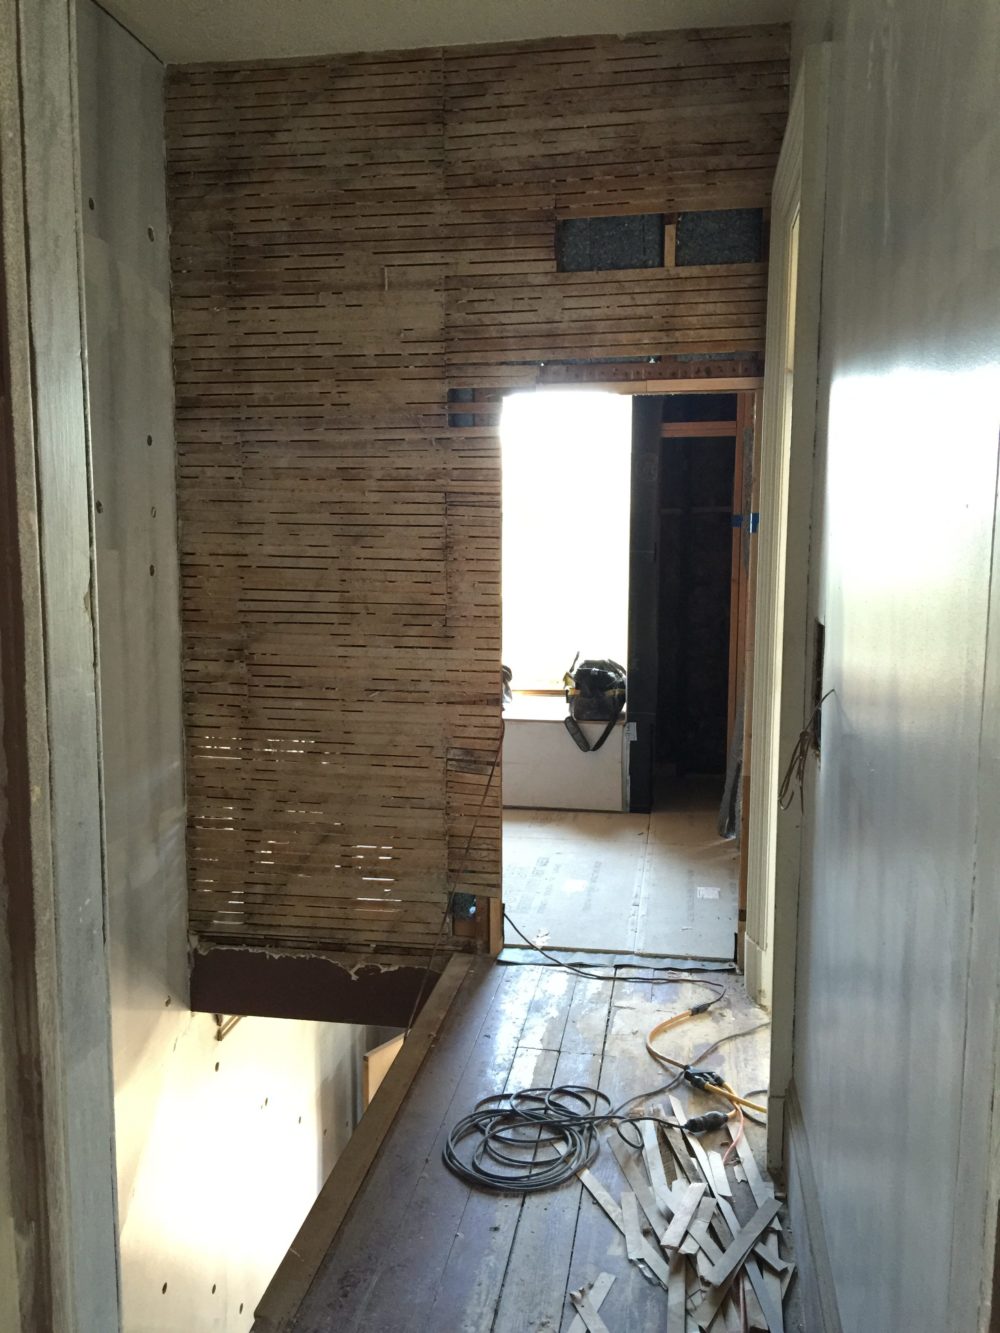
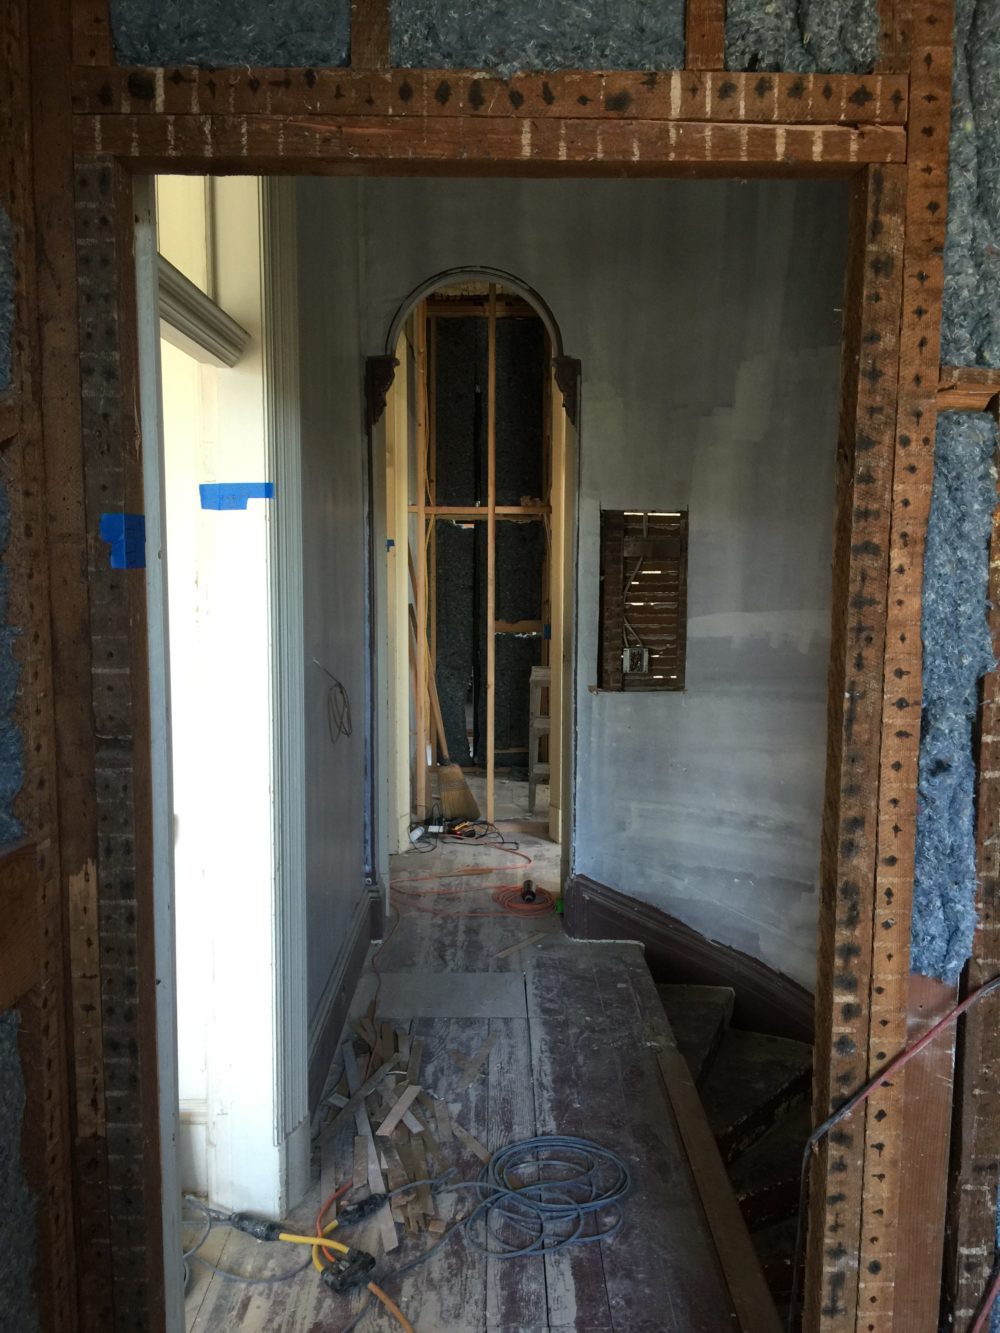
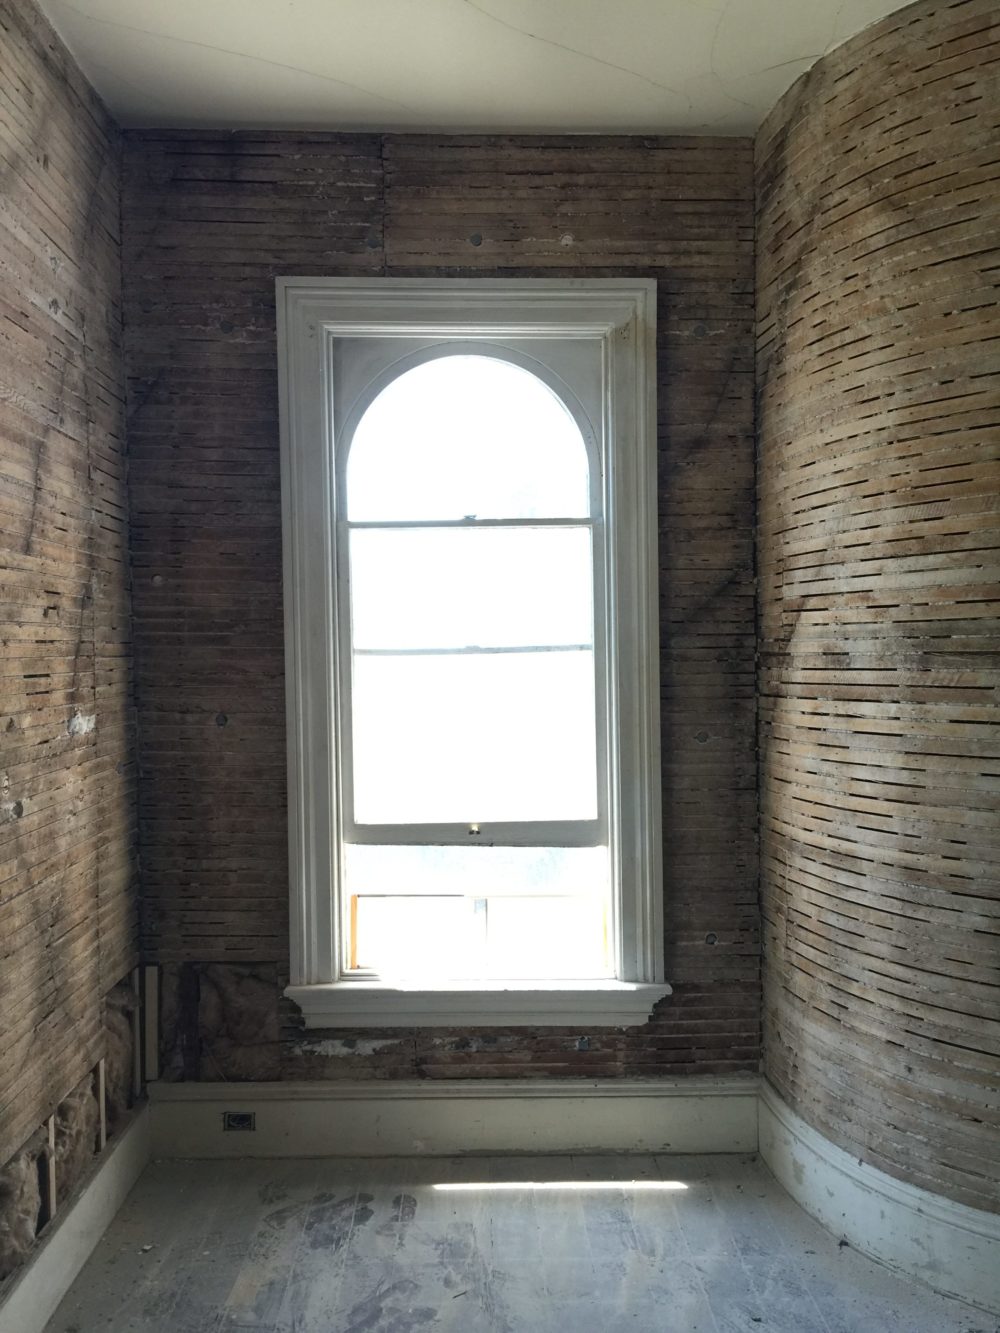
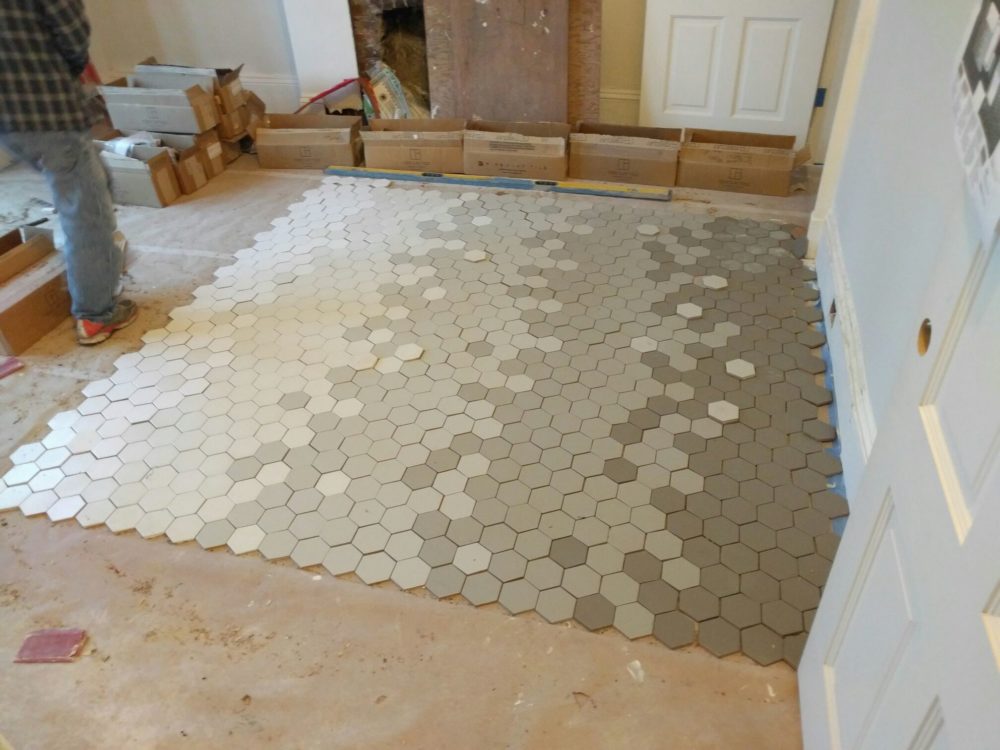
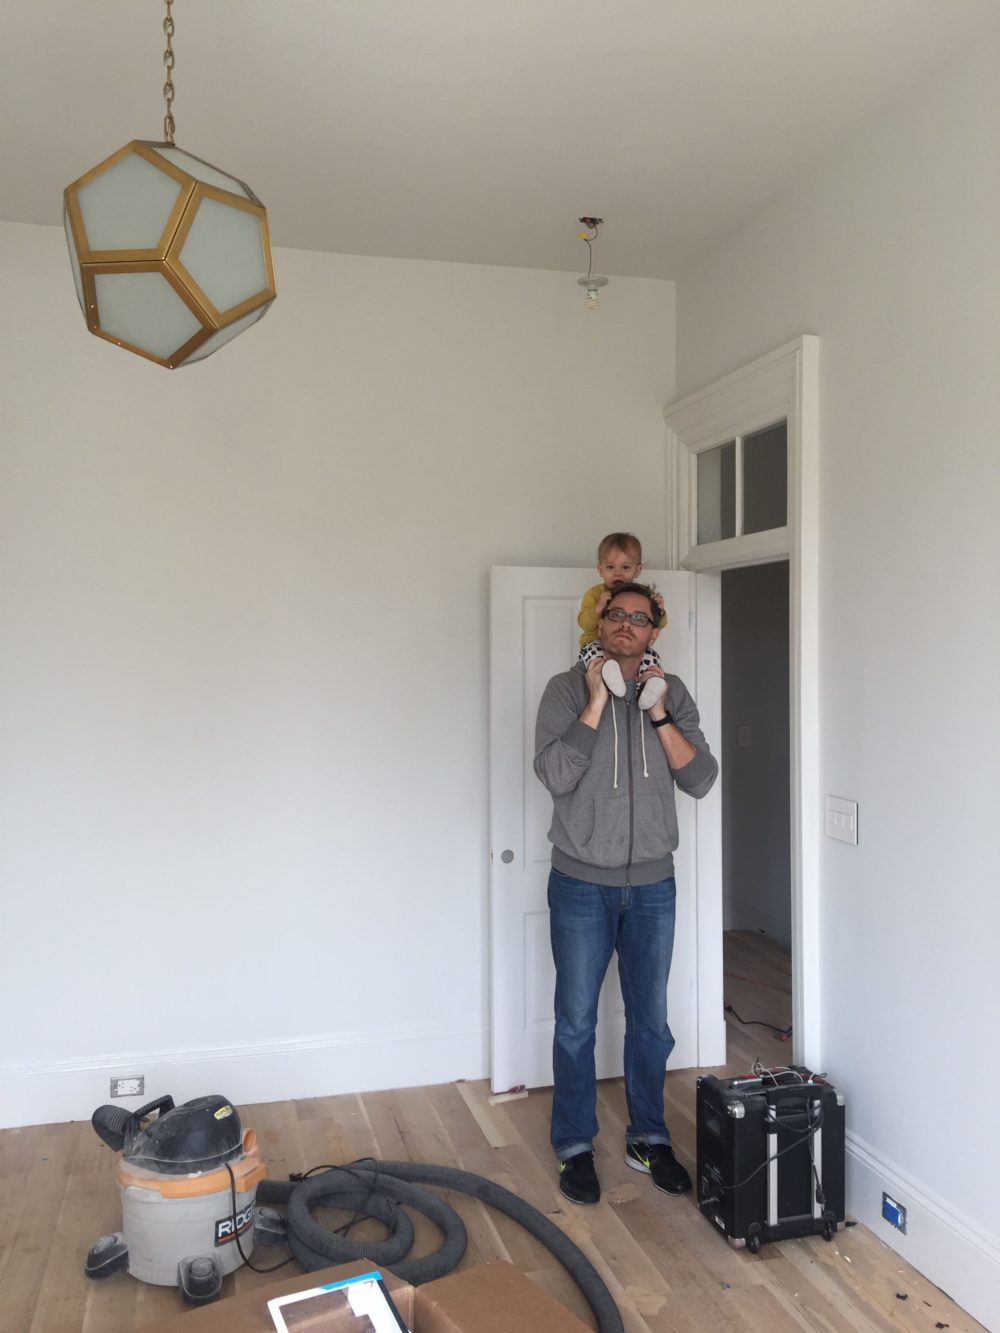
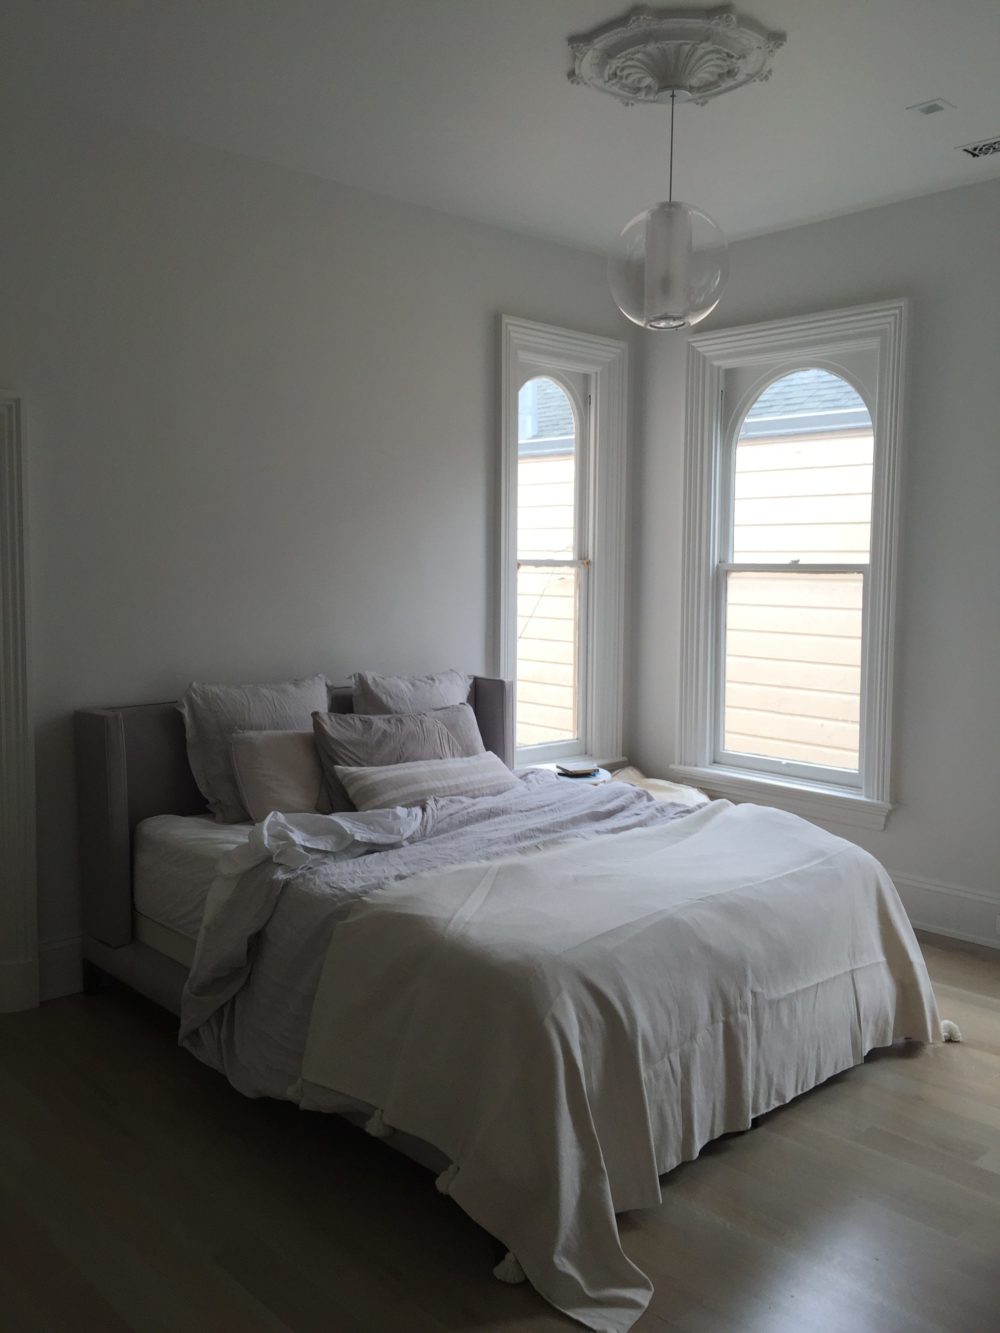
While it’s easy to summarize all this in writing, it certainly undersells the time, effort and insane amount of work and this reno required. Here’s a glimpse.
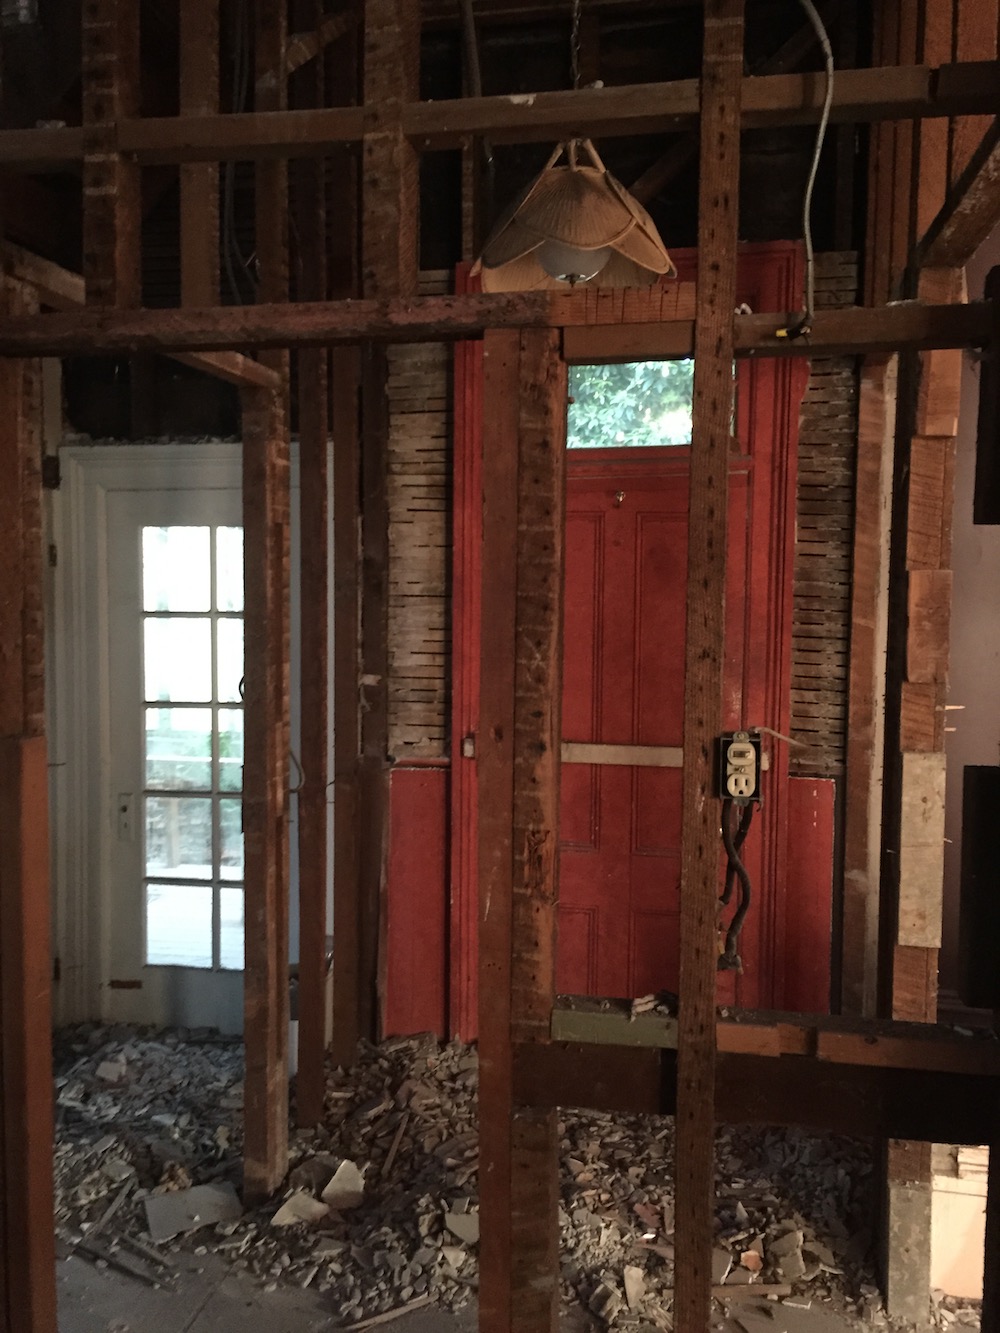

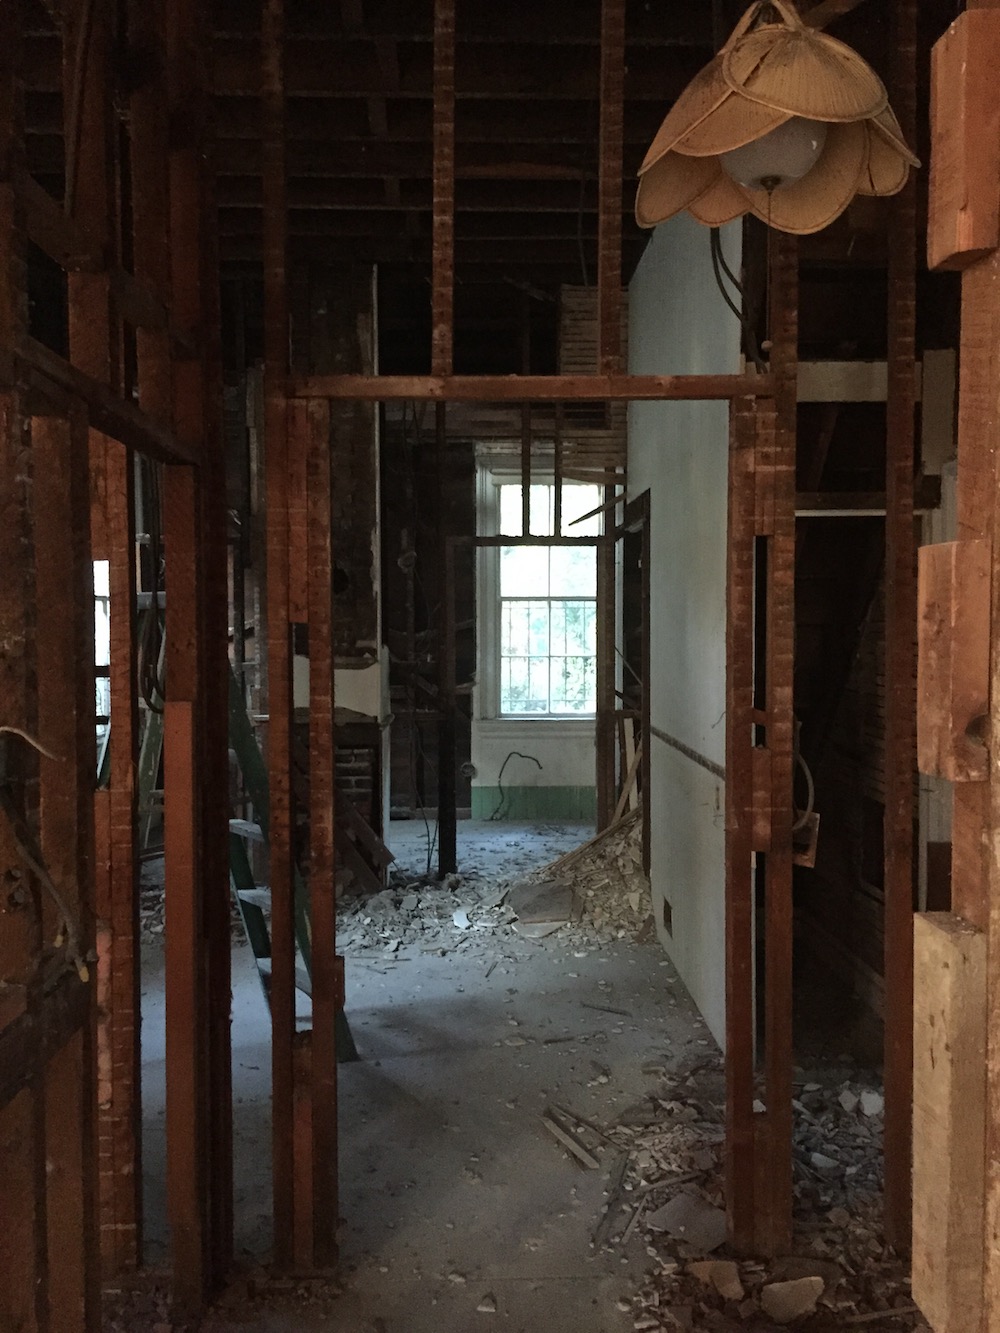
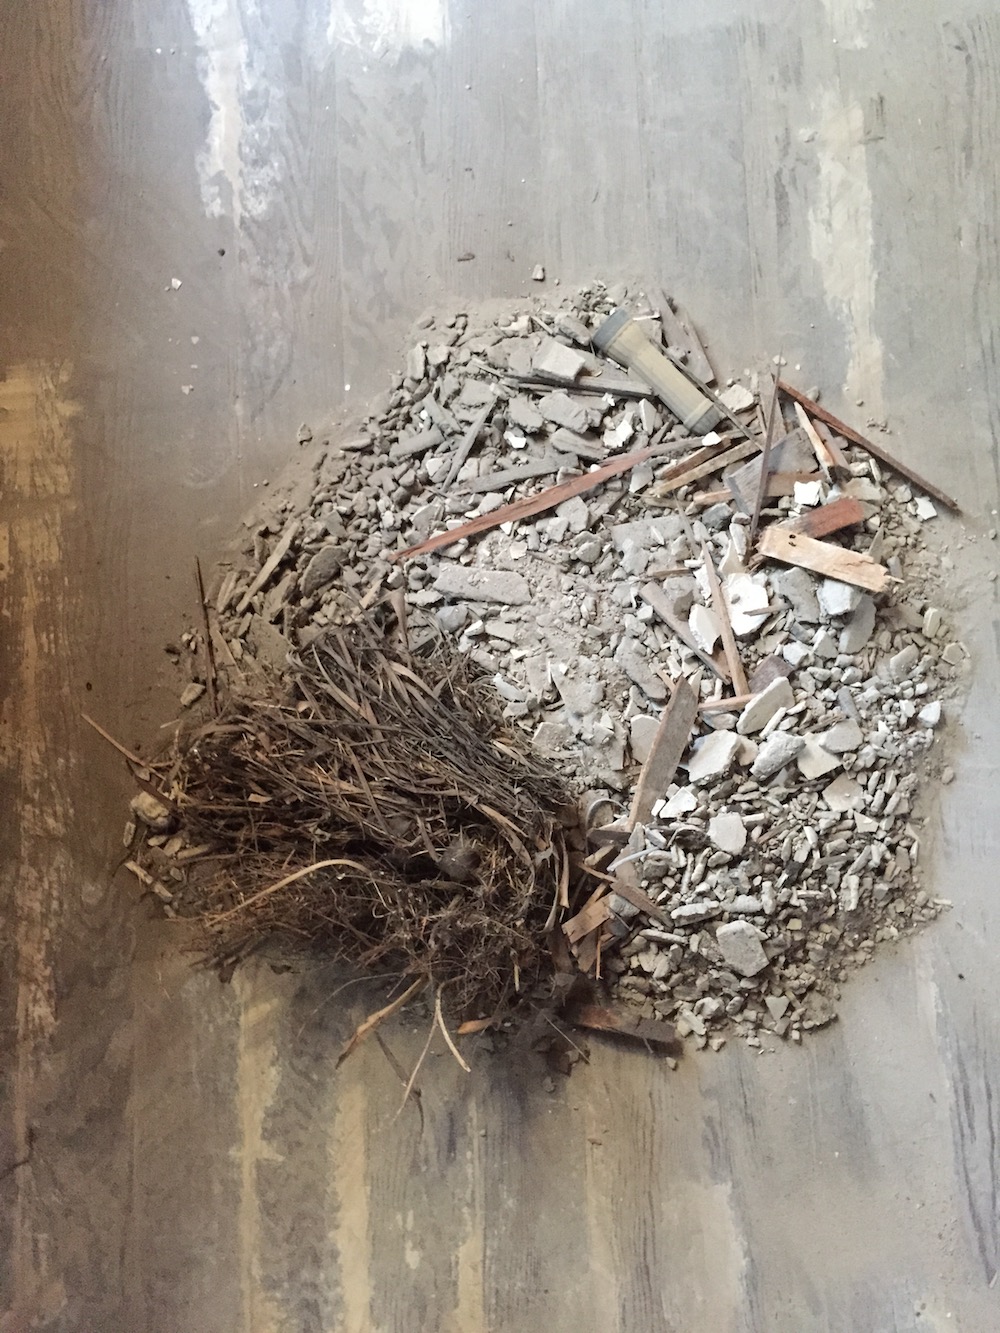
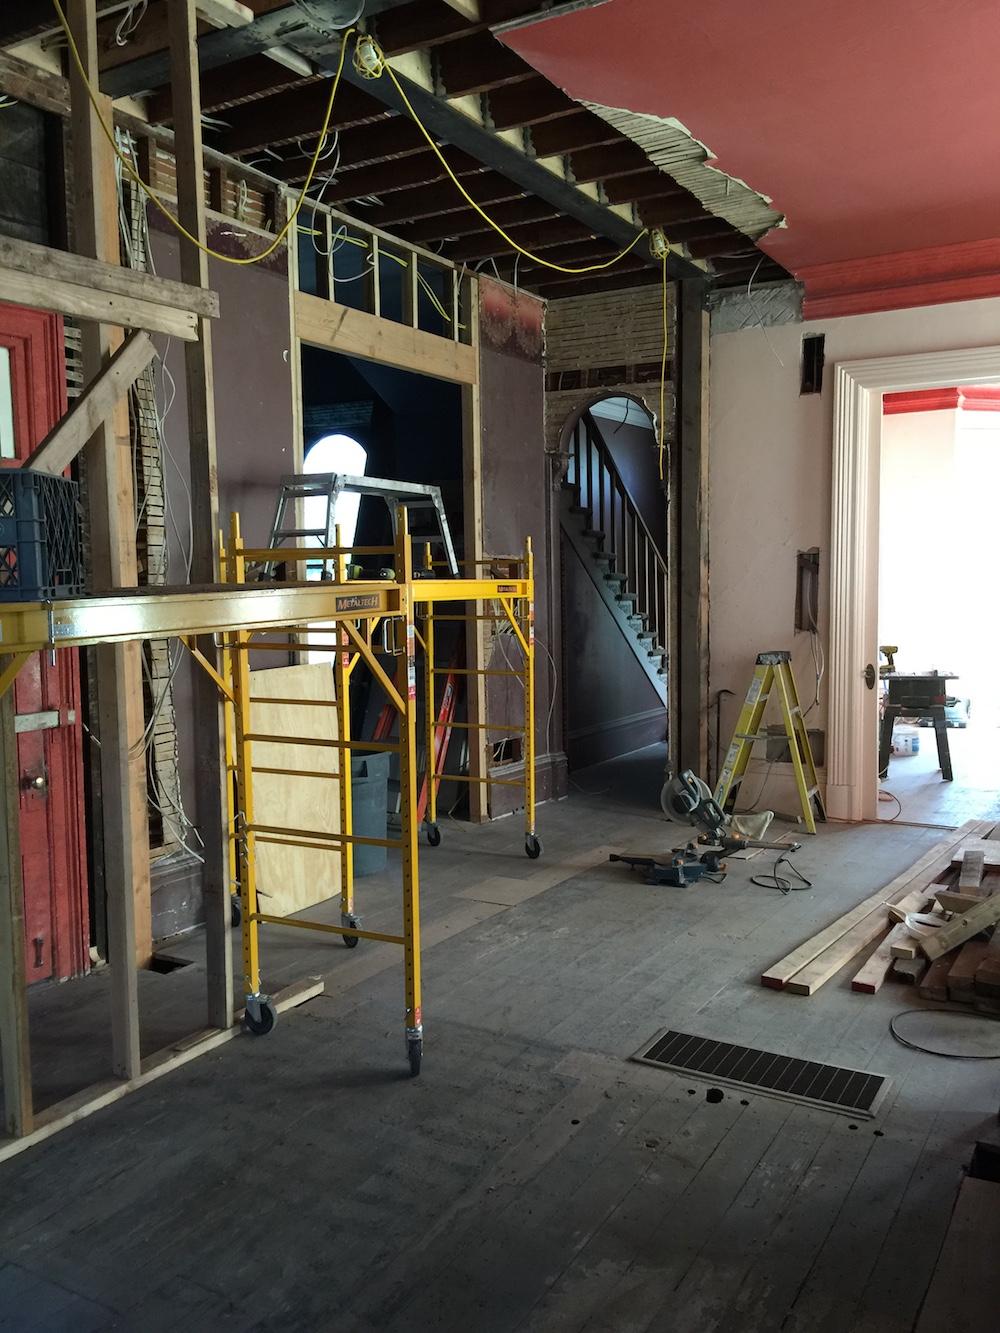

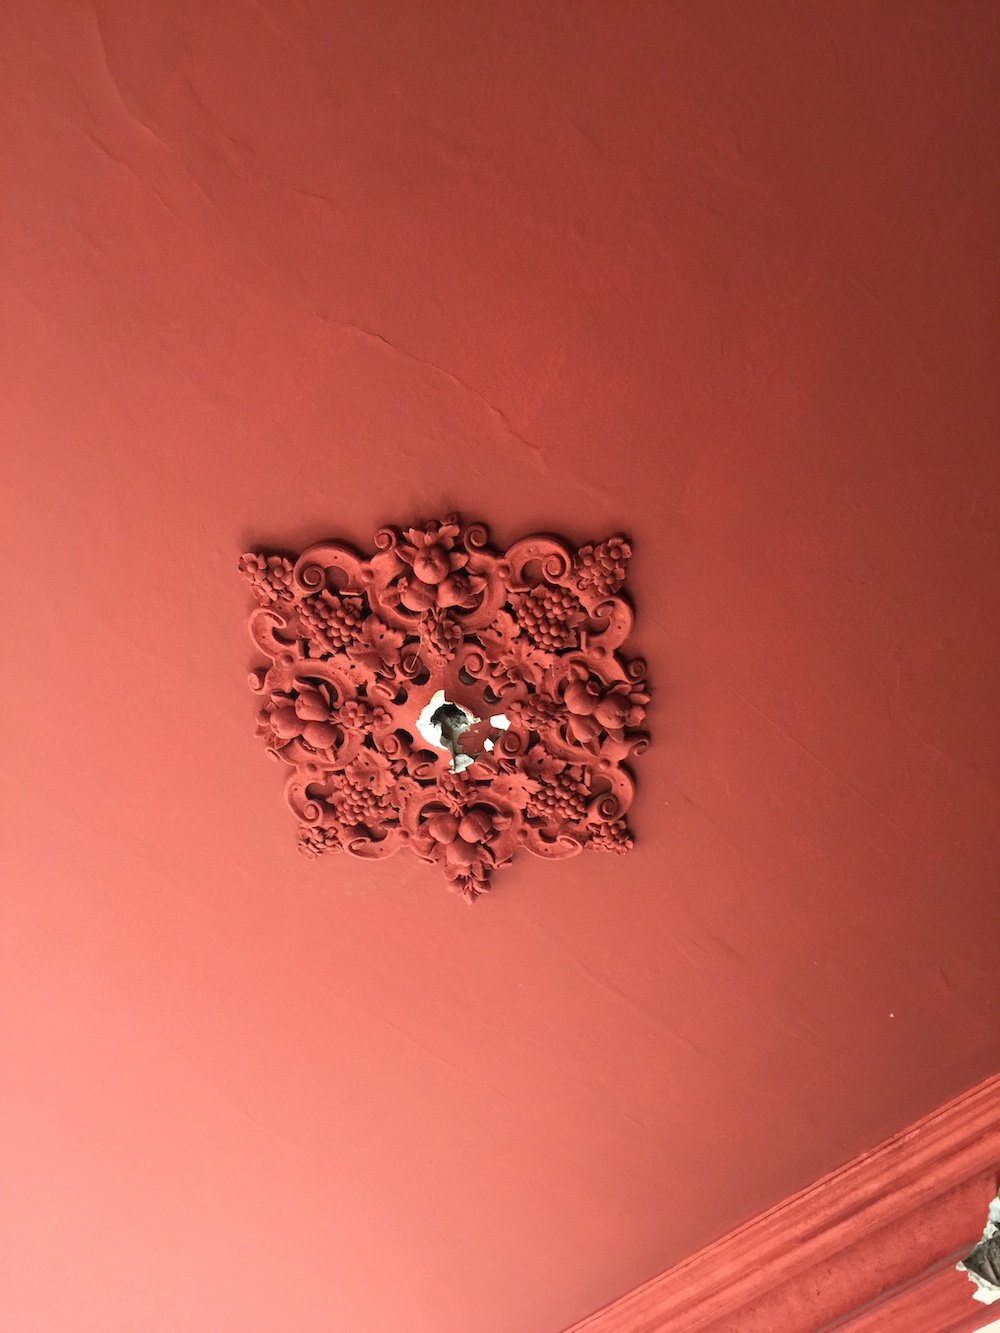

As the pictures above illustrate, nothing about our renovation was small. A sampling of the renovation and restoration punch list included:
- Replacing all electrical
- Replacing all plumbing
- Insulating whole house
- Repairing rot and and leaks
- New roof
- New floors
- New windows
- New heating and hot water systems
- Restoring plaster
- Restoring staircase, four fireplaces, ceiling medallions
And then there were the actual major structural changes! We added three bathrooms, opened up the ground floor and created a kitchen from scratch. And while we had an amazing architect and builder, we did not have have a general contractor, leaving the procurement of materials, the management of schedules and the coordination of trades up to us. Having never undertaken a renovation of this scale, that was definitely a steep learning curve. And did I mention that I had a baby right in the middle of all this? I had to pick every single light fixture and outlet placement six weeks postpartum. I do not recommend this.
When it was all said and done, renovations took 20 months to get the house to a point where we could move in. But don’t mistake livable for done! We moved in with maybe 80% of the work complete. We quickly learned that the old adage is indeed true. Once you move in, the work slows down to a snails pace. Life gets in the way of construction.
While on the one hand the slow down was maddening, it also gave me time to take decorating deliberately. Intentionally. And with a lot of thoughtful consideration. When we moved in I made the commitment to hold out for the right thing, not just the expedient thing. Because when you put in a placeholder, be it a sofa, dresser or even a light fixture, it’s likely to stay for years. I’m sure this has happened to you too. I did not way to fall prey to that trap. Instead, rooms sat nearly empty for months (to years!) on end while I slowly but surely figured out what both the home and we really needed.
I would like to say my patience paid off. I hope you think it did too. Here is the official after tour of our ground floor!

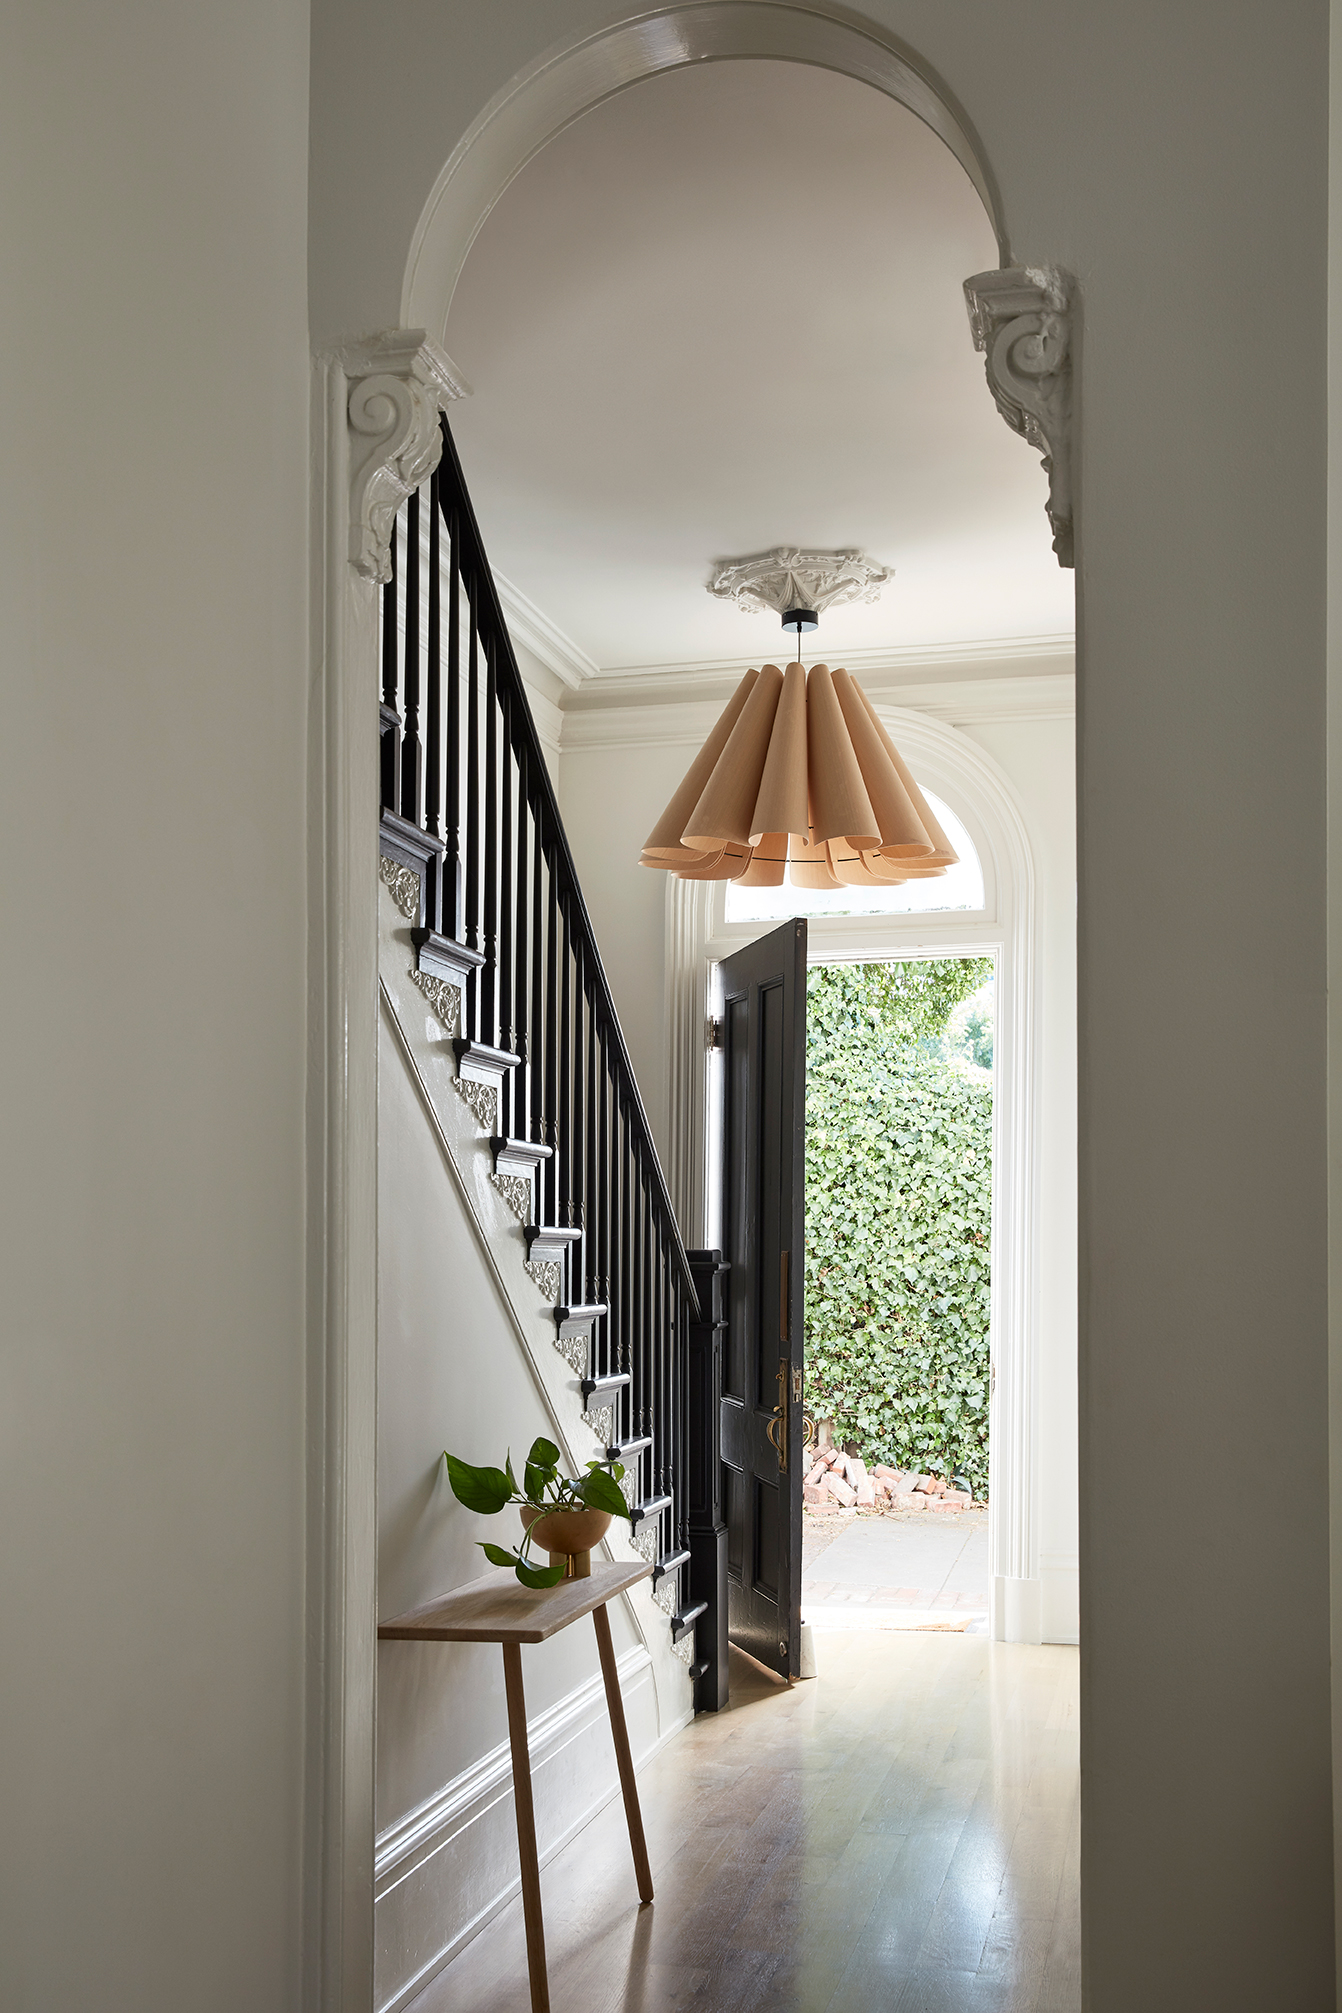
A clean black and white palette greets you as you as the enter the front door. We had to restore the staircase, recreating a period appropriate newel post and bannister as well as recreating a historically accurate plaster ceiling medallion. The oversized pendant by WEP (which I stalked for years after seeing it in an 2012 issue of LivingEtc) offers the air of grandeur this house demands. The leaning console by Skagerak creates the perfect unobtrusive place to drop keys and mail. The arched transition is original and one of my favorite details.
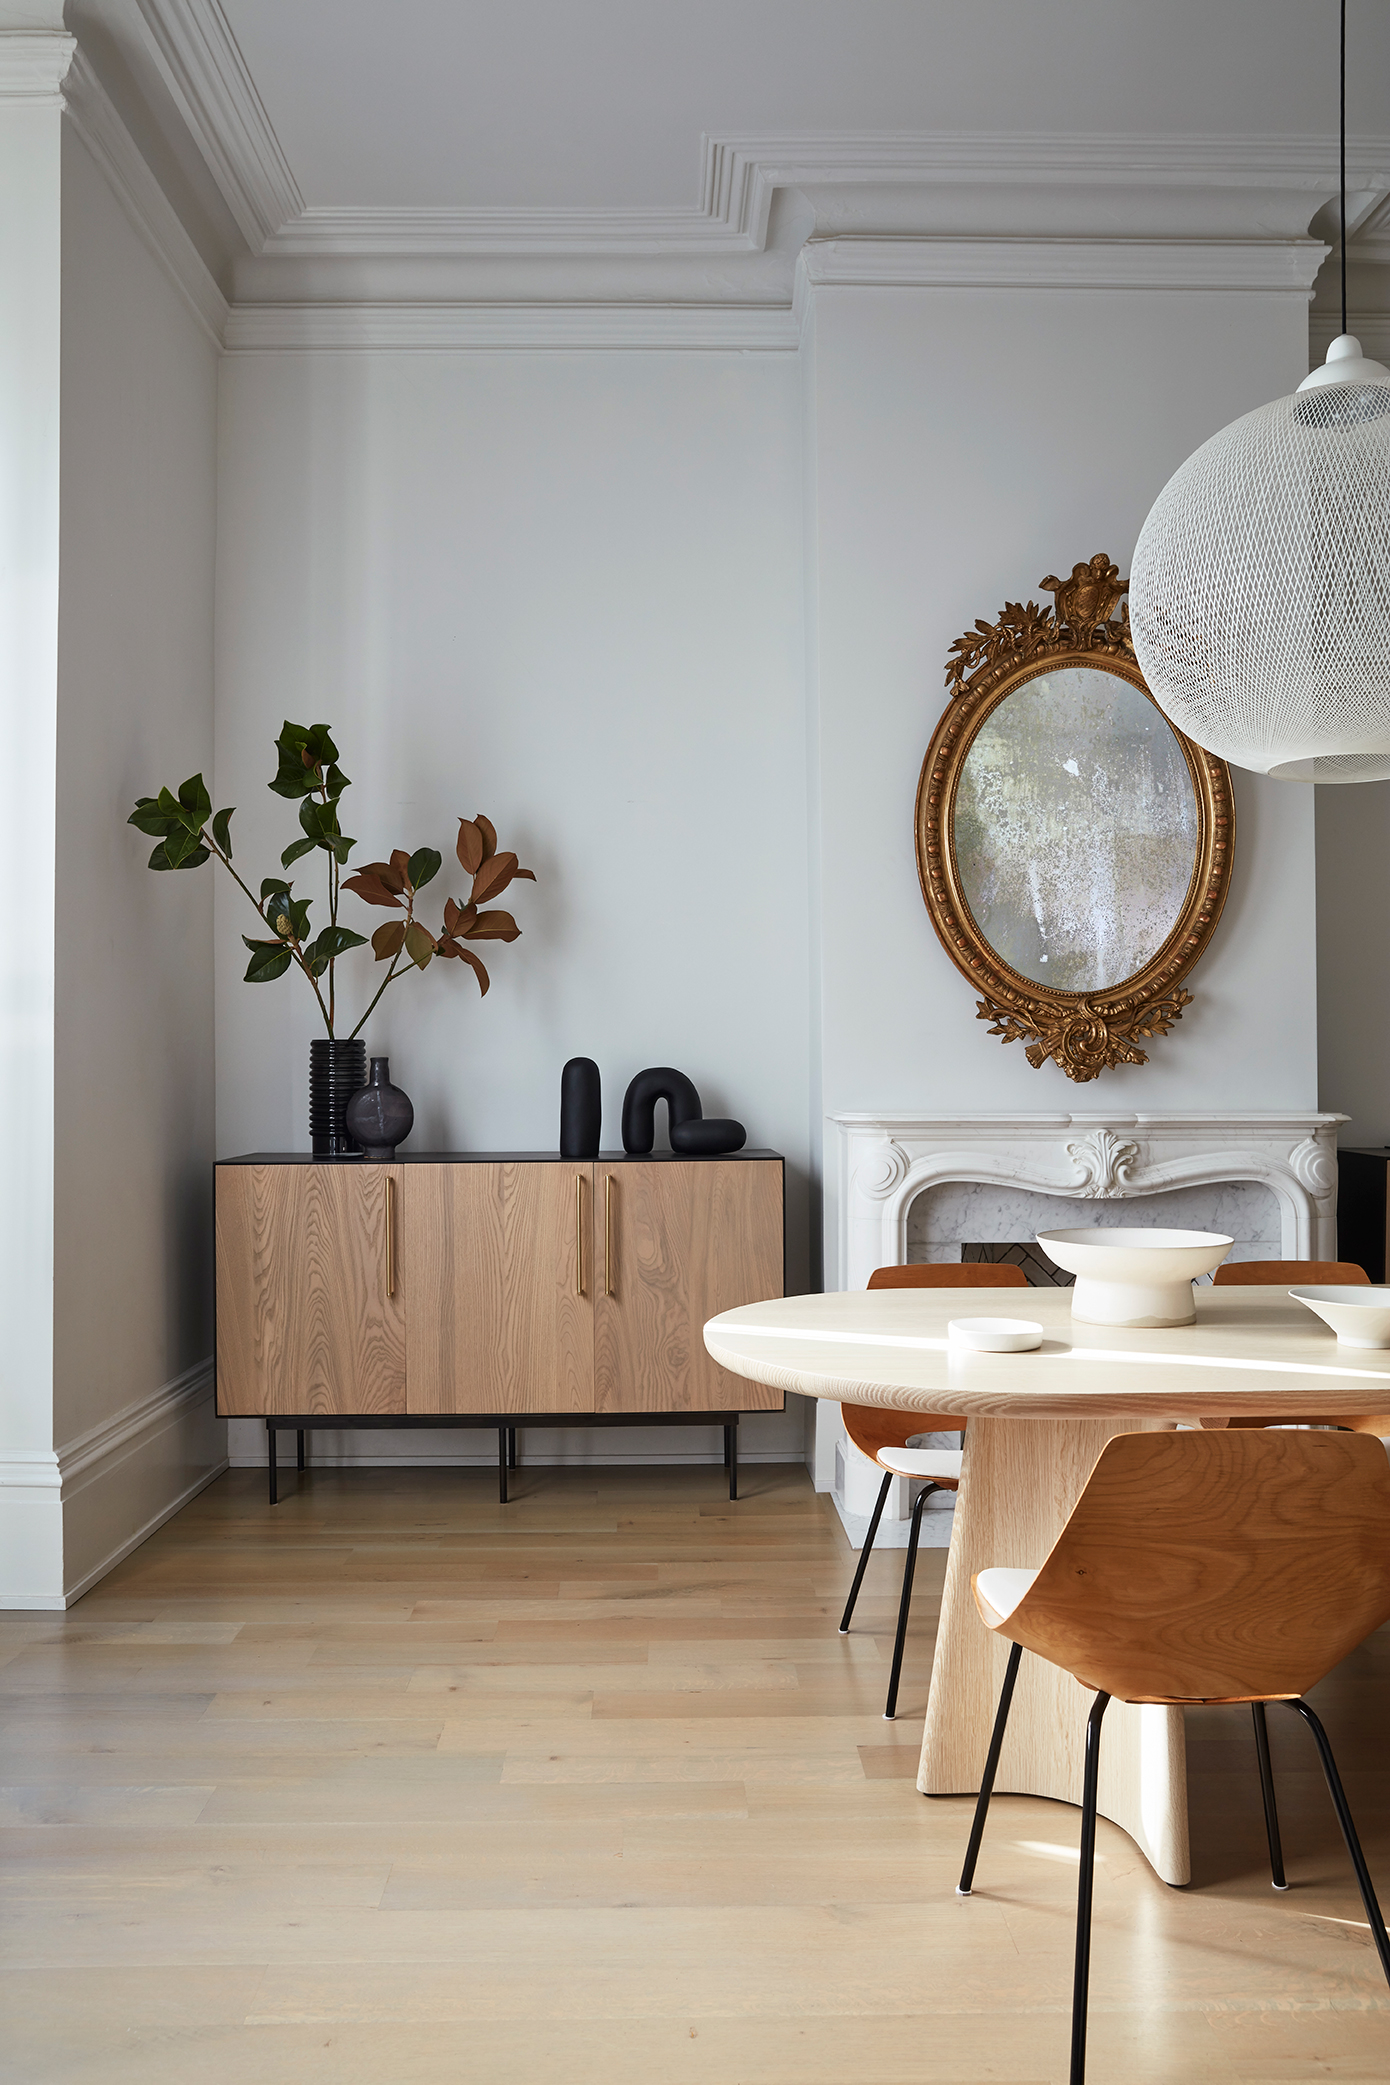
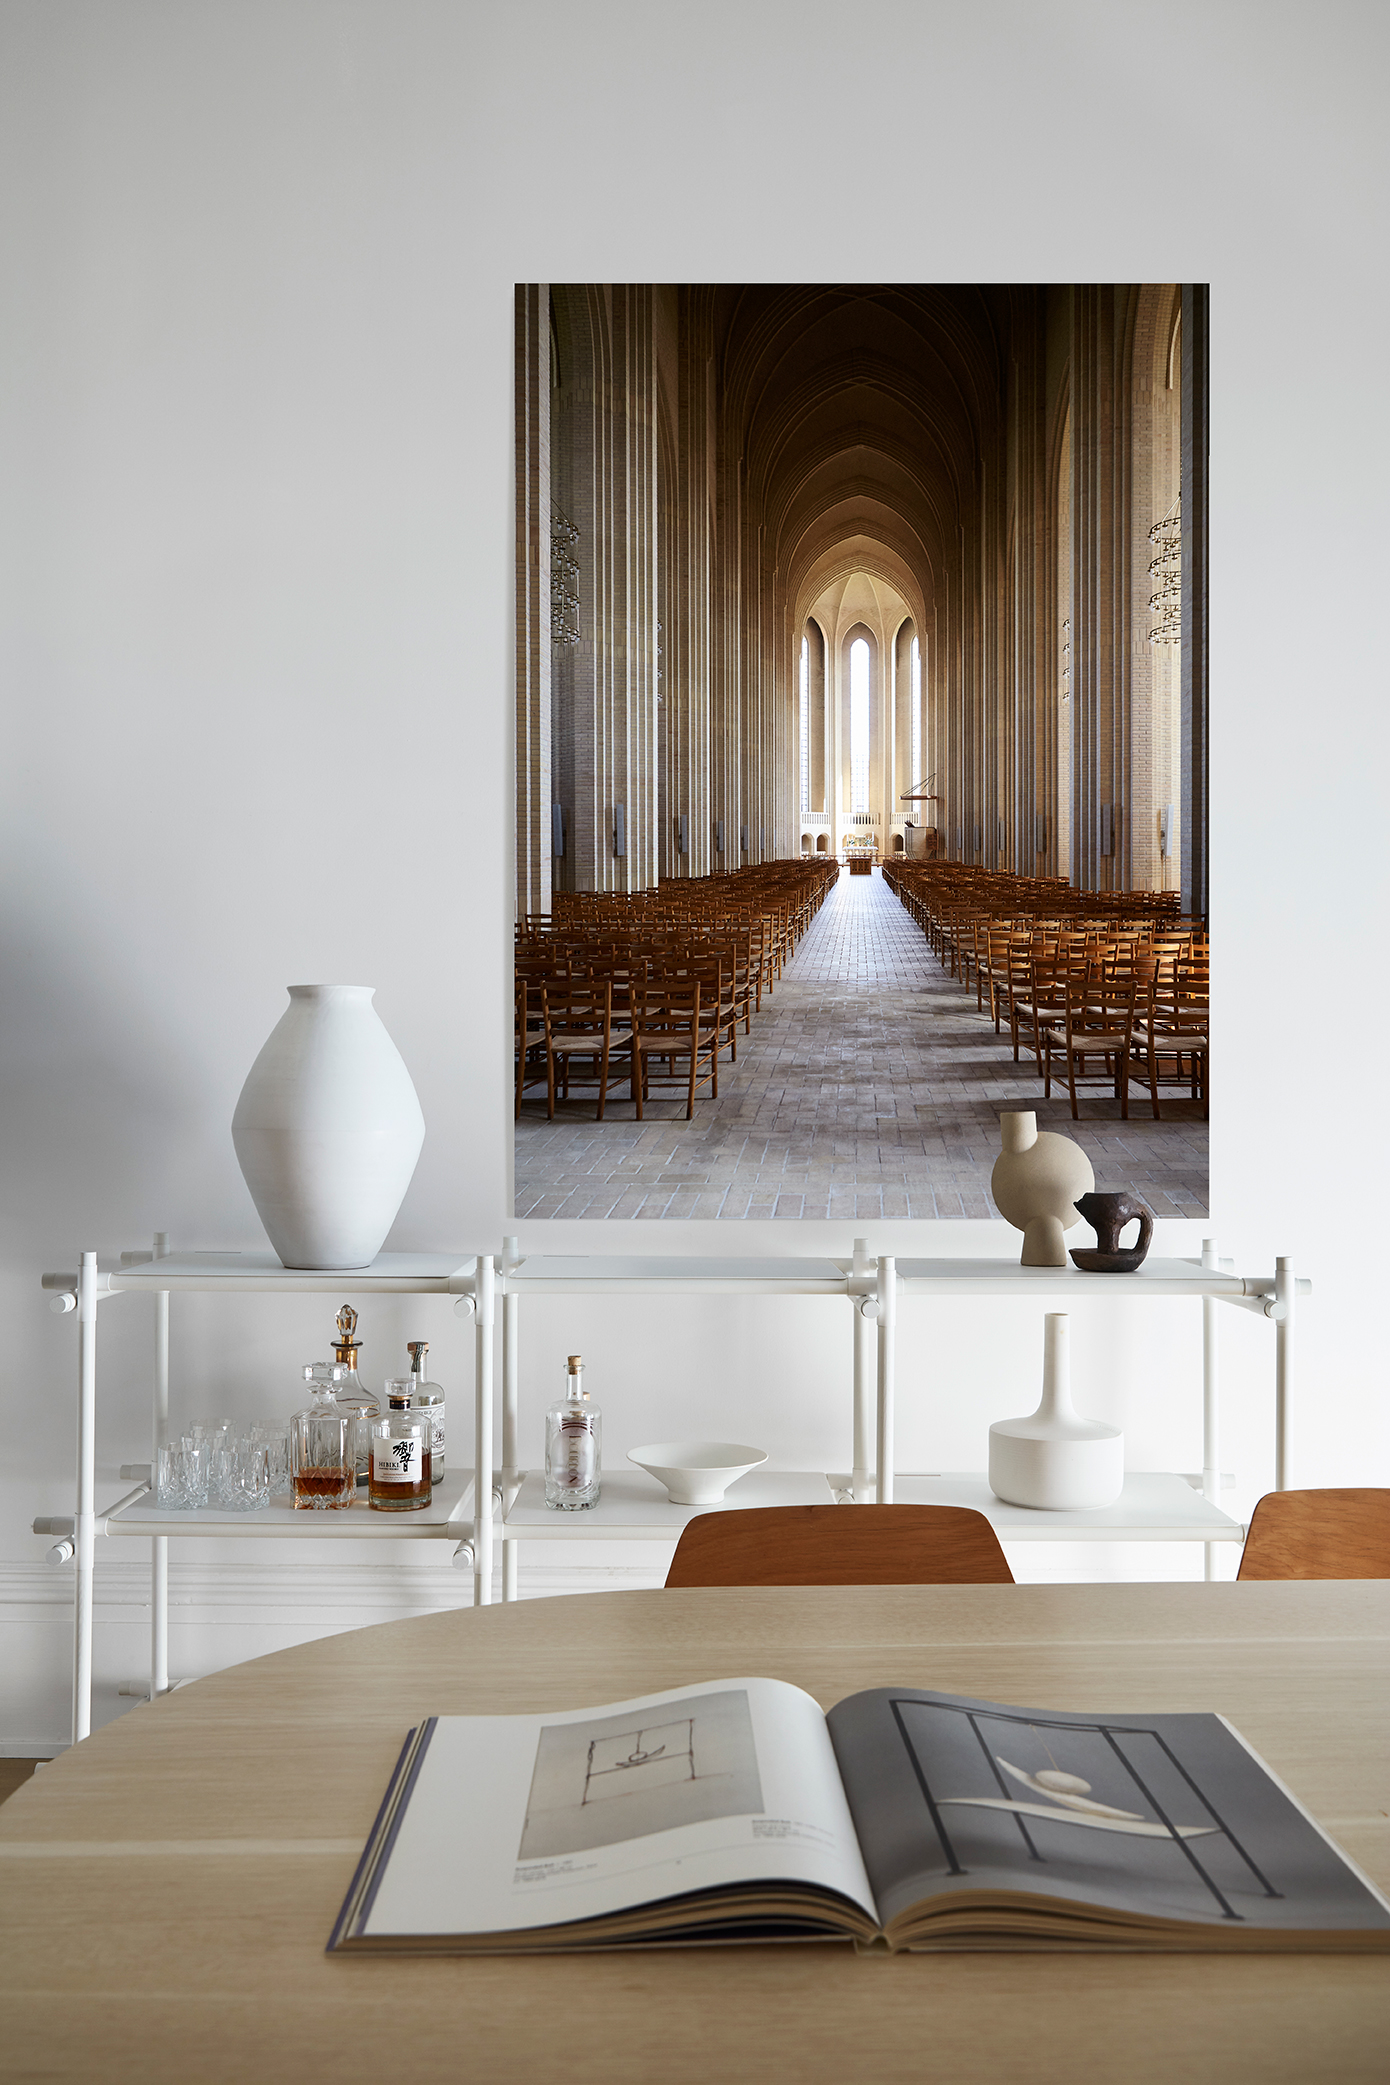
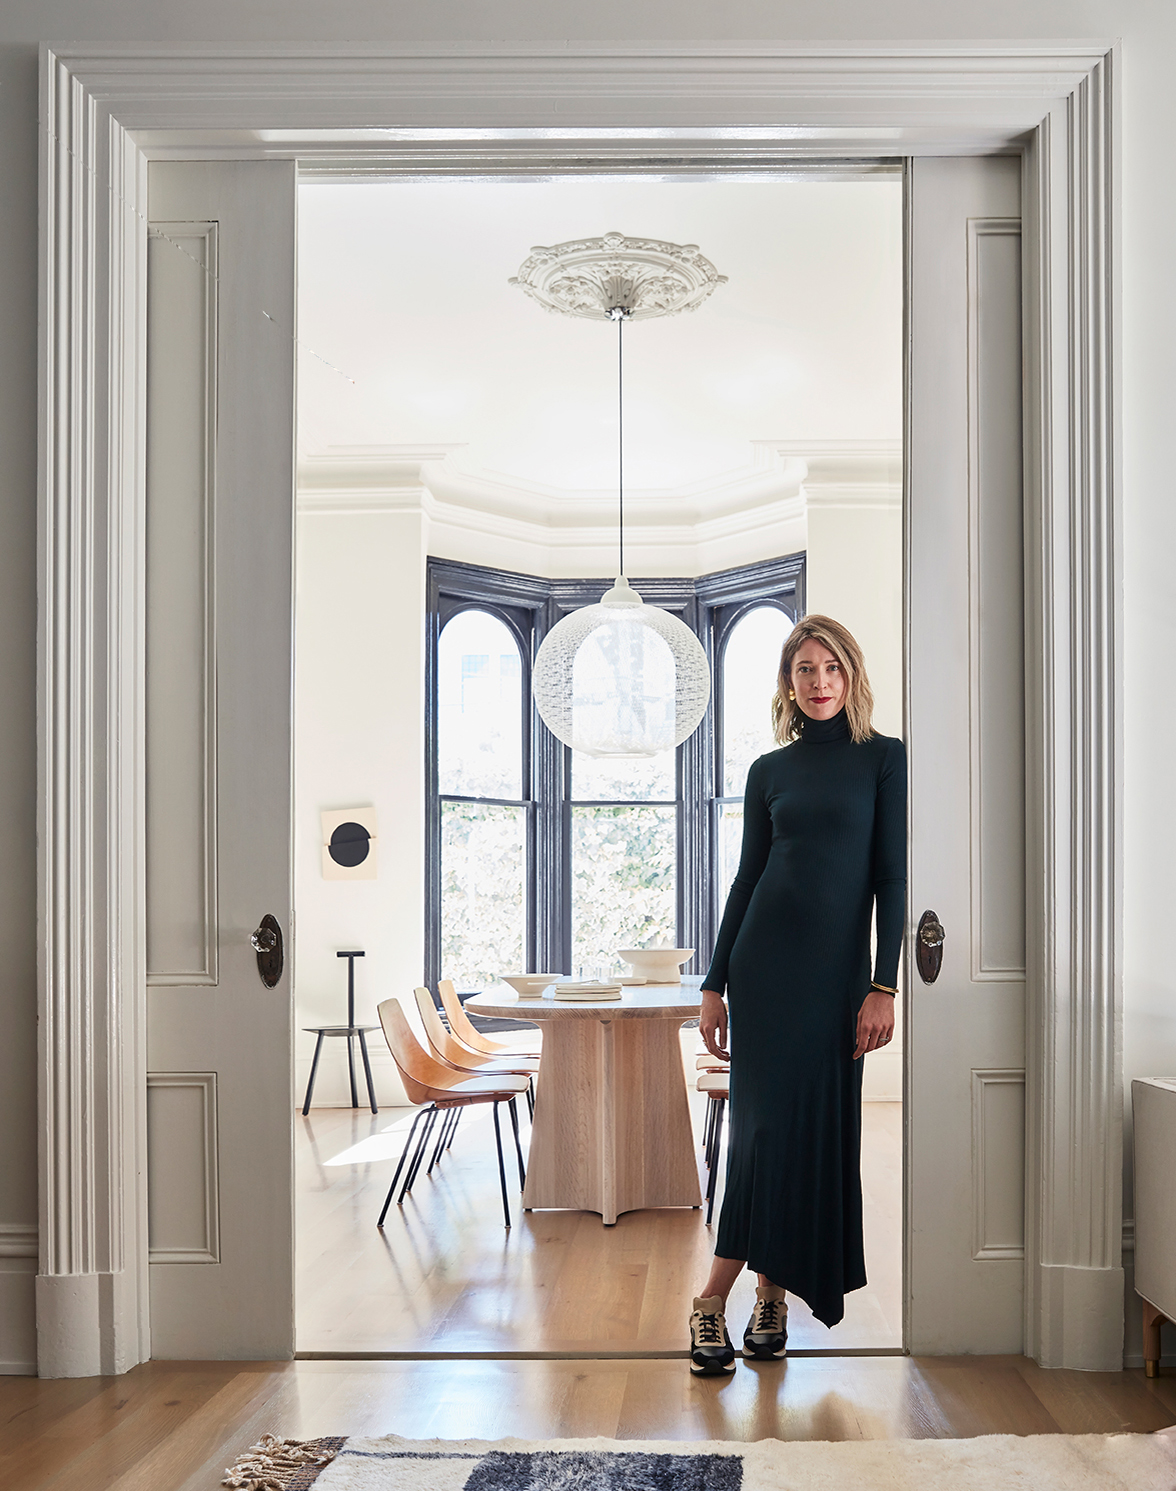
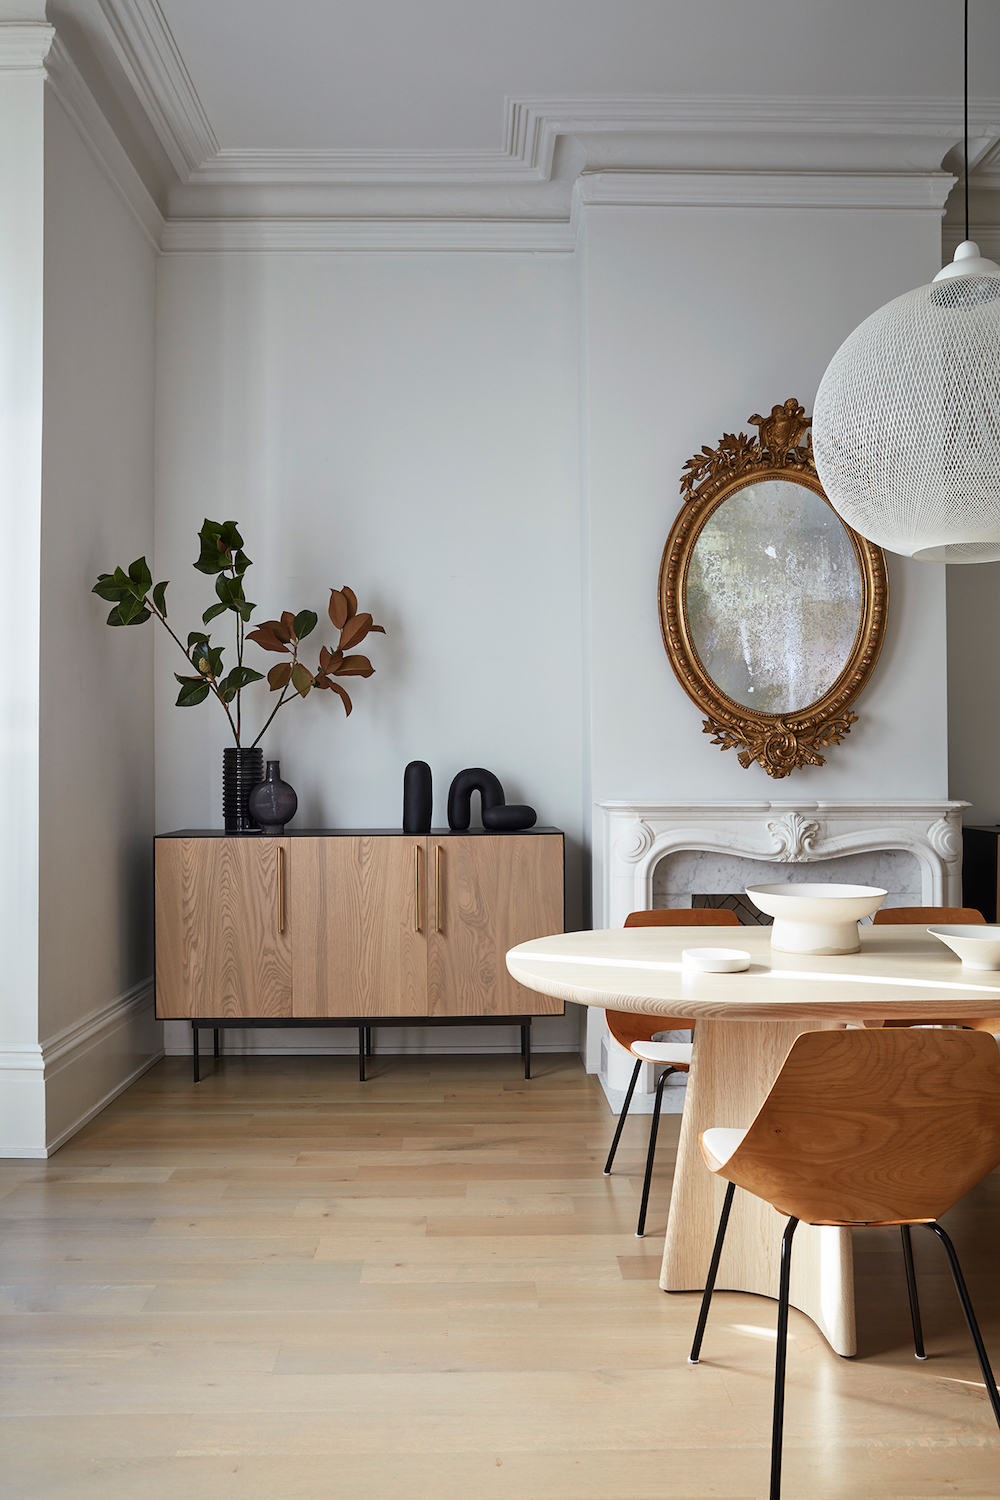
The dining room really showcases some of the home’s original architectural gems that makes my design loving heart smile. The layers of crown, the ceiling medallions, the fireplace and bank of bay windows are all built in design elements I’m lucky enough to get to play with. I wanted to create a design aesthetic that both matched that grandeur of the house’s scale, but was also allowed for comfortable family life. I would describe my final design for this house as old world European meets easy California living. The lines and details are refined and pared back, but also warm, inviting and livable. The dining room really embodies the old world European feel.
Custom credenzas by Lauren Nelson Design flank the fireplace and offer the storage and functionality I needed, with beautiful modern design I love. It took some time, but I finally realized that the dining room’s dimensions required a custom dining table. Thanks to Instagram, I found a local woodworker with whom I worked to design a custom racetrack table in a stunning bleached oak. It took over two years of scouring 1stdibs to find the oval antique mirror that now resides over the fireplace (which we restored to a historically accurate Victorian style using a Chesneys mantel).
This room may appear elegant and formal, but because it connects directly to the living room it is in fact fully integrated into the rest of the house and we eat dinner here nightly.
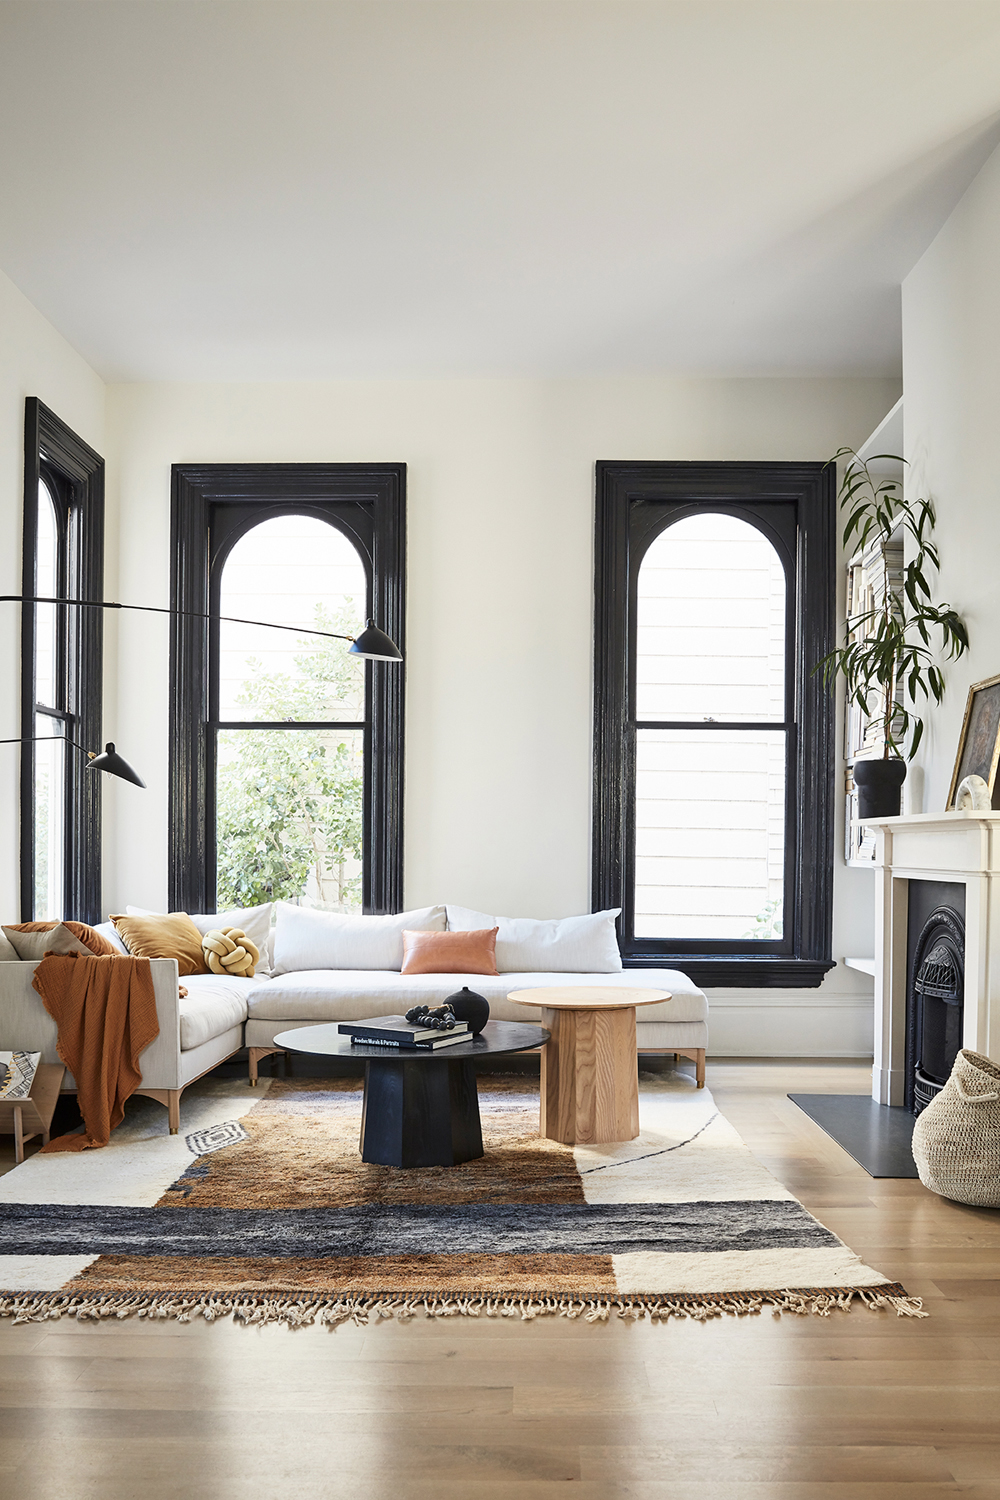
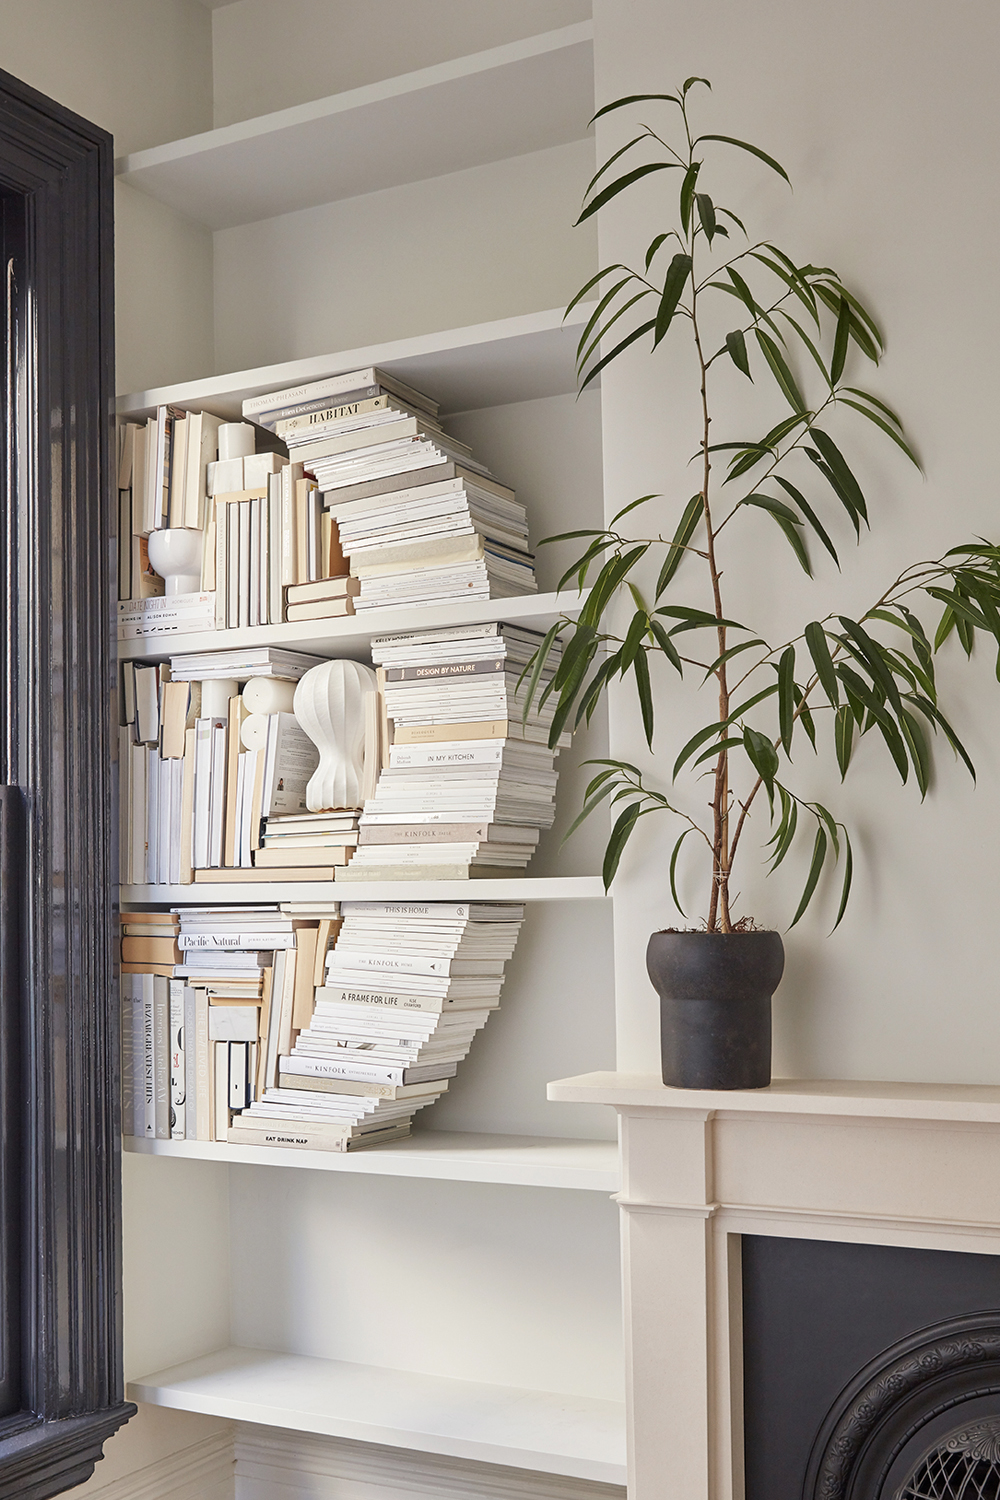
The easy California living side of my aesthetic couldn’t be more evident in our living room. While the original windows and restored fireplace are the architectural stars of the show, I finally figured out that I needed a custom seating area that allowed us to maximize the use of this room. That’s where I abutted my design limits. Thankfully, I turned to my friend, and design spirit animal Lauren Nelson to help me by designing more custom pieces that address the scale and spacing challenges of this room. She designed both the sectional and the stunning fluted coffee tables. Do you spy the brass feet on that sofa?? So much goodness.
Renovation lesson two: Don’t try to force a round peg in a square hole. Sometimes investing in a custom design that is made specifically for your home’s needs is going to last you much longer and make you much happier than any off-the-shelf option that only leaves you disappointed.
The one-of-a-kind Moroccan berber rug from Mehraban’s Atlas collection pulls everything together in an easy, cosy way. There’s nothing I love more than curling on that sofa which a good book (or let’s be real, Instagram) in hand.
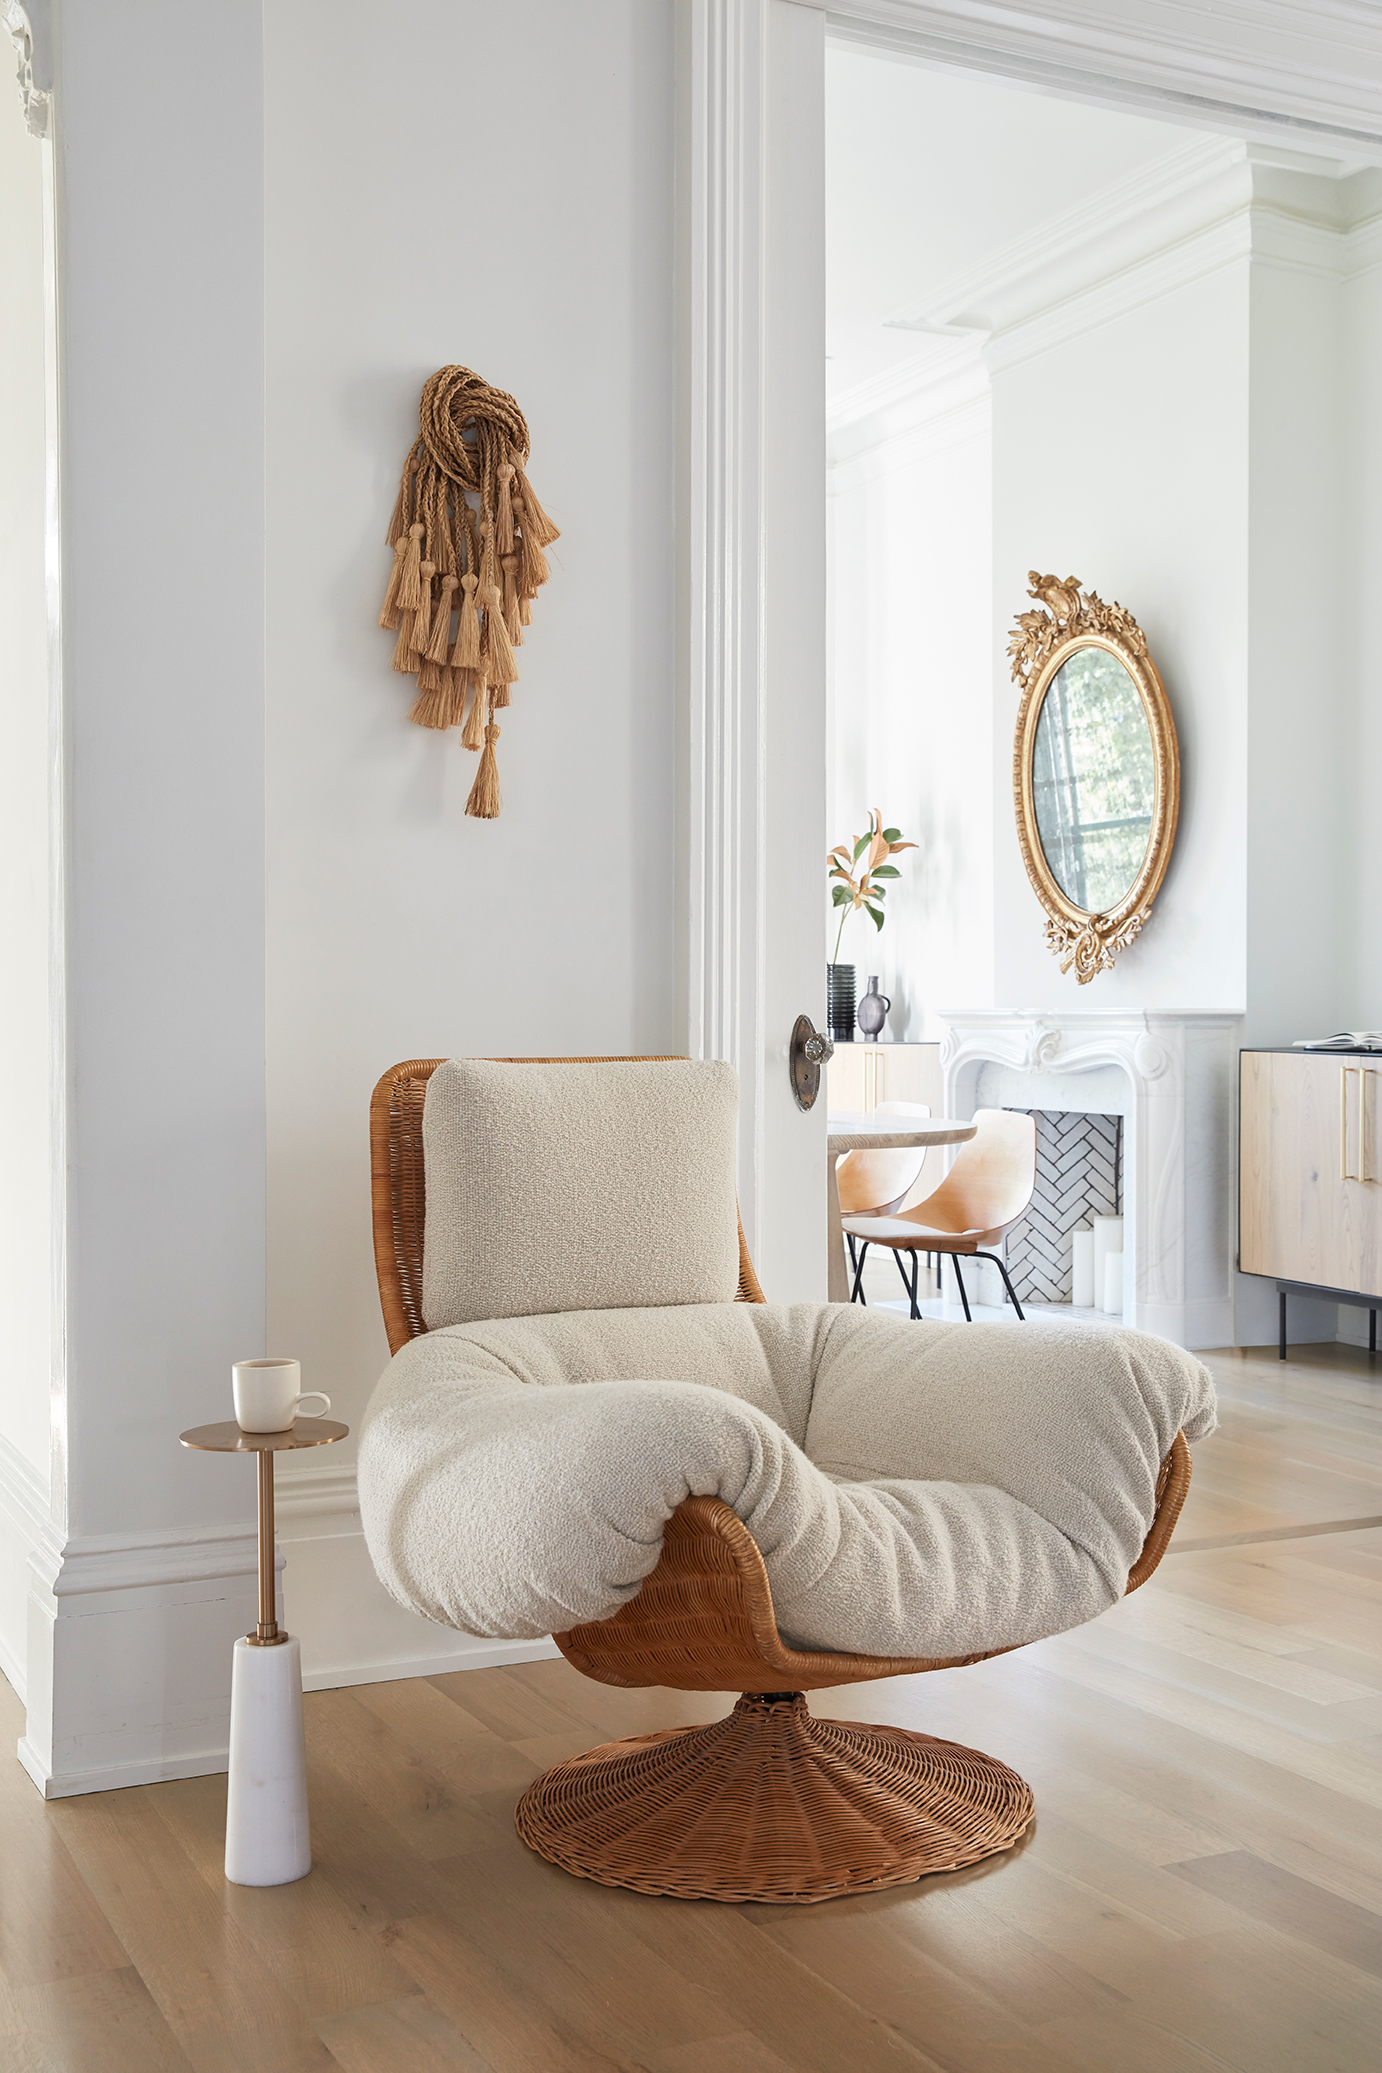
One of the best ways to help a newly decorated space feel lived in is to use vintage pieces to add patina and history. I spied this dramatic woven lounge chair on Pinterest and finally tracked it down at Amsterdam Modern. Lauren helped me get custom cushions made to mimic the chair’s original design, but in a more of-the-moment nubby fabric. It’s my happy place.
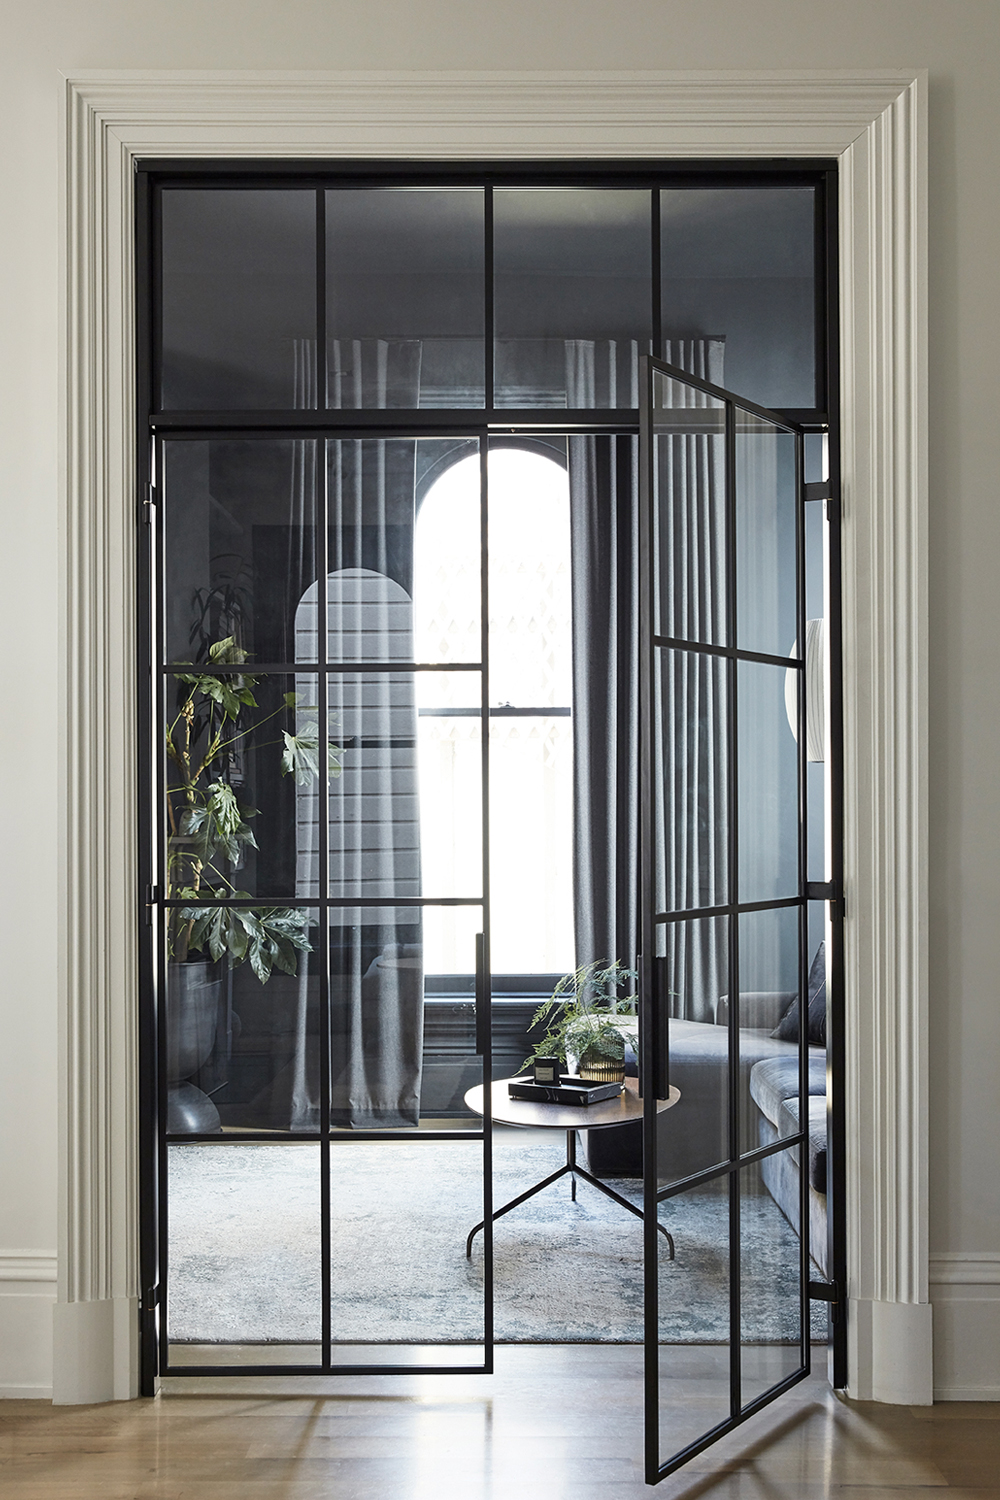
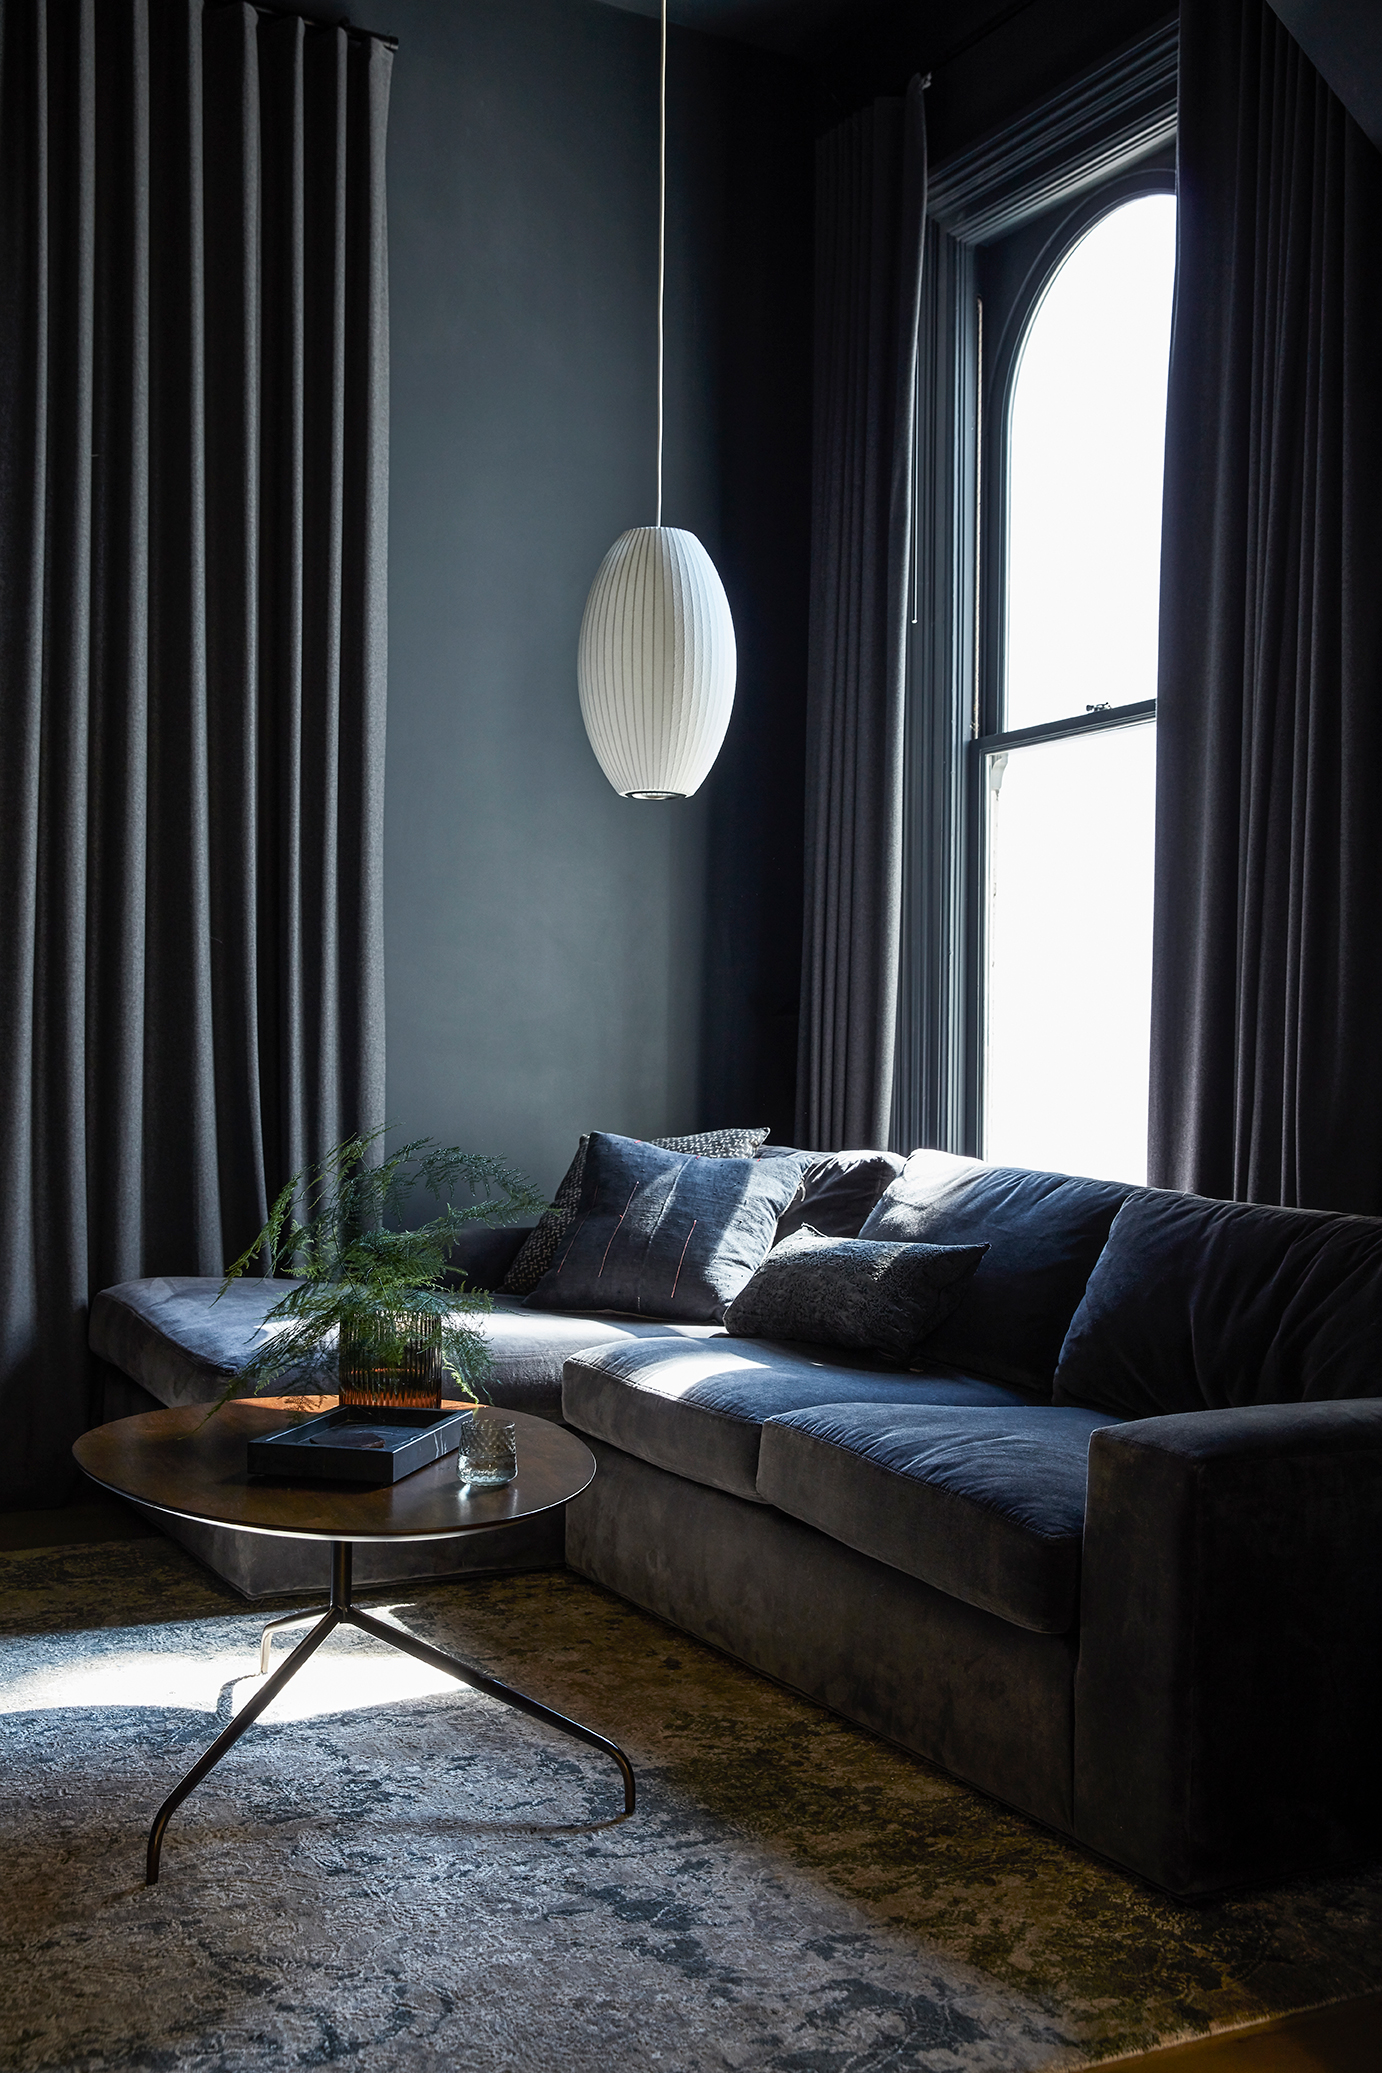
Directly across from the living room sits the opening to our den. I probably had the most specific vision for this room, which is why I was able to “complete” it before many of the others. I always wanted this room to envelop you in a dark, cozy vibe with tone on tone walls and furniture. The pièce de résistance of this space however, took nearly three years to complete.
I knew from the get go that I wanted steel and glass french doors to enclose this room from the rest of our living spaces. This room houses our TV and so I wanted to create a separate space for movie nights and Marvelous Mrs. Maisel binge sessions with doors to buffer the sound. But I also envisioned these french doors as the perfect book end to the black framed windows that sit exactly opposite.
Yet the oversized opening we cut during the renovation sat vacant as we saved up the budget and I hunted endlessly for perfect partner to design this custom piece. I finally found Bananas and Hammocks (on Instagram of course!). The husband and wife design and fabricator duo based in Ventura, CA fashioned an amazing set of custom doors with a matching transom. Even the brass inlayed hinges are one of a kind. When those doors finally went in this summer, I finally felt like my original vision for the house was realized.
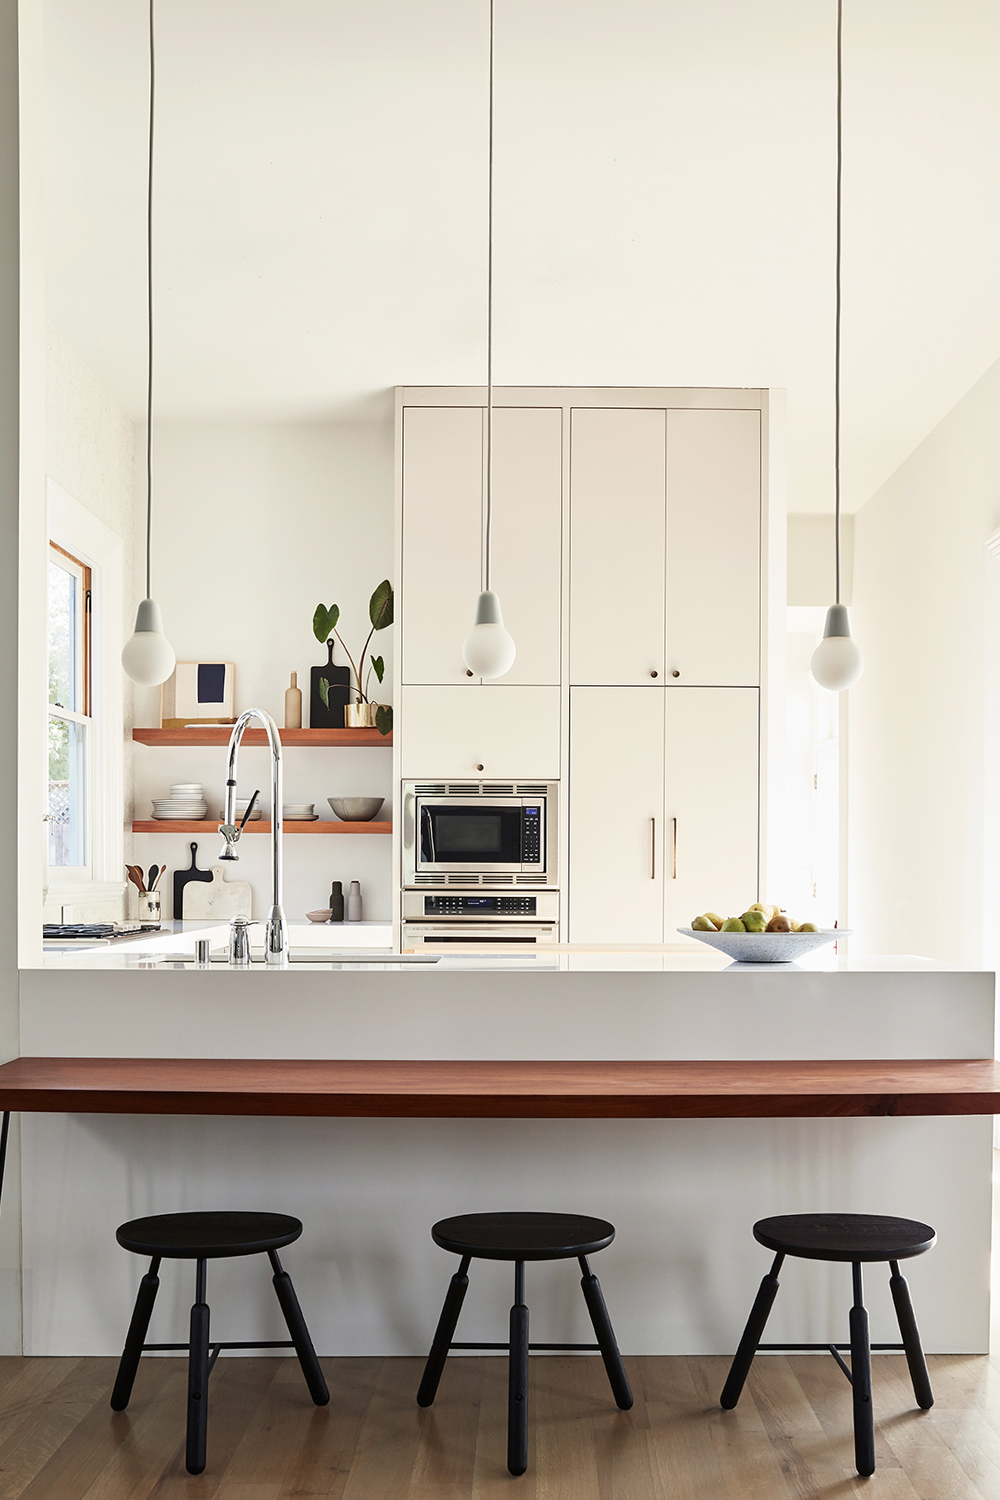
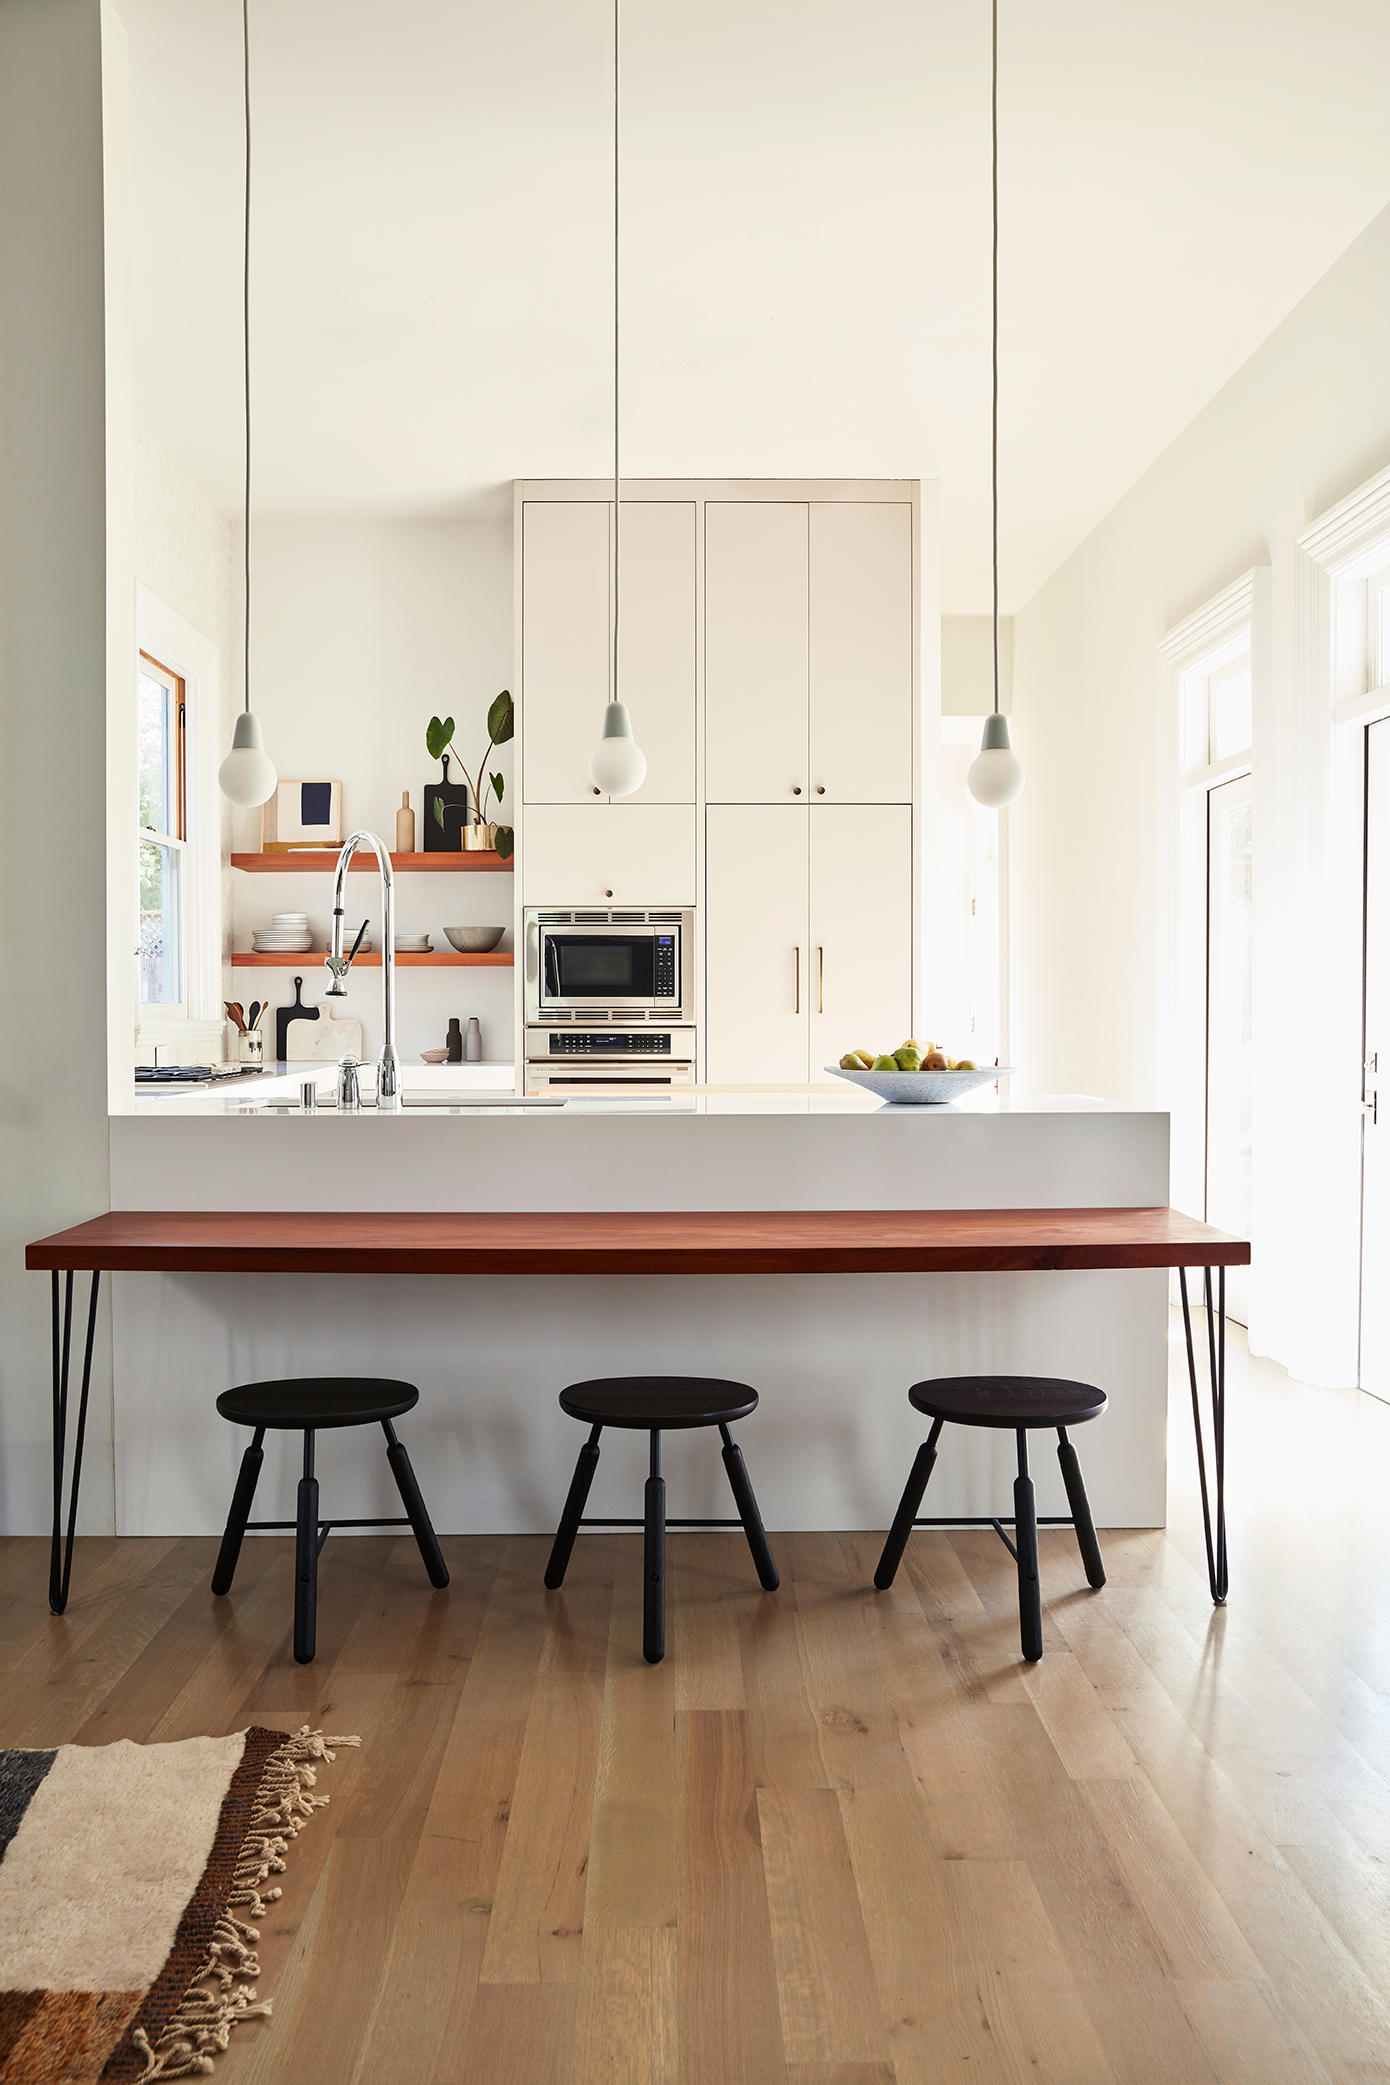
Our kitchen reflects my more modern design inclinations. I wanted to create a clean, relatively clutter free space. We have almost no upper cabinets. A single stack houses both my oven suite from Theramdor as well as our hidden refrigerator. I love incognito appliances. I couldn’t resist open shelving at the time, but as I look back now (by nearly four years) if I had to do it over again, I might even eliminate those. Sadly you can’t see my big drama moment in this pic, but we installed a stone wall from counter to ceiling behind the range. It offers subtle texture and movement.
A desk height “breakfast bar” connects the kitchen to the living room and offers a great spot for our son to do crafts or someday homework while I’m in the kitchen. If the counters look odd, that is because we chose to make them 39″ high. We come from a line of very tall people!
To complete the tour of our first floor, you move down the hall past the kitchen, and there you’ll find our walk-in pantry (which is quite dreamy if I do say so myself), our laundry room and a powder room. I’m happy to report that we make use of every single space on this floor every single day.
I hope this 2000 world monologue has helped shed light into our renovation at least a little. If I were to impart one point, it would be this – creating a dream home isn’t necessarily quick, cheap and easy as much as HGTV and the like would lead us to believe. While sometimes a fixer can be tackled slowly, project by project and in DIY fashion, some home’s needs are so large scale that they take on a life of their own. Our house certainly resides in that latter category. Did I make many a design mistake that likely cost us both time and budget? For sure. Would I do somethings differently if I had to do it over? You bet. Did I learn so much along the way? Absolutely.
Does our house make me smile everyday? Yes. Is it a great home for my son? Most definitely. And that is really the point.
Hope you’re excited for my next 2,000 words touring our second floor! Hopefully I’ll have that done before Christmas.
If you can’t wait for that though, be sure to check out Domino’s online feature HERE! Have you picked up Domino’s winter Renovation issue yet?? There are SO many good home tours in there.
photography by seth smoot for domino magazine
produced by kate berry
styled by rosy fridman
RESOURCES
Entry
lora pendant lamp by wep lights ylighting / georg console table skagerak / steven bukowski planter
Dining Room
custom credenzas lauren nelson design / custom dining table godar furniture / paint white wisp, black 01 by benajmin moore / antiqued french crested mirror 1stdibs / ceramic vessel by ANK spartan shop / arch totem and seed sculptures by tina frey designs / la rochelle mantel chesneys new york / tonneau chiars by pierre guariche via almond & co / stick shelving system menu design / art print by seth smoot / large white vase march sf / bubl vase 101cph / vintage vessel elsie green
Living Room
custom sectional lauren nelson design / custom coffee tables lauren nelson design / serge mouille two arm wall sconce dwr / knot pillow dwr / crinkled cotton throw h&m / pampas lumbar pillow the citizenry / moroccan middle atlas tribe berber rug / fireplace chesneys / basket zara home / vintage portrait elsie green / bow marble candle holder ferm living / upholstered swivel lounge chair by gerard van den berg amsterdam modern / straw rope hanging by sarah simon / paint white wisp & black 01 benjamin moore
Den
custom french doors bananas & hammocks / sectional room & board / george nelson cigar bubble pendant / paint gravel gray benjamin moore / wool curtains the shade store / coffee table west elm / black marble tray the citizenry / fluted glass vase h&m
Kitchen
bulb fiction pendant lamps fritz hansen / norm na3 stools by &Tradition / promaster faucet kohler / silestone countertop in ariel / mid-century knobs and pulls school house / appliances thermador / art tappan collective
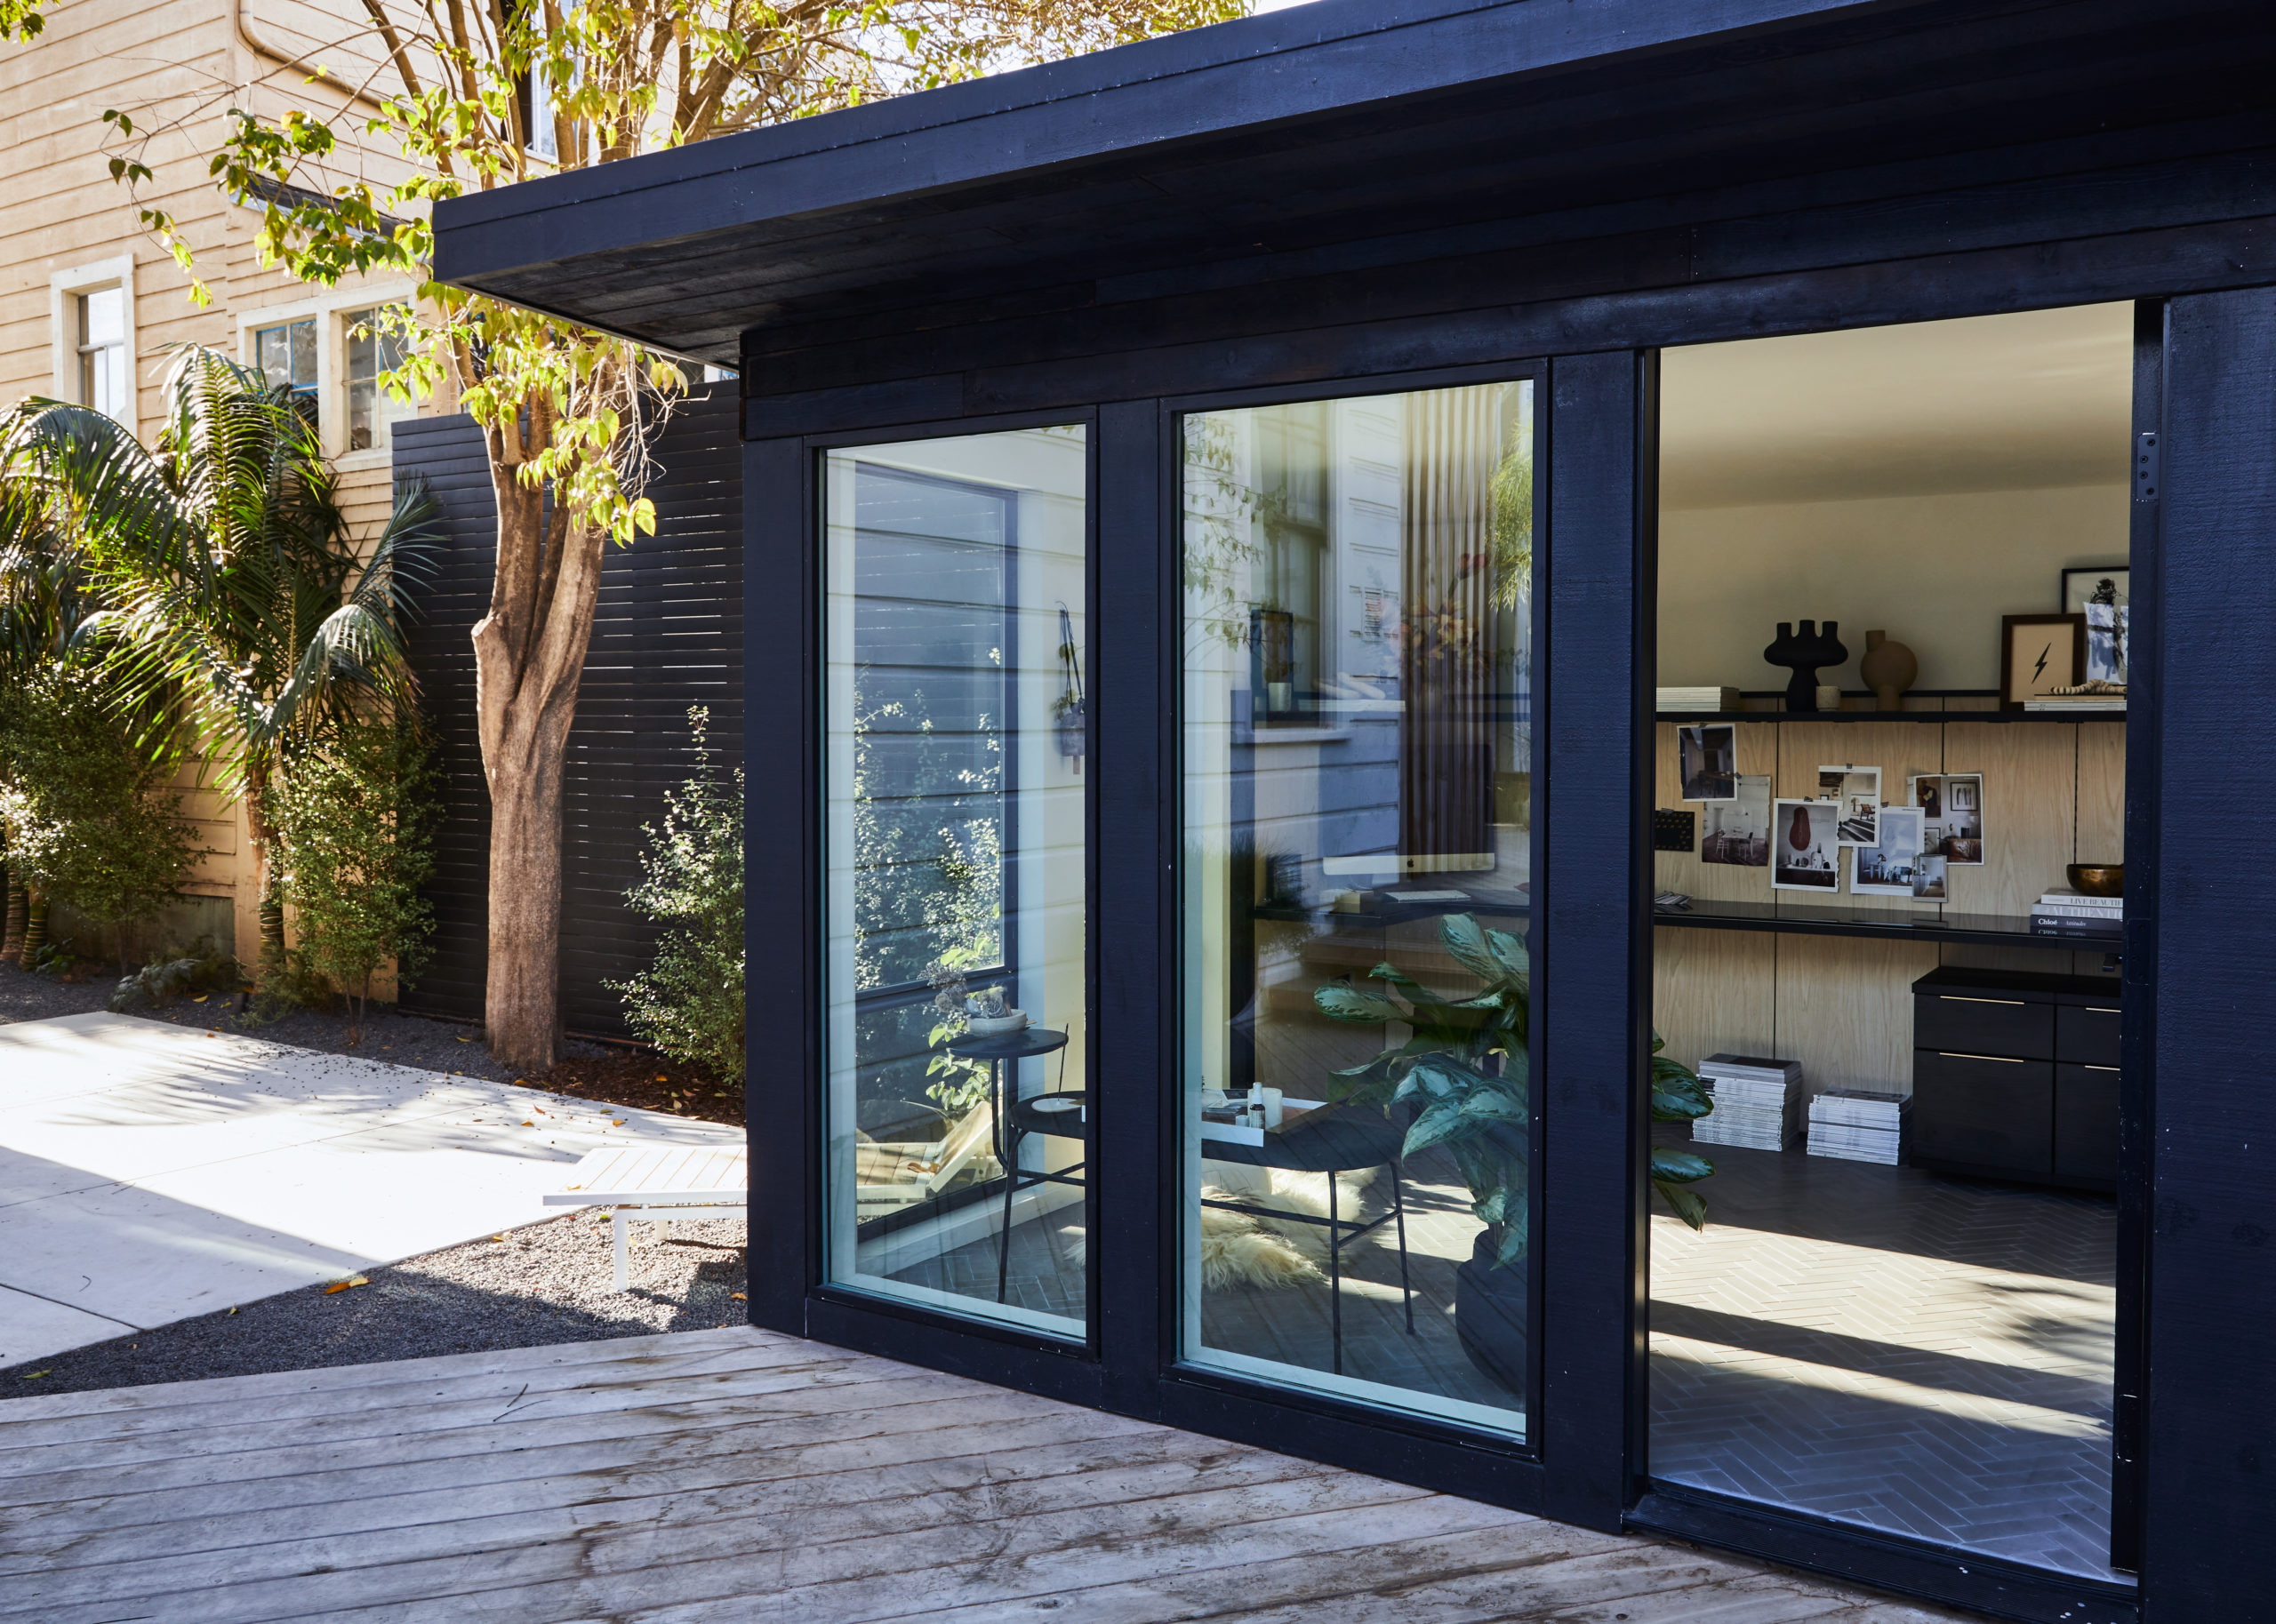


























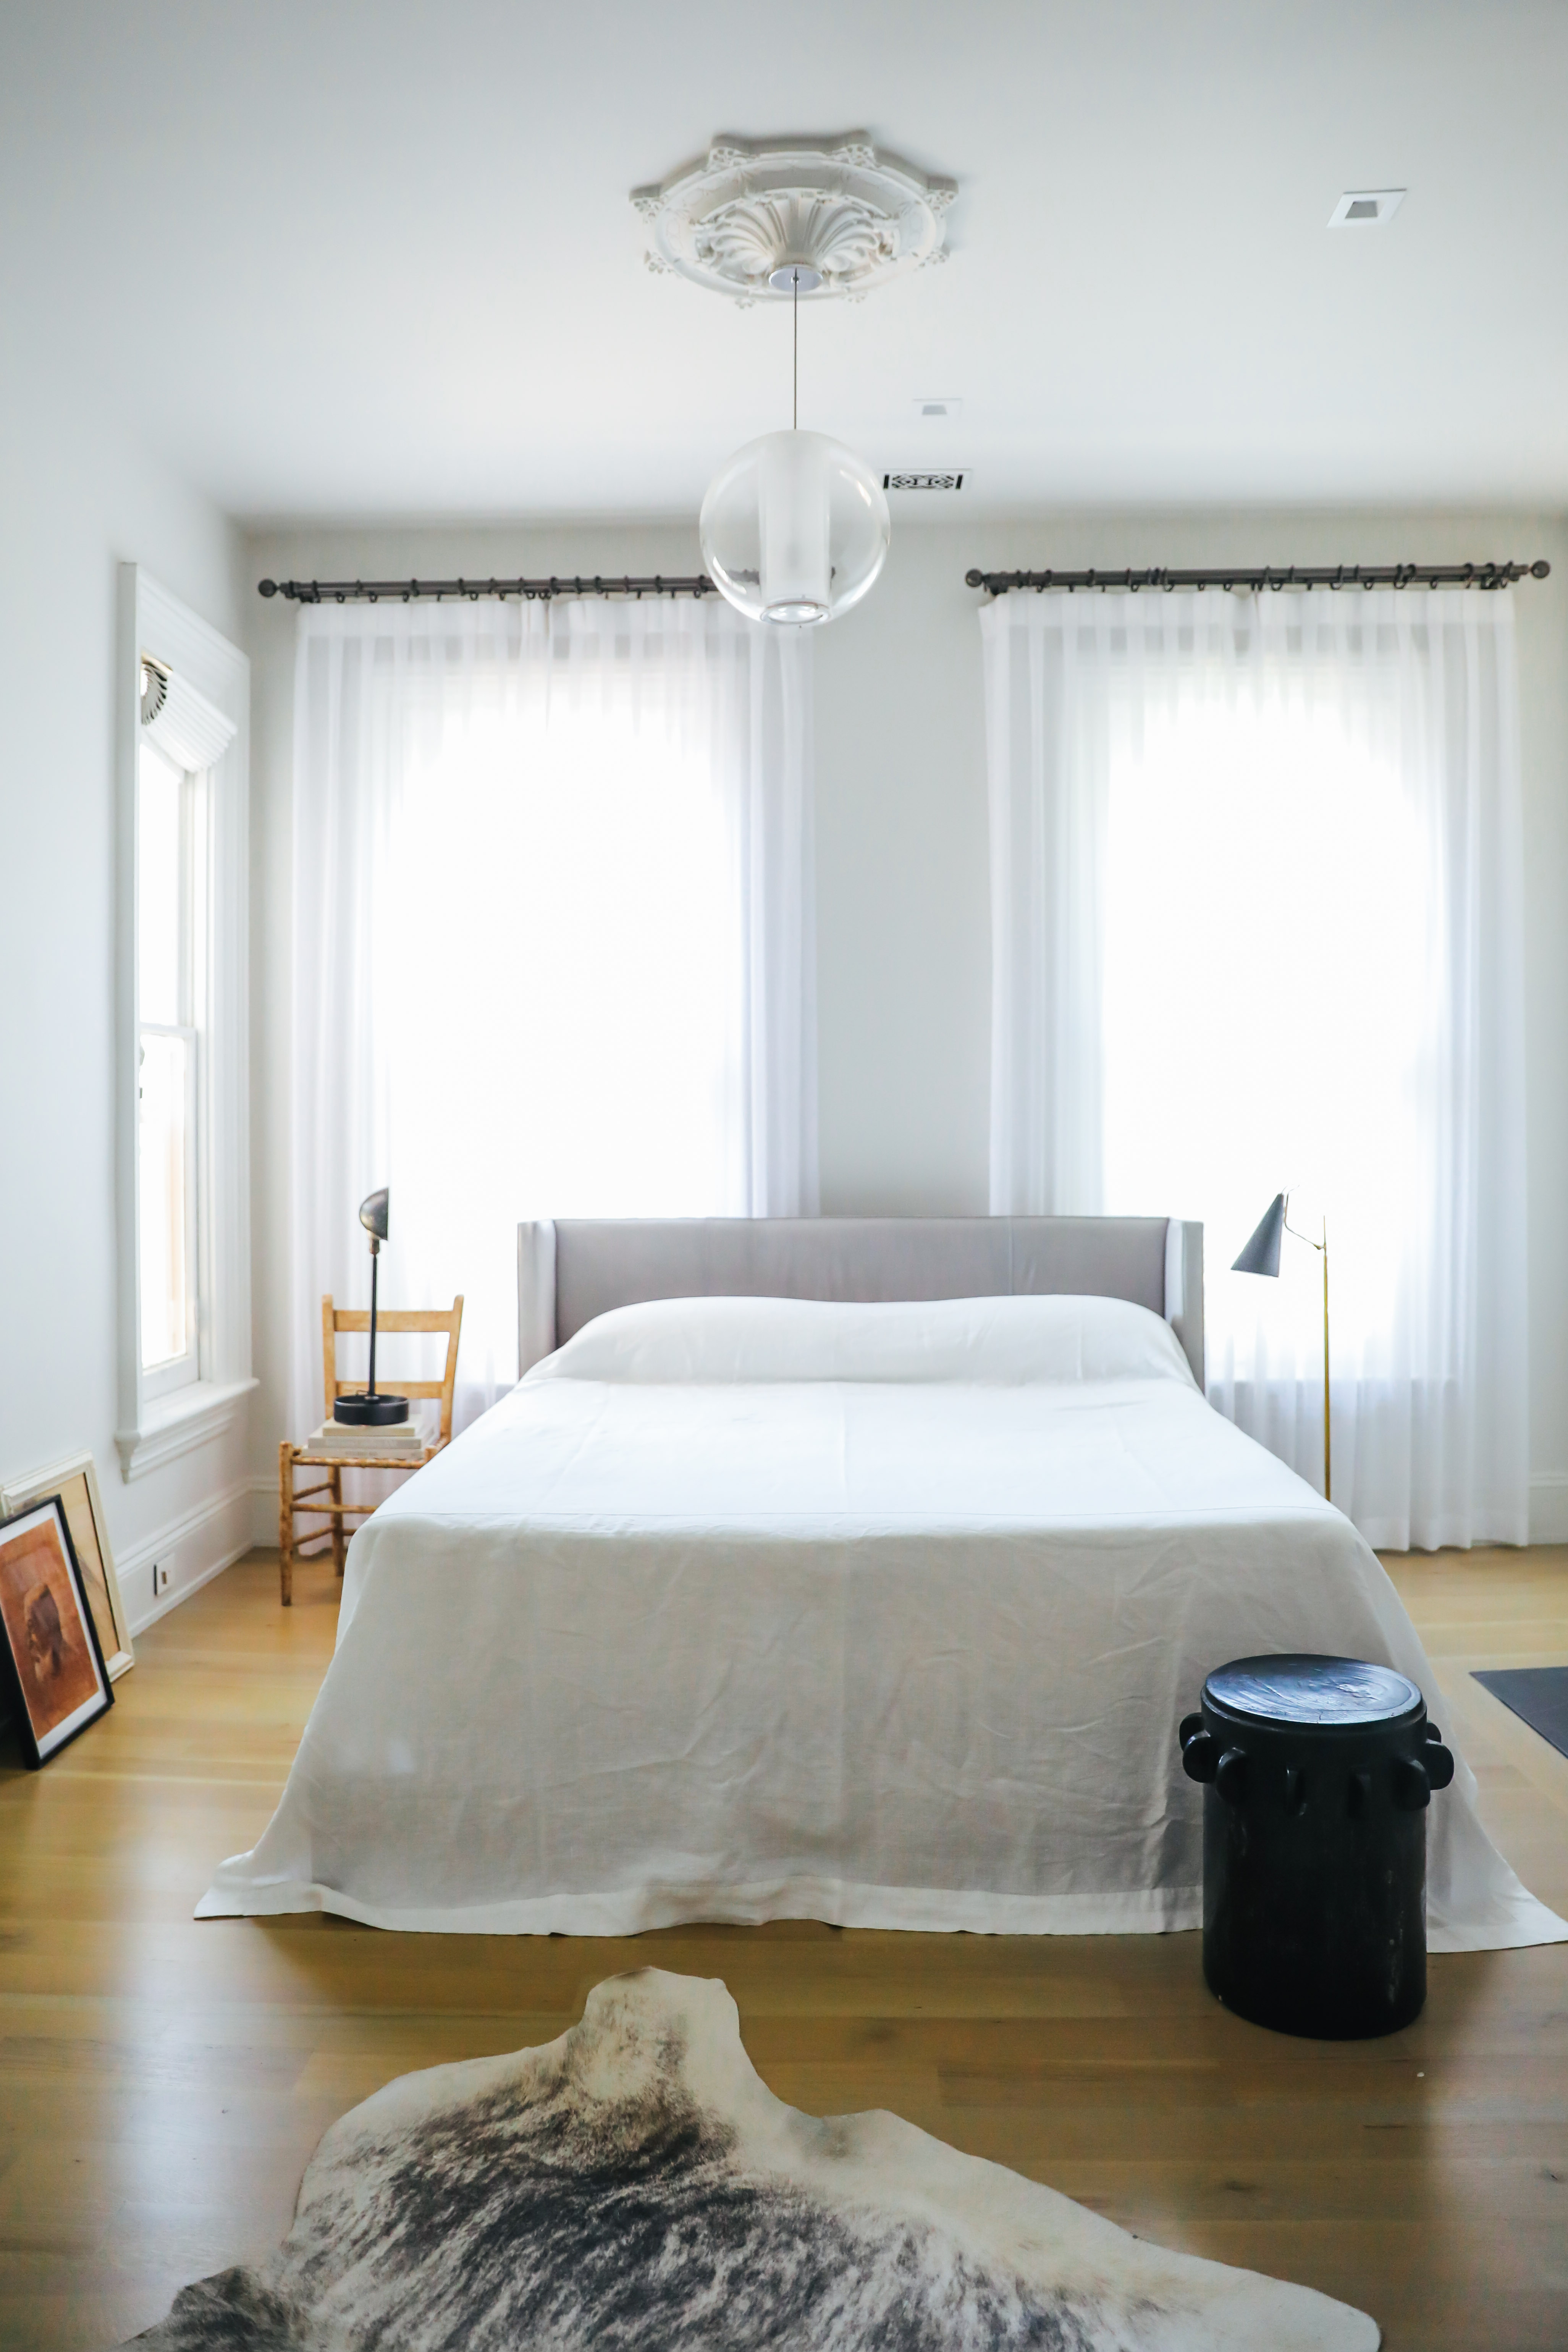
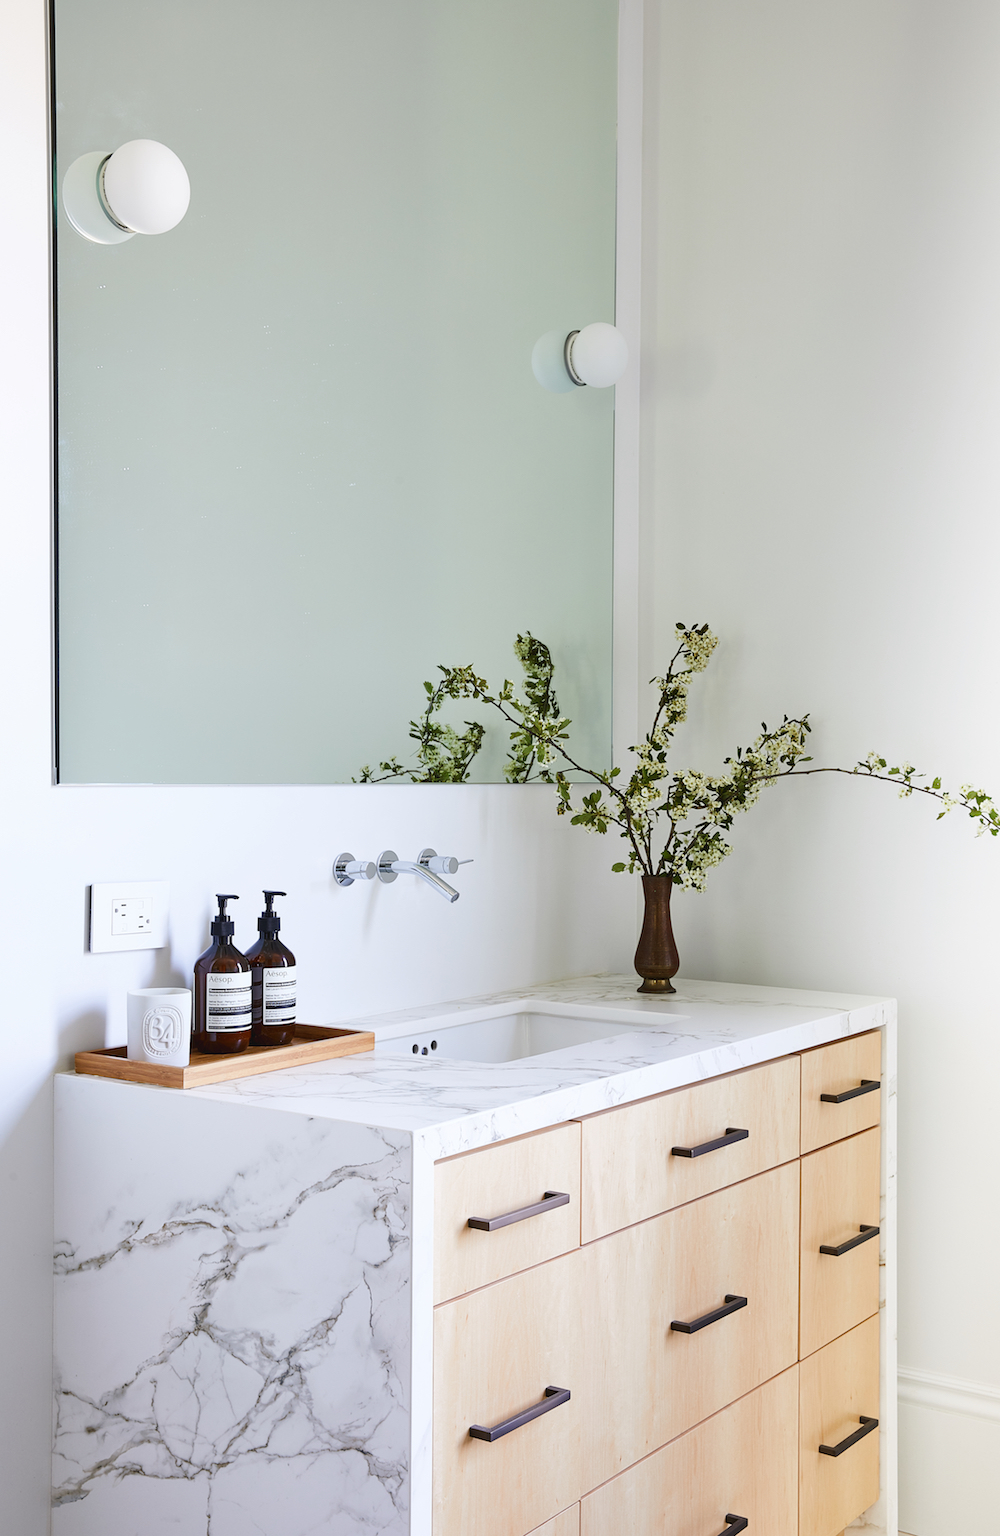
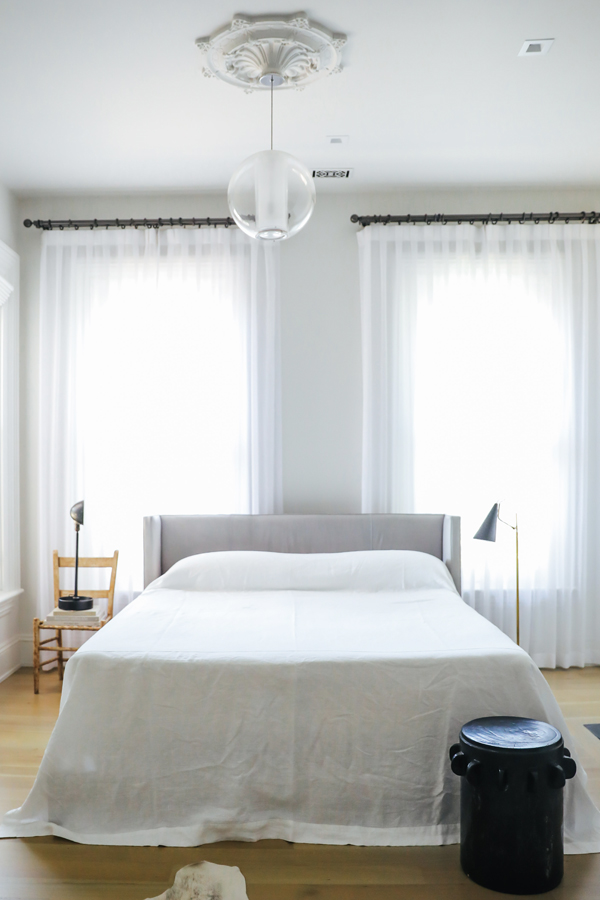
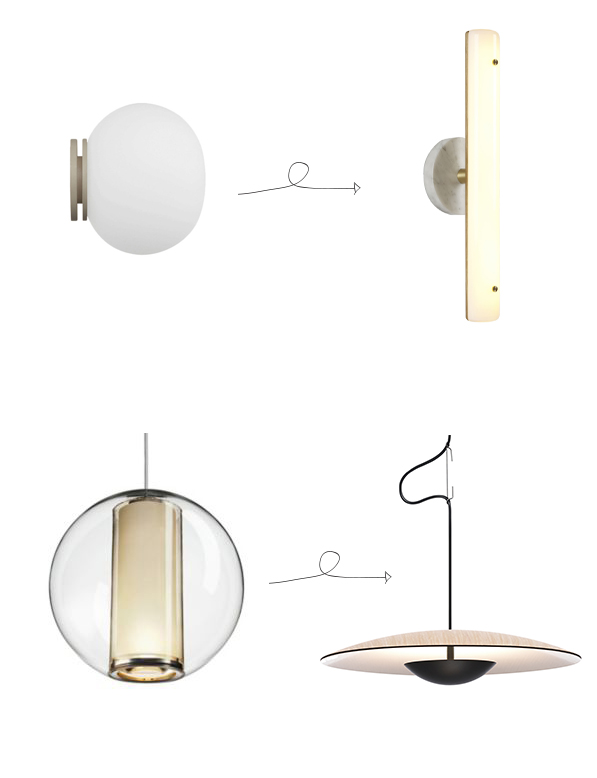 When selecting our new fixtures, I certainly solved my contrast and scale issues.